 Introduction:
Replacing a toilet lid is a simple yet effective way to update the look of your bathroom or fix a broken or worn-out lid. With a wide range of styles and materials available, replacing a toilet lid allows you to customize your bathroom and enhance its functionality. In this comprehensive guide, we will provide a step-by-step approach to toilet lid replacement. From removing the old lid to installing the new one, this guide will help you successfully complete the replacement process and give your bathroom a fresh new look.
 Some common materials
Toilets can be made from various materials. Here are some common materials used in toilet construction:
Vitreous China:
Vitreous china is the most common material used for toilets. It is a type of ceramic that is coated with a layer of enamel. Vitreous china toilets are durable, easy to clean, and resistant to staining and scratching.
Porcelain:
Porcelain is another ceramic material used for toilets. It is similar to vitreous china but may have a slightly different composition. Porcelain toilets are known for their smooth, glossy finish and durability.
Stainless Steel:
Stainless steel toilets are often used in commercial or industrial settings. They are highly durable, resistant to corrosion, and easy to clean. Stainless steel toilets can withstand heavy use and are commonly found in public restrooms.
Plastic:
Some toilets are made from plastic materials, such as polypropylene or high-density polyethylene (HDPE). Plastic toilets are lightweight, affordable, and resistant to corrosion. They are commonly used in portable or temporary toilet applications.
Composite Materials:
There are also toilets made from composite materials, which are a combination of several materials bonded together. These materials can include fiberglass, resin, and various additives. Composite toilets offer a mix of durability, design flexibility, and sometimes lighter weight.
It’s important to note that while the materials used in toilet construction may vary, the functionality and performance of the toilet are influenced by factors such as the flushing mechanism, trapway design, and water efficiency. When choosing a toilet, it’s essential to consider not only the material but also the overall quality, comfort, and features that suit your specific needs and preferences.
 Introduction to Toilet Lid Replacement
Replacing a toilet lid can be a quick and affordable solution to improve the appearance and functionality of your toilet.
A. Benefits of Replacement: Upgrading to a new lid can improve the overall hygiene, aesthetics, and comfort of your bathroom.
B. Considerations: When choosing a replacement toilet lid, consider factors such as size, style, material, and compatibility with your toilet model.
Step 1: Measuring the Existing Lid
Before purchasing a replacement toilet lid, accurate measurements are necessary to ensure a proper fit.
A. Length and Width: Measure the length and width of the existing lid using a measuring tape or ruler.
B. Distance between Hinge Holes: Measure the distance between the center points of the hinge holes on the back of the lid.
Step 2: Selecting a Replacement Lid
Choose a replacement toilet lid that matches the measurements you obtained and suits your preferences.
A. Size: Ensure the replacement lid matches the length and width of the existing lid.
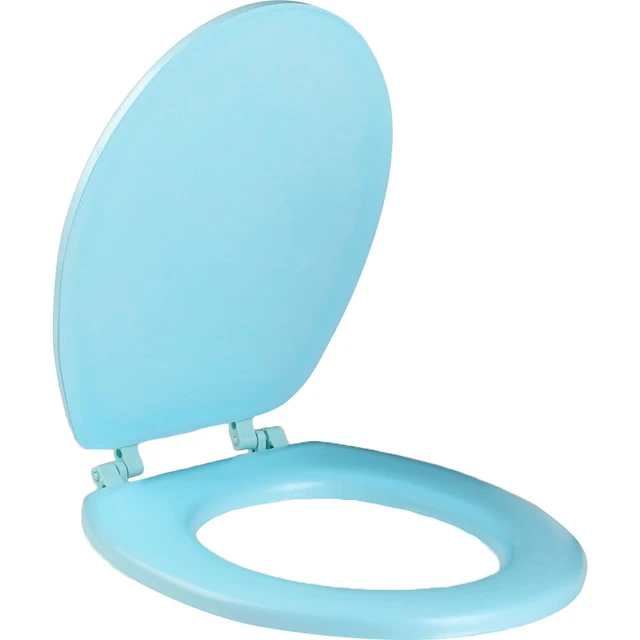
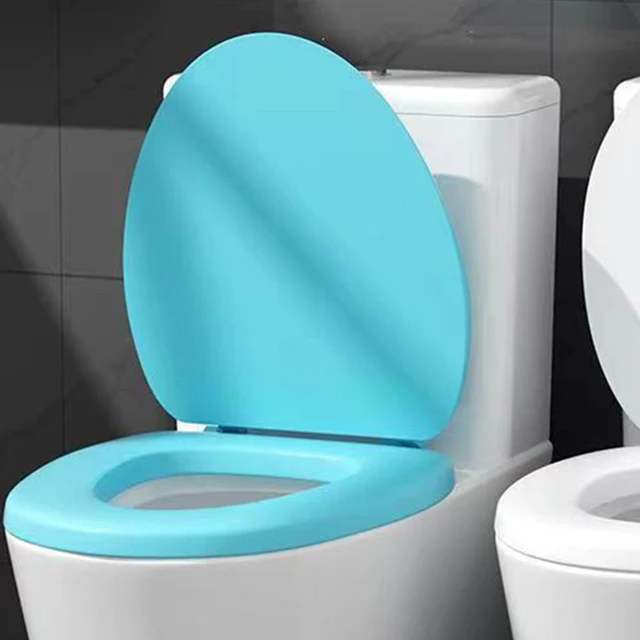
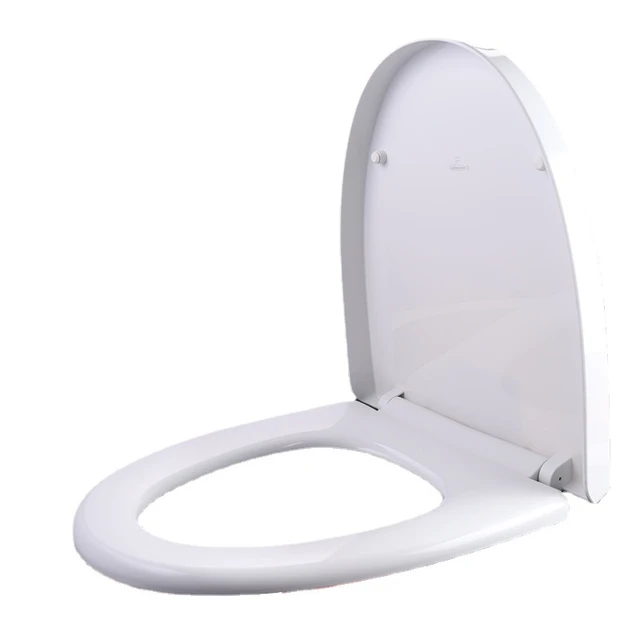
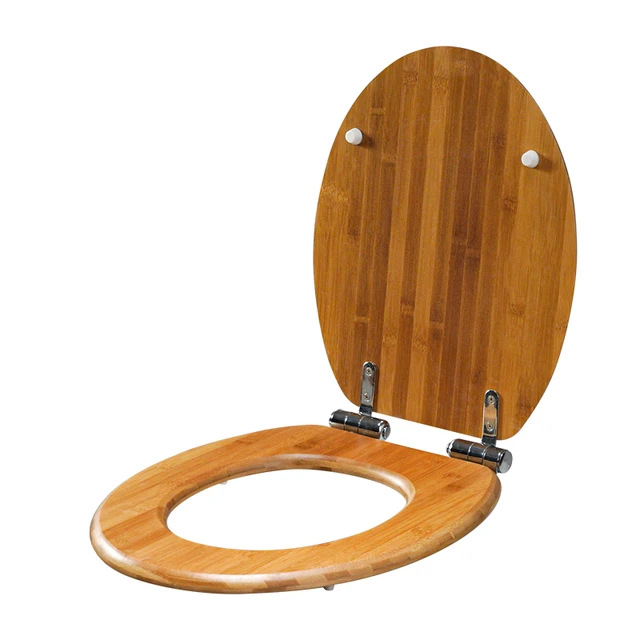
B. Style and Material: Select a lid that complements your bathroom’s aesthetic and is made of durable and easy-to-clean material, such as plastic, wood, or ceramic.
Step 3: Removing the Old Lid
Toilet lid removal is a straightforward process that requires minimal tools.
A. Locate the Wing Nuts: Look for the wing nuts or plastic nuts located at the back of the toilet bowl, securing the lid to the bowl.
B. Loosen the Nuts: Use your hand or a pair of pliers to loosen the wing nuts by turning them counterclockwise. Be careful not to overtighten or damage the nuts.
C. Lift and Remove: Lift the old lid straight up and away from the toilet bowl. Set it aside safely.
 Step 4: Installing the New Lid
Proper installation of the new toilet lid ensures a secure and stable fit.
A. Position the Lid: Align the hinge holes on the back of the new lid with the anchor bolts on the toilet bowl.
B. Secure the Lid: Lower the lid onto the bolts and hand-tighten the wing nuts or plastic nuts onto the bolts. Ensure the lid is centered and level.
C. Hand-Tighten Only: Use your hand or a pair of pliers to hand-tighten the nuts firmly but avoid overtightening, as it may crack or damage the lid or the toilet bowl.
Step 5: Adjusting and Checking the Fit
After installation, make necessary adjustments to ensure a proper and functioning fit.
A. Level the Lid: If the lid feels uneven or wobbly, adjust the wing nuts or plastic nuts until the lid rests securely and evenly on the toilet bowl.
B. Check for Stability: Sit on the lid to test its stability and make sure it can support weight without any shifting or movement.
Proper maintenance and care:
Proper maintenance and care of toilets are essential for their longevity and optimal functioning. Here are some maintenance tips to keep in mind:
Regular Cleaning:
Clean your toilet regularly to prevent stains, buildup, and unpleasant odors. Use a toilet bowl cleaner and a toilet brush to clean the bowl thoroughly, including under the rim and around the edges. Wipe the exterior surfaces with a mild cleaning solution and a soft cloth. Avoid using abrasive cleaners or brushes that can damage the toilet’s surface.
Avoid Harsh Chemicals:
Be cautious when using chemical cleaners as they can damage the toilet’s internal components or the glaze on the bowl. If using cleaning agents, follow the instructions carefully and opt for non-abrasive and non-acidic products. Vinegar or baking soda can be natural alternatives for mild cleaning.
Check for Leaks:
Regularly inspect your toilet for leaks or water seepage. Check the water supply line, connections, and fill valve. Look for signs of water on the floor around the base of the toilet or on the inside of the tank. If you notice any leaks, address them promptly to prevent water damage or wastage.
Avoid Overloading:
Toilets are not designed to handle excessive waste or foreign objects. Avoid flushing items that can clog the drain or damage the flushing mechanism, such as sanitary napkins, diapers, wipes, or excessive toilet paper. Use only toilet paper that is suitable for flushing.
Flush Properly:
Ensure that the toilet is flushed properly after each use to prevent waste from accumulating and causing clogs. Hold the handle down for a few seconds to ensure a complete flush and proper water flow.
Maintain the Flushing Mechanism:
Periodically check and clean the internal components of the toilet, including the flapper, fill valve, and flush valve. If any parts show signs of wear or malfunction, consider replacing them to maintain proper flushing and water usage.
Address Clogs Promptly:
If you experience a clog, use a plunger or a toilet auger to clear it. Avoid using chemical drain cleaners as they can damage the pipes or toilet materials.
Regular Inspections:
Conduct routine inspections of the toilet’s components, including the tank, fill valve, flush valve, and wax ring. Replace any worn-out or damaged parts as needed to prevent leaks or inefficiency.
By following these maintenance tips, you can ensure that your toilet remains clean, functional, and in good condition for an extended period. Regular maintenance can help prevent costly repairs and increase the lifespan of your toilet.
 Conclusion
Replacing a toilet lid is a simple and rewarding DIY project that can instantly update the look and functionality of your bathroom. By following the step-by-step guide outlined in this article, you can successfully complete the replacement process. Remember to measure the existing lid accurately, select a replacement lid that matches your measurements and preferences, and properly remove and install the new lid. Take your time, follow the instructions, and make necessary adjustments to ensure a proper fit and sturdy installation. With a new toilet lid in place, you can enjoy a fresh and stylish bathroom that suits your personal tastes.


