Tools and Materials Needed for Shower Head Installation
Before you begin the journey of how to install a shower head, it’s essential to gather all the necessary tools and materials. Proper preparation can make the installation process smoother and faster. Here’s what you’ll need:

- Adjustable wrench: This tool will help you loosen and remove the old shower head.
- Teflon tape or plumber’s tape: Apply this to the threads of the shower arm to prevent leaks.
- New shower head kit: Make sure it includes all washers and necessary components.
- Rag or towel: Use this to clean the shower arm threads and to grip and protect surfaces when using the wrench.
- Thread sealant (optional): This can be used as an alternative to Teflon tape.
- Bucket or bowl: Keep one handy to test the water flow and catch any drips.
- Plumbers’ pliers: Use these if additional grip is required.
With these tools and materials at hand, you’re ready to move on to removing your old shower head. Remember, a successful installation lies in the balance of having the right tools and following the installation steps carefully.
Removing the Old Shower Head
The first step in learning how to install a shower head is taking off the old one. Here’s how to do it step by step:
- Turn off the water supply: Ensure that your water supply is off to prevent any accidental spraying.
- Protect the shower area: Place a rag or towel on the shower floor to catch any drops or debris.
- Loosen the old shower head: Grip the shower head or the connecting nut with adjustable wrench. Twist it counterclockwise.
- Unscrew by hand: Once loosened, turn the shower head by hand to remove it completely.
- Inspect the threads: Look at the shower arm threads for damage or wear that could affect the new installation.
Be cautious throughout this process to avoid any damage to the shower arm. If the shower head is stuck, apply more force gradually. Avoid using excessive force which might break the shower arm. Now you’re set for the next step, preparing the threads for your new shower head.
Cleaning and Preparing the Threads
Once you remove the old shower head, it’s time to clean the threads on the shower arm. Proper cleaning and preparation ensures a good seal with the new shower head, preventing leaks. Follow these steps for effective cleaning and preparation:
- Wipe the threads clean: Use your rag or towel to remove any old Teflon tape, debris, or rust from the threads.
- Check for damage: Examine the threads for any signs of wear or damage that could prevent a tight seal.
- Dry the area: Ensure the threads are completely dry before proceeding to the next step. Moisture can affect the tape’s adhesion.
- Straighten the threads: If you notice cross-threading or bends, use pliers to gently straighten them out.
Cleaning the threads thoroughly and preparing them accordingly sets the foundation for a successful shower head installation. Take your time with this step to avoid issues down the line.
Applying Teflon Tape or Plumber’s Tape
After cleaning the shower arm threads, the next crucial step in how to install a shower head is sealing those threads. Sealing helps prevent future leaks. For this, Teflon tape, also known as plumber’s tape, is your go-to material. Follow these simple instructions:
- Take a small piece of Teflon tape: Usually a length of 6 to 8 inches will do.
- Wrap the threads: Start from the base of the threads nearest to the wall. Wrap the tape clockwise around the shower arm threads. This direction ensures that the tape will tighten with the installation rather than unravel.
- Overlap each wrap: Make sure each wrap slightly overlaps the last for full coverage. Aim for 2 to 3 full wraps covering all the threads.
- Press the tape into the threads: Use your fingers to press the tape into the threads. This secures it and forms a better seal.
- Avoid covering the opening: Keep the tape on the threads. Don’t let it cover the end of the shower arm where water passes through.
With the threads sealed well, your shower arm is now ready for the new shower head to be attached. Make sure the tape is applied smoothly and evenly, with no bumps or lumps that could cause gaps. Proper application of Teflon tape is essential to prevent leaks and ensure durability.
Attaching the New Shower Head
With the threads prepared, the next step in installing a shower head involves attaching the new unit. Here are the instructions to guide you through the process:
- Check the washer: Ensure that the new shower head comes with a rubber washer. Place it inside the shower head. This washer prevents leaks.
- Hand-tighten the shower head: Align the shower head to the shower arm threads. By hand, turn it clockwise until it’s snug.
- Use the wrench if needed: If you cannot tighten the shower head by hand, use the adjustable wrench. Do not over-tighten, as this can damage the threads or the new shower head.
- Wrap the towel around the shower head: Before using the wrench, wrap the rag or towel around the shower head. This protects the surface from scratches.
- Double-check the alignment: Make sure the shower head is straight. An angled head could lead to uneven water flow.
Once attached, your new shower head should be firm but not overly tight. An improperly installed shower head can lead to leaks and reduced efficiency. Take the time to ensure it is attached correctly, as a proper installation will save you trouble in the future.

Testing for Leaks and Water Flow
After attaching your new shower head, it’s vital to test for any leaks. Here’s how to do it effectively:
- Turn on the water supply: Slowly turn on the water and watch the shower head.
- Look for drips: Check around the base where the shower head connects to the arm.
- Check all sides: Inspect from different angles to make sure there are no leaks.
- Listen for hissing: Sometimes, you can hear a leak before you see it.
If you spot a leak, turn off the water and tighten the shower head a bit more. If the problem persists, you may need to reapply Teflon tape and reattach the head.
Once you’re sure there are no leaks, it’s time to assess the water flow:
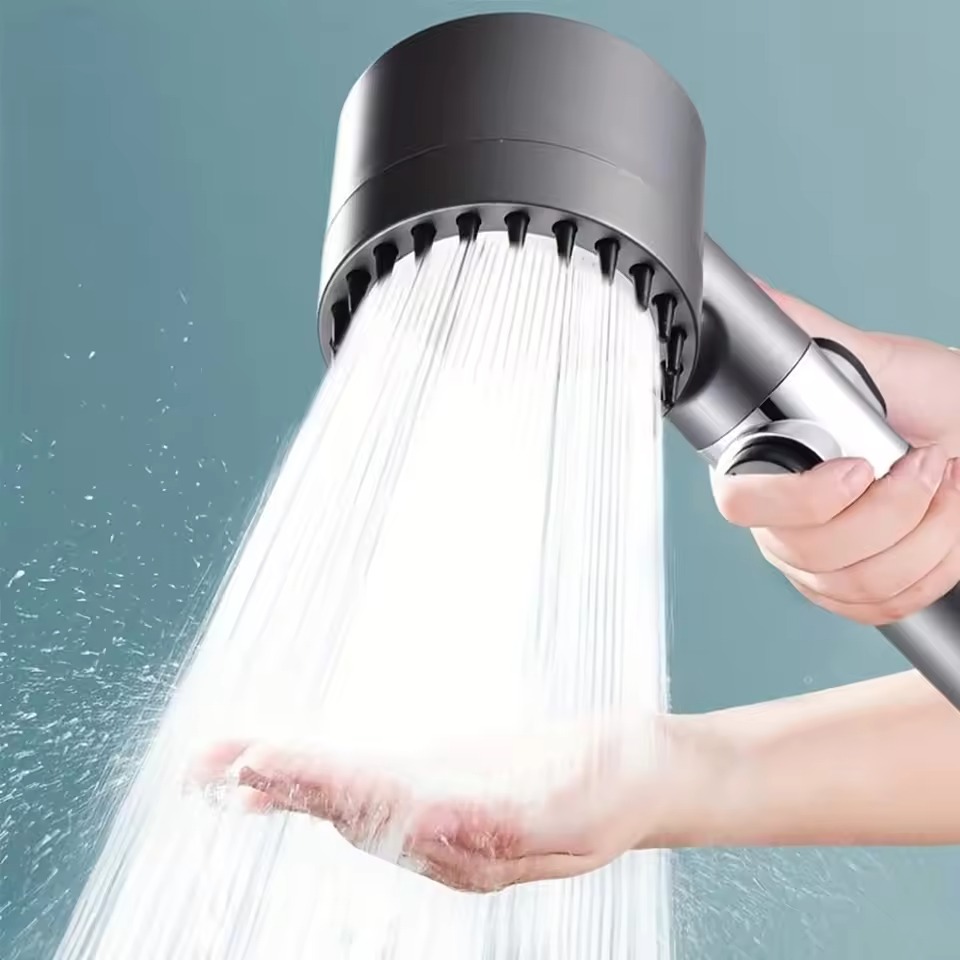
- Observe the spray pattern: Make sure it’s even and consistent.
- Feel the water pressure: It should be strong but not too harsh.
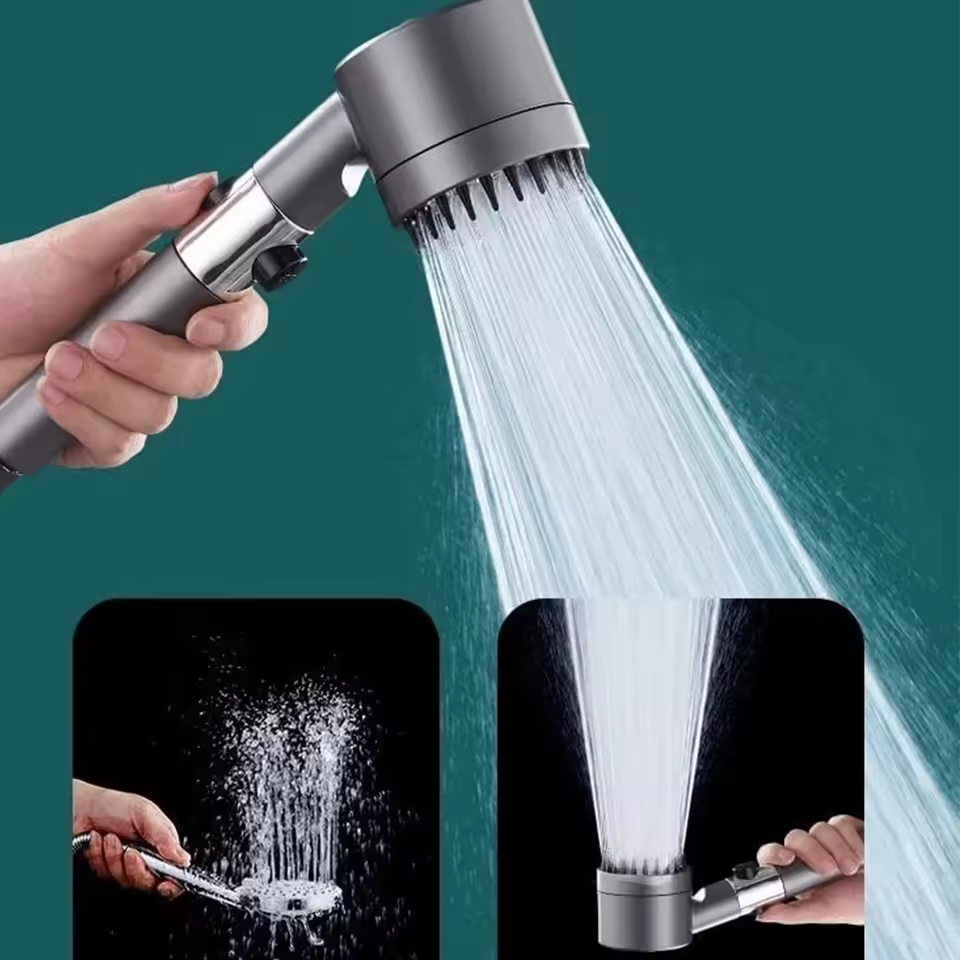
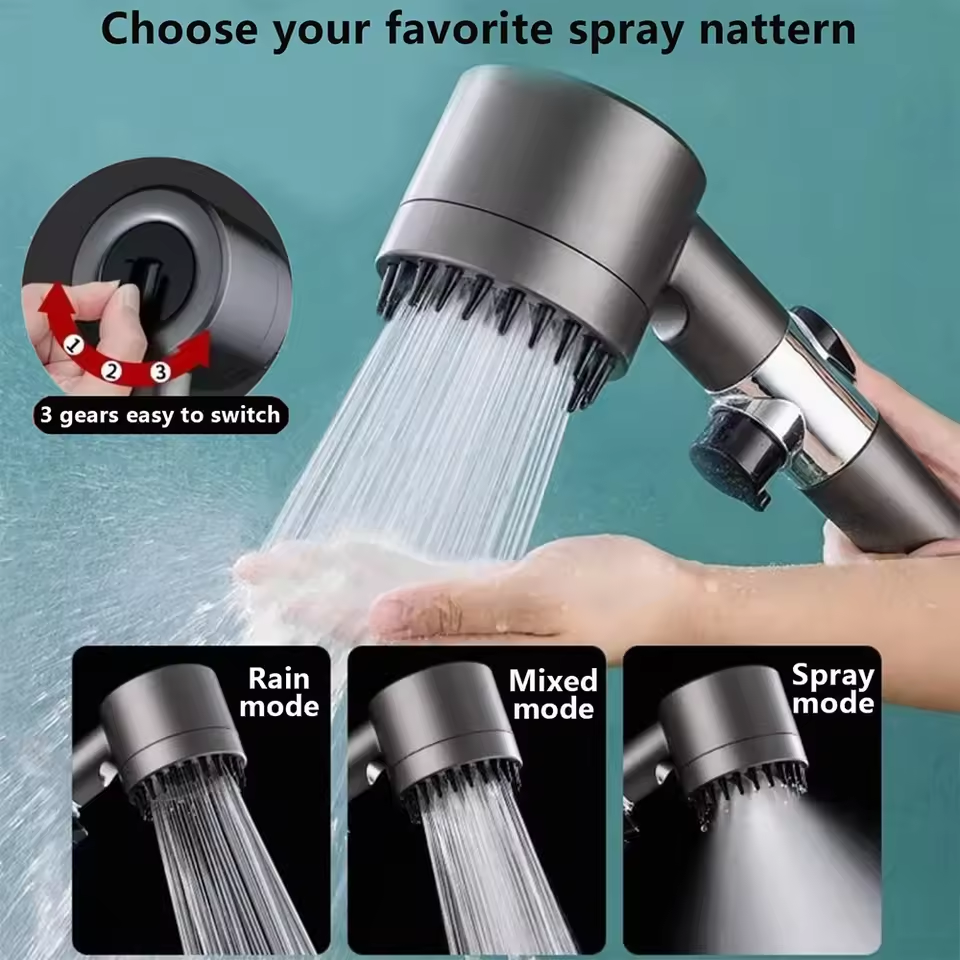
- Adjust settings if available: Experiment with different modes if your shower head has them.
By carefully testing for leaks and water flow, you ensure that your new shower head operates at its best. Regular checks can help maintain good performance over time.
Maintenance Tips for Your New Shower Head
Ensuring your newly installed shower head remains in top condition is key to its longevity. Here are several maintenance tips to keep in mind:
- Regular Cleaning: Every few weeks, clean your shower head. This stops buildup of minerals and grime.
- Inspect for Leaks: Frequently check for drips or leaks at the connection point. Tighten if needed.
- Replace Washers: Over time, washers can wear out. Change them to prevent leaks.
- Use Gentle Products: When cleaning, pick mild cleaners to avoid damage.
- Unclog Nozzles: If water flow slows, use a needle to carefully unclog nozzles.
- Check for Corrosion: Examine the shower head for signs of rust or corrosion. Clean as required.
By following these simple tips, you help ensure that your shower head works well and lasts longer. Stick to a maintenance routine to enjoy uninterrupted, refreshing showers each day.


