Introduction to Shower Head Components
Understanding the various shower head parts is crucial for maintenance and repair. The basic parts include the shower head body, nozzles, flow restrictor, and swivel ball. The shower head body is the main part where water flows out. Nozzles or spray holes direct the water stream. A flow restrictor controls water usage. The swivel ball allows you to adjust the angle of the spray. With this knowledge, you’ll be better equipped to keep your shower in top condition.

Common Types of Shower Heads
When it comes to shower head parts, different types mean different components to consider. Knowing these types helps in understanding which parts may need attention during maintenance. Let’s explore the common types of shower heads:
- Fixed Shower Heads: These are secured to the wall and do not move. Their parts include the head, neck, and flange.
- Handheld Shower Heads: Connected to a hose, they offer flexibility and have the head, hose, and holder as main parts.
- Rain Shower Heads: They provide a gentle rainfall experience and mainly consist of a large, flat head and a connector to the water source.
- Dual Shower Heads: These combine fixed and handheld features, requiring more complex parts like diverter valves.
- Low-Flow Shower Heads: Designed to conserve water, they have flow restrictors as an essential part to manage water usage.
Each type comes with its unique structure and functionalities. When performing maintenance, it is vital to consider the type you have to ensure proper care for each of its components.
Anatomy of a Shower Head
Understanding the anatomy of a shower head is important for proper maintenance and repair. Let’s break down the main components that you will typically find in a shower head.
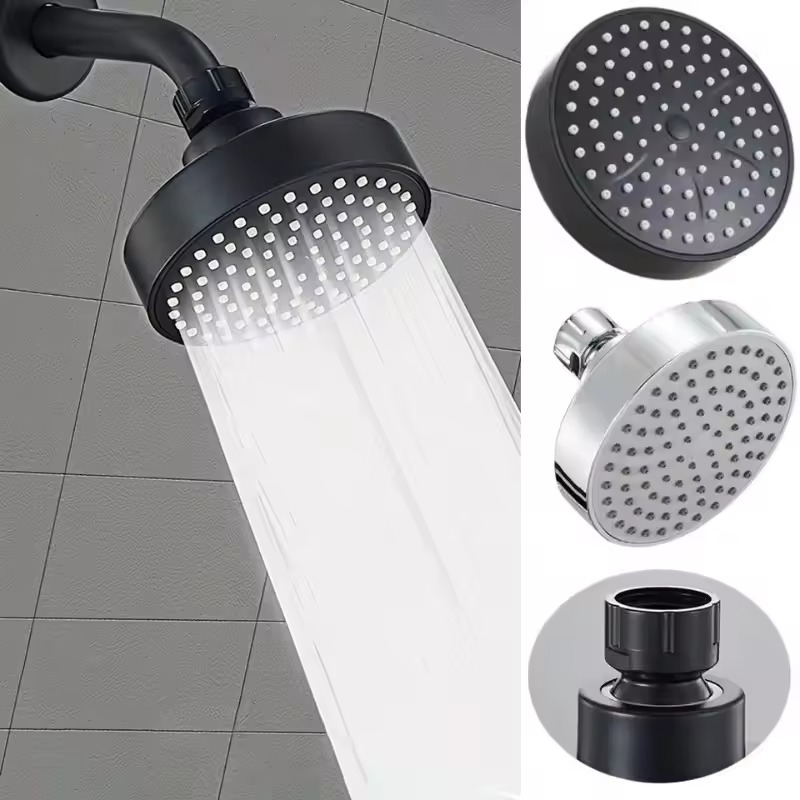
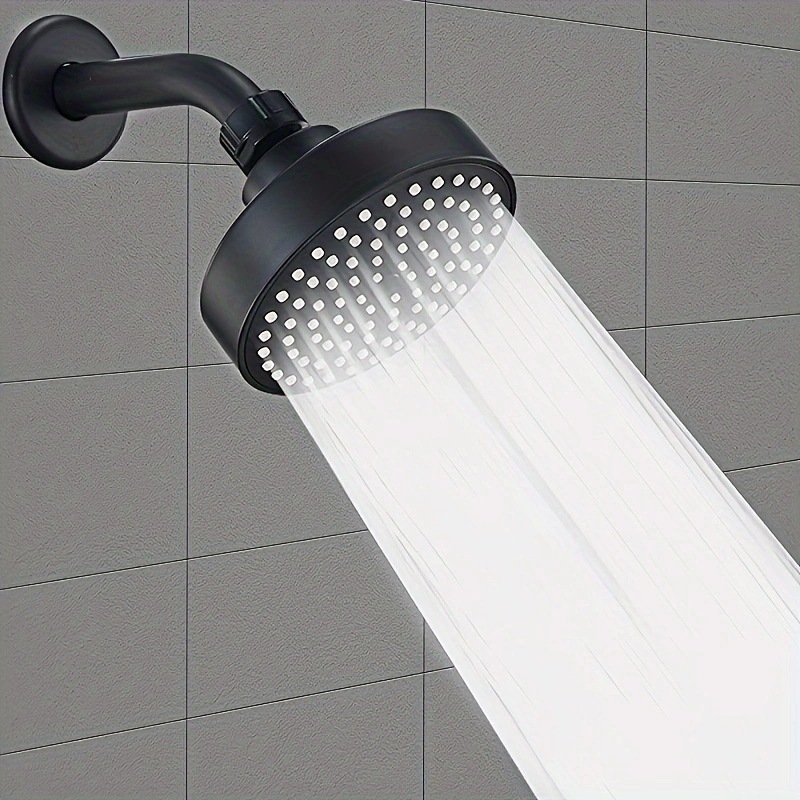
- Shower Head Body: This is the main casing that houses the internal parts. It is usually round or square in design.
- Spray Face: The part of the shower head from which water sprays out. Notably, it has several nozzles or jet outlets.
- Nozzles: Small openings on the spray face that allow water to flow out. They can become clogged over time.
- Swivel Ball: This component allows the shower head to pivot and adjust the direction of the water flow.
- O-Rings and Gaskets: These provide a tight seal between the different parts of the shower head to prevent leaks.
- Flow Restrictor: A part designed to reduce water flow and save on water usage. It can be removed if higher flow is desired.
- Filter Screen: A mesh that traps debris and prevents it from entering the nozzles. Keeping it clean is vital.
- Hose (For handheld units): Connects the handheld shower head to the water supply and offers flexibility.
- Holder or Bracket (For handheld units): Part that holds the handheld unit in place when not in use.
- Diverter Valve (For dual units): This part switches the flow of water between two shower heads.
Knowing these parts allows you to address specific issues during maintenance or when you need to replace any of the shower head components. Keep the keywords ‘shower head parts’ in mind as you familiarize yourself with each element. Regular cleaning and careful handling of these parts can significantly extend the lifespan of your shower head.
Step-by-Step Maintenance Guide
Maintaining your shower requires routine attention to its various parts. To keep your shower functioning well, here is a step-by-step guide to help you with regular maintenance tasks. Follow these steps, and embed the term ‘shower head parts’ seamlessly in your routine.
- Turn Off Water Supply: Always start by shutting off the water to prevent leaks.
- Clean Spray Face and Nozzles: Remove mineral buildup using a brush or vinegar solution.
- Inspect the Swivel Ball: Ensure it moves freely and tighten if necessary.
- Check O-Rings and Gaskets: Look for signs of wear and replace them to avoid leaks.
- Examine Flow Restrictor: If water pressure is low, check this part for clogs or damage.
- Clean the Filter Screen: Clear out debris to maintain a steady water flow.
- Assess the Hose and Holder: For handheld units, ensure the hose has no kinks and the holder is secure.
- Service Diverter Valve: For dual units, make sure the switch is functioning smoothly.
- Reassemble and Test: After each step, put the parts back correctly and test the shower.
With consistent maintenance, you can prolong the life of your shower head parts and enjoy a better shower experience. It also helps spot issues early, saving you from potential costly repairs.
Troubleshooting Common Issues
Even the most reliable shower head parts can develop problems. Knowing how to troubleshoot can save time and money. Here we’ll cover common issues and how to fix them.
- Low Water Pressure: This could be due to a clogged flow restrictor or nozzles. Clean these parts to restore pressure.
- Leaky Shower Head: Often caused by worn out O-rings or gaskets. Replace them to stop the leak.
- Erratic Water Flow: If the water doesn’t flow evenly, check and clear clogged nozzles.
- No Water Coming Out: Make sure the water supply is on. If it is, inspect the hose and filter screen for blockages.
- Shower Head Will Not Stay in Place: Tighten the holder or bracket, or the swivel ball might need attention.
- Spray Patterns Not Working: Multifunction heads may get stuck due to mineral build-up. Soak in vinegar to clean.
- Squeaking When Swiveling: The swivel ball may need lubrication with silicone grease.
If these steps don’t resolve your issue, it may be time to replace specific shower head parts. Regular checks can help identify problems early, making troubleshooting easier.
Replacing Shower Head Parts
When maintenance and repairs fall short, replacing shower head parts becomes necessary. Whether it’s due to wear or damage, it’s important to know how to proceed. Here’s a straightforward guide to help you through the replacement process:
- Identify the Faulty Part: Examine your shower head to find the part needing replacement.
- Purchase the Right Replacement: Shop for the matching part, using your shower model as a guide.
- Gather Your Tools: Typically, you’ll need pliers, a wrench, and Teflon tape.
- Turn Off Water Supply: Shut off the water to avoid spills and accidents.
- Remove the Old Part: Unscrew or detach the broken part with the appropriate tool.
- Apply Teflon Tape: Wrap Teflon tape around the threads to prevent leaks.
- Install the New Part: Carefully fit the new part in place and secure it firmly.
- Turn On Water and Test: Restore the water supply and check for leaks or other issues.
Always refer to the manufacturer’s instructions when replacing shower head parts. The right tools and a careful approach will make the task smoother. If issues persist, consider consulting a professional. Regularly swapping out faulty parts is key to a reliable and enjoyable shower experience.
Enhancing Water Efficiency and Performance
To enhance water efficiency and performance of your shower, consider the following steps:
- Install Water-Saving Shower Head Parts: Swap out your current shower head with a low-flow model designed to use less water. These models include flow restrictors as an essential part.
- Regularly Clean Nozzles: Limescale and debris can reduce performance. Clean nozzles with vinegar or a suitable cleaner to maintain a strong, even water flow.
- Inspect the Flow Restrictor: Over time, the flow restrictor can become clogged. Check and clean this component to ensure optimal performance and conservation of water.
- Choose Quality Parts: Investing in high-quality shower head parts can improve water efficiency and extend the lifespan of your shower system.
- Aerate the Water: Some shower heads have aeration features, mixing air with water. This can give the feeling of high pressure while using less water.
Implementing these tips can lead to both improved performance and reduced water bills. Regular maintenance, using the right parts, and choosing efficient features are key to efficiency. Remember to check shower head parts regularly for the best results.
Conclusion and Maintenance Checklist
In wrapping up our guide on shower head parts, we underscore the significance of regular upkeep for optimal functioning and longevity. From the anatomy of a shower head to detailed maintenance and troubleshooting steps, this guide has equipped you with knowledge to maintain and fix your shower system like a pro. To simplify your routine, here’s a quick maintenance checklist to follow:
- Inspect nozzles for clogs and clean them as necessary.
- Check flow restrictor for blockages and clear them to maintain water pressure.
- Regularly check and replace O-rings and gaskets to prevent leaks.
- Ensure the swivel ball moves freely and lubricate if needed.
- For handheld units, inspect the hose for kinks and ensure the holder is secure.
- For dual showers, service the diverter valve to keep optimal operation.
- After any repairs or maintenance, reassemble and test the shower for proper function.
Keep the phrase ‘shower head parts’ in mind. It’s about recognizing the signs of wear and knowing when a simple cleaning—or a full replacement—is needed. Stay proactive with your shower maintenance, and you’ll not only save money but also enjoy a better shower experience.
Remember, attentive care to the various shower head parts will reward you with efficient and effective showers for years to come. Now, with your shower in top shape, you can bask in the water’s blissful flow, confident in the knowledge that you’ve taken the necessary steps to care for every component.