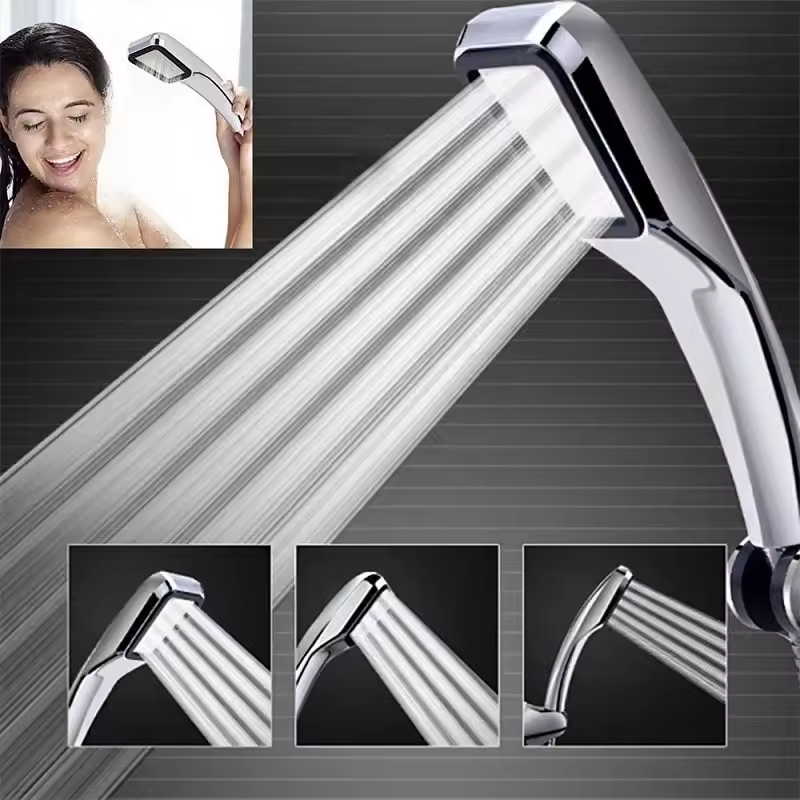
Introduction to Shower Head Maintenance
Maintaining a clean shower head is key for a good bathing experience. Over time, water can leave behind mineral deposits, clogs, and even mold. This can affect water flow and water quality. A well-maintained shower head also saves you money. It prevents the need for early replacement due to neglect.

Cleaning your shower head regularly will ensure a full, even spray. A simple deep clean can make your shower feel like new. You’ll enjoy better water pressure and a healthier shower environment. In the following sections, we’ll discuss signs to watch for, cleaning methods, and maintenance tips. These practices will keep your shower head working at its best. Remember, prevention is better than cure. So keep up with maintenance to avoid extensive cleaning later on.
Signs Your Shower Head Needs Cleaning
Recognizing when your shower head needs a deep clean is crucial. Look for these telltale signs:
- Reduced Water Pressure: A clear indicator that your clean shower head task is overdue is a drop in water pressure. Mineral buildup can block water flow, making your showers less effective.
- Spray Pattern Changes: If water no longer comes out evenly or some holes seem blocked, it’s time to clean. Your shower head should distribute water in a consistent pattern.
- Visible Mineral Deposits: White, green, or brown crusty deposits around the nozzles are signs that minerals from hard water have accumulated. These need removal.
- Mold or Mildew Presence: A musty smell or black spots indicate mold or mildew growth. This can pose health risks and requires immediate attention.
- Water Leakage: Water should flow only through the nozzles. If you see water leaking from other parts of the shower head, a thorough cleaning might be necessary.
- Time Since Last Cleaning: If it’s been months since you last cleaned your shower head, don’t wait for visible signs. Regular cleaning is important for maintenance.
By learning these signs, you can maintain a clean shower head and ensure a pleasant shower experience. Address these issues promptly to avoid the inconvenience of a full-blown clog or a complete shower head replacement later on.
Preparing to Clean Your Shower Head
Before diving into the cleaning process, gather the right tools and materials. Here’s what you’ll need for a thorough cleaning session:
- A plastic bag or container: To hold the cleaning solution and submerge the shower head.
- Rubber bands or twist ties: These will secure the bag or container to the shower head during soaking.
- White vinegar: A natural and effective cleaner for dissolving mineral deposits.
- Clean cloth or sponge: For wiping away any loose debris or residue after soaking.
- Safety glasses: To protect your eyes from splashing vinegar, especially while removing the shower head.
- An old toothbrush: To scrub off stubborn buildup from nozzles.
- A wrench or pliers: These might be needed if you decide to remove the shower head for a more thorough clean.
Turn off the water supply to the shower before you start. This prevents any accidents and ensures a dry work area. Remember to lay down towels to catch any drips or spills. Next, examine your shower head to see if it requires removal for proper cleaning. If you can clean it in place, great! If not, use the wrench to carefully unscrew it. You are now ready to proceed with the chosen cleaning method. By preparing properly, you make the clean shower head task much quicker and more effective.

Method 1: Vinegar Soak for Mineral Deposits
One of the most effective and eco-friendly ways to clean shower head is a vinegar soak. White vinegar is a natural descaler. It efficiently dissolves the stubborn mineral deposits that clog your nozzles. Here’s a step-by-step guide to clean your shower head with vinegar:
- Fill a plastic bag with vinegar: Pour enough white vinegar into a plastic bag to fully submerge the shower head nozzles.
- Secure the bag around the shower head: Use a rubber band or twist ties to attach the bag securely. Ensure that the nozzles are completely immersed in vinegar.
- Wait patiently: Let the shower head soak in the vinegar for at least 30 minutes to overnight. The longer it soaks, the easier the deposits will come off.
- Remove and rinse: Take off the bag and turn on the shower to flush out loosened debris.
- Scrub if needed: Use an old toothbrush for any remaining deposits. Gently scrub the nozzles to clean shower head completely.
- Wipe and dry: Finish by wiping the shower head with a clean cloth or sponge. Now it’s ready for use.
By following this simple method, you’ll remove harmful buildup and restore water flow. Regular vinegar soaks can keep your shower head functioning well and extend its lifespan. Try to do it once a month, or more often if you have hard water.
Method 2: Baking Soda for Deep Cleaning
When vinegar alone doesn’t cut it, baking soda can do the trick. Here’s a clear way to use baking soda to clean your shower head deeply and efficiently:
- Make a baking soda paste: Start by mixing baking soda with water. Aim for a thick paste.
- Apply to the shower head: With a cloth or sponge, coat the shower head with the paste. Pay extra attention to nozzles.
- Leave it on: Let the paste sit for about 15 minutes to an hour. This gives time for the soda to work.
- Rinse off: Wash away the baking soda with water. Use a shower to do this if you can.
- Scrub away residues: An old toothbrush can help remove any leftover grime.
- Run the shower: This will clear out any baking soda still in the nozzles.
This method is good for a clean shower head when vinegar isn’t enough. Baking soda lifts tough grime and makes your shower head shine. Use this method once a month or as needed.
Method 3: Commercial Cleaners for Stubborn Buildup
When natural methods fail to clean shower head fully, turn to commercial cleaners. These products are designed to tackle tough mineral and mold buildup. However, be careful with them. Always follow the instructions on the label. Wear gloves to protect your hands and ensure good ventilation.
Here’s how you can use a commercial cleaner:
- Choose the right cleaner: Pick one that’s safe for your shower head material.
- Apply the cleaner: Spray or apply it directly to the affected areas.
- Let it sit: Wait for the time specified by the cleaner’s instructions.
- Scrub if needed: Use a soft brush to remove stubborn grime.
- Rinse thoroughly: Wash off all cleaner residue with plenty of water.
- Dry and reattach: If you removed the shower head, reattach it after drying.
Commercial cleaners can save time and effort for a clean shower head. Use them when vinegar and baking soda aren’t enough. But remember, they should be the last resort. Always try gentler methods first.
Tips for Preventing Future Clogs and Buildup
To keep your shower head free from pesky clogs and buildup, consider these simple but effective tips:
- Regular Cleaning: Clean your shower head every month. This prevents major buildup.
- Soft Water: If possible, use soft water. It contains fewer minerals that cause clogs.
- Filter Installation: A water filter can reduce the amount of minerals in your water.
- Dry After Use: Wipe the shower head after each use to prevent water spots and buildup.
- Frequent Inspections: Check your shower head often for signs of buildup and take quick action.
These proactive steps will help maintain a clean shower head and enhance its longevity. Regular attention keeps that powerful, even spray every day. Plus, you’ll avoid the need for harsh chemicals or excessive cleaning work down the line. A few minutes spent on prevention can save hours of work later. Embrace these practices and say goodbye to shower head issues.
Conclusion: The Benefits of a Clean Shower Head
Ending your routine with a clean shower head reaps several rewards. You’ll notice the water pressure improve, making for invigorating showers. Cleaner nozzles offer a consistent spray pattern, enhancing your daily experience. Healthwise, you reduce risks associated with mold and mildew. Plus, a well-maintained shower head means less money spent on replacements. Not to forget, the satisfaction of using something shiny and free from grime.
Regular cleaning, as discussed, is simple yet effective. With vinegar, baking soda, or commercial cleaners, you can prevent clogs. Don’t wait for signs of buildup—stay ahead with monthly maintenance. A clean shower head performs better and lasts longer. It’s not just about cleanliness; it’s about the health and efficiency of your shower routine. Embrace the methods we’ve outlined, and enjoy the splash of a well-cared-for shower every day.


