Introduction
Remodeling a shower can transform your bathroom into a luxurious oasis. Whether it’s updating old fixtures, changing the layout, or adding modern features, a shower remodel can increase the functionality and appeal of your space. In this guide, we will walk you through how to remodel a shower, covering everything from planning and design to installation and finishing touches. Let’s dive in!

Understanding Your Needs and Planning the Project
Assessing Your Current Shower Situation
Before you begin the remodel, assess your current shower situation. Take a good look at the existing features. Determine what you like and what you want to change. Is the space too small? Is the layout functional? Check for water damage or plumbing issues. This information is crucial as it will guide your decisions during the remodeling process.
Consider your lifestyle and showering habits. Do you take long showers or prefer quick, efficient ones? Do you need space for more than one person? These preferences will help shape your remodel. For instance, if you enjoy relaxing showers, you might want to add a bench or a rain showerhead. If you often shower with a partner, you might need to create a more spacious setup.
Next, think about your budget. Determine how much you can spend on the remodel. Costs can vary greatly depending on the materials used, labor involved, and the complexity of the project. Spending some time to create a detailed budget will save you headaches later on.
Planning Your Shower Design
After assessing your needs, start designing your new shower. Look for inspiration! Browse home improvement websites, magazines, or visit showrooms. Collect images, colors, and materials that appeal to you. Create a vision board if you like! This will help you visualize your new space.
When it comes to design, think about the function and aesthetics. Choose a layout that suits your needs. Some popular layouts include alcove showers, corner showers, and walk-in showers. Each option has its advantages. Consider how you want to enter the shower. Frameless glass doors can create a modern look, while a curtain may fit a more traditional style.
Selecting the right materials is also important. Think about the tiles, showerheads, and fixtures you want to use. Porcelain, ceramic, and natural stone tiles are popular choices for the walls and floor. Each material has its pros and cons in terms of durability, maintenance, and cost. For example, porcelain is low maintenance, while natural stone may require sealing.
Finally, choose your color scheme. Soft whites and grays create a clean, modern look, while bold colors can make a statement. Select a palette that fits your lifestyle. Ask for samples when possible. This can help you see how colors look in your space under different lighting conditions.

Step 1: Evaluate Your Current Shower Layout
When considering how to remodel a shower, start by evaluating the existing setup. Look at the overall layout, identify issues, and decide if structural changes are required. Check the drainage system, and inspect for any visible signs of damage or inefficiency. This initial assessment guides your remodeling efforts, ensuring functionality and aesthetics align with your vision.
Step 2: Envision the New Design
Envisioning the new design of your shower is crucial. Start by picturing how you want your shower to look and function. Consider different styles, colors, and materials. Do you prefer a modern look or a classic design?
Incorporating Vision with Practicality
It’s important to blend your vision with practical elements. Think about the shower’s size and how it fits into your bathroom. Make sure your design choices work well with plumbing requirements and your daily needs. Also, consider the lighting and ventilation of the area to ensure a functional and comfortable space.
Step 3: Demolish the Old Structure
Preparing for New Installations
Tackling shower demolition requires care and the right tools. For a smooth demolition, follow these tips. First, protect your bathroom by covering floors and nearby fixtures. This prevents damage from debris and dust. Next, turn off the water supply to avoid any accidents. Wear safety gear, such as goggles and gloves, to safeguard against flying tiles and sharp objects.
Start with the removal of fixtures like showerheads and handles. Once these are out, take down existing doors or curtains. Carefully chip away tiles and remove the wall surface, be it drywall or backer board. Use a pry bar and hammer for this task, but work gently to protect underlying plumbing.
Pay attention to the shower pan or tub. Often, it’s best to cut it into pieces for easier removal. During the demolition, keep an eye out for any signs of mold or water damage. If you spot any, address these issues before moving on. Getting rid of the old structure may seem daunting, but it paves the way for fresh installations and an updated shower experience.

Step 4: Choose and Install the Base and Walls
Choosing the right materials for your shower base and walls is crucial. Prioritize durability and maintenance ease when selecting. Popular choices include acrylic, fiberglass, and tile. Each has its pros and cons tailored to different needs.
When installing the base, ensure it’s level to prevent water pooling. This is key for effective drainage. Acrylic and fiberglass bases are quick to install and require minimal upkeep. For those preferring tile, prepare for more complex installation but a customizable look.
For the walls, options vary widely from tile to waterproof panels. Tiling offers a classic look but demands regular maintenance to prevent mold and mildew. Waterproof panels can be a simpler, quicker alternative with many style choices.
During installation, ensure all seams and joints are properly sealed. Use quality adhesives and sealants to prevent water leakage. This step is vital for long-term durability. An experienced contractor can provide insights on the best materials and methods for your specific setup.
By carefully selecting and installing the base and walls, you create a sturdy and appealing shower space that stands the test of time.
Step 5: Tile and Waterproof the Area
Selecting the right tiles can enhance both the look and functionality of your shower. For a long-lasting finish, it?s essential that tiling is done correctly and the area is waterproofed.
Tiling Techniques and Waterproofing Solutions
For an effective tile installation, start with a clean, stable surface. Use a suitable adhesive or thin-set mortar, carefully aligning each tile for an even layout. Employ spacers to maintain consistent gaps for grouting. Keeping tiles level and cuts precise ensures an aesthetically pleasing result. After laying the tiles, wait for the adhesive to dry completely before applying grout.
Waterproofing is just as important as tiling. To prevent water damage, apply a waterproofing membrane over the surface before tiling. This membrane acts as a barrier, stopping water from reaching the substrate. Pay close attention to corners and seams, where leakage is most likely to occur. Use sealants around fixtures and joints for extra protection.
By focusing on these tiling and waterproofing fundamentals, you ensure your newly remodeled shower stands up to daily use, providing a durable and beautiful space to refresh and unwind.
Step 6: Install Amenities and Finishes
Choosing the right amenities and finishes is crucial to add functionality and style to your remodeled shower.
Choosing Fixtures, Faucets, and Finishing Touches
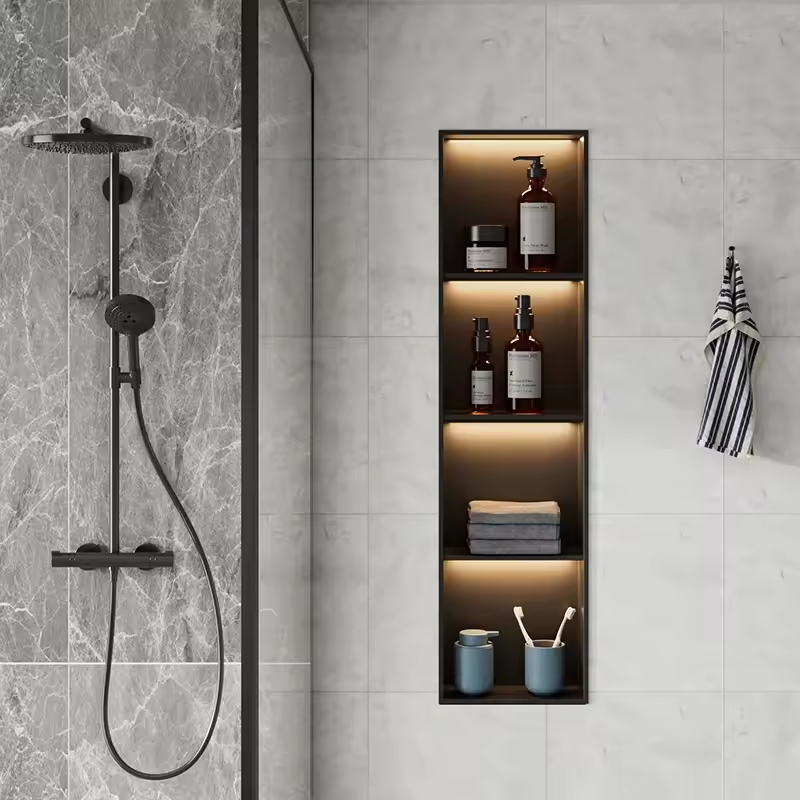
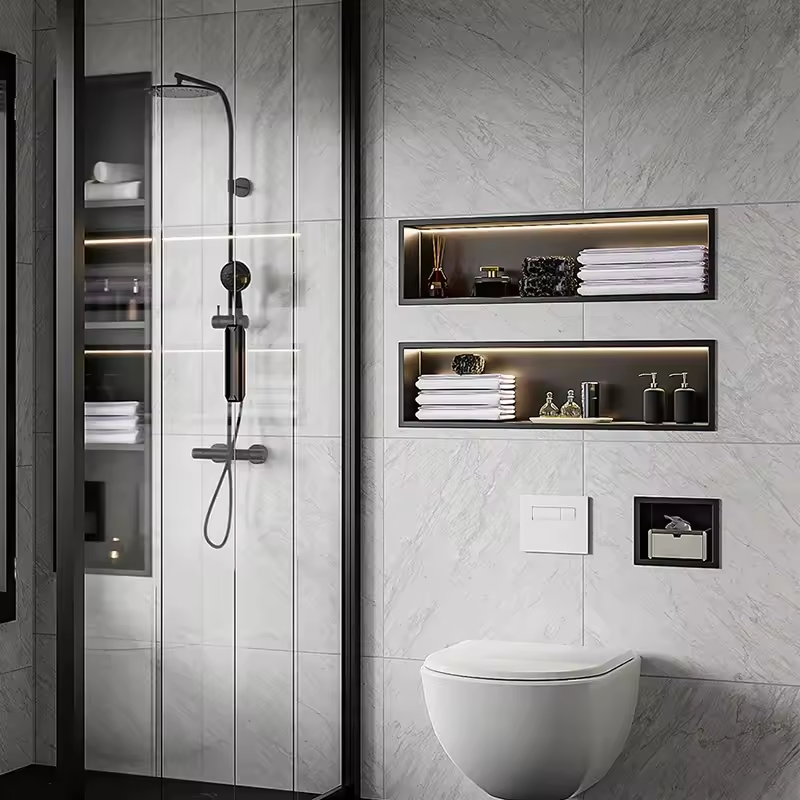
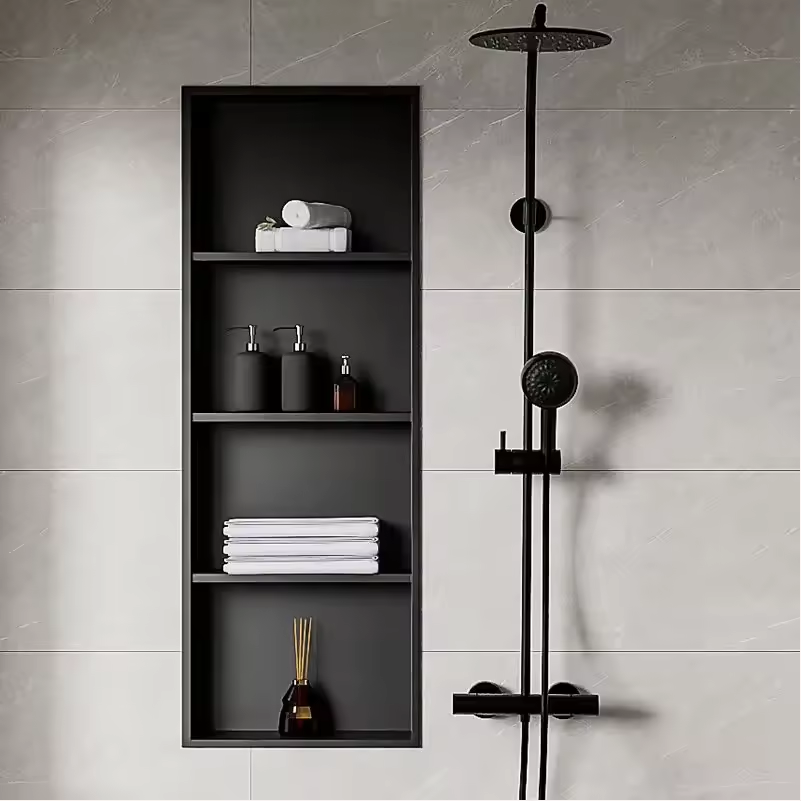
Select quality shower heads and faucets that reflect your style and ensure reliability. Look for water-efficient models to save on utility bills. When selecting handles, towel bars, or shelving, match them with the overall design aesthetics.
Install a sturdy shower door or opt for a stylish curtain, depending on the look and layout of your bathroom. Consider glass doors for a sleek, modern feel or a high-quality curtain for a cost-effective solution.
For added luxury, think about incorporating built-in features such as soap dispensers, benches, or a waterproof speaker system. These contribute to both the functionality and enjoyment of your shower space.
Do not forget the smaller details like robe hooks and waterproof lighting fixtures. They might seem minor but greatly enhance your shower’s convenience and atmosphere.
By focusing on the details and selecting the right finishes, transform your shower into a thoughtfully designed and enjoyable space.
Step 7: Final Steps and Cleanup
After installing your shower’s main features, focus on the final touches.
Painting, Sealing, and Accessorizing the Space
Apply paint to the bathroom walls to match your new shower. Choose a moisture-resistant type to prevent peeling and mold growth.
Seal all grout lines, edges, and fixtures with silicone sealant to block moisture. Let the sealant dry as per the instructions.
Accessorize with items that fit your style and needs. Add mats, shelves, and hooks for towels and robes.
Ensure the area is clean and free of construction debris. Dispose of waste responsibly, keeping recyclables separate.
Enjoy your refreshed shower, now complete with personal touches and a clean, polished look.
Conclusion
In conclusion, remodeling a shower can be a rewarding project. By assessing your needs, planning carefully, and paying attention to detail during installation, you can create a functional and beautiful shower space. Personalizing your new shower with decor and accessories will make it a place you love to spend time in. Enjoy your newly remodeled shower and the luxurious experience it brings to your daily routine!


