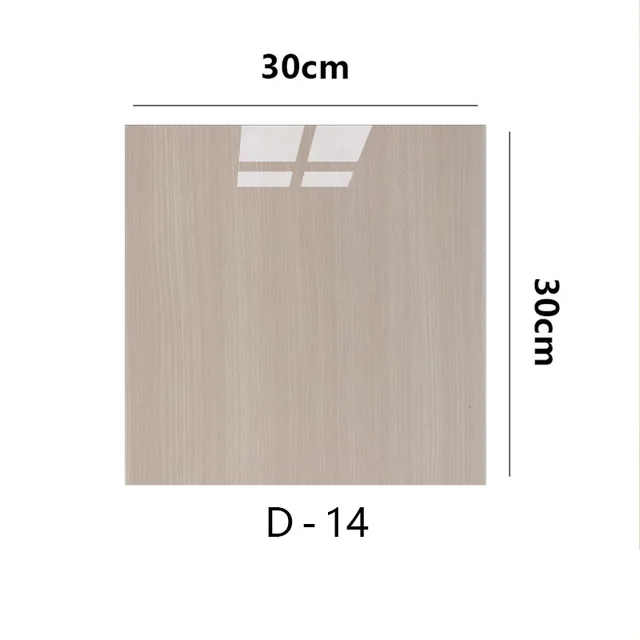
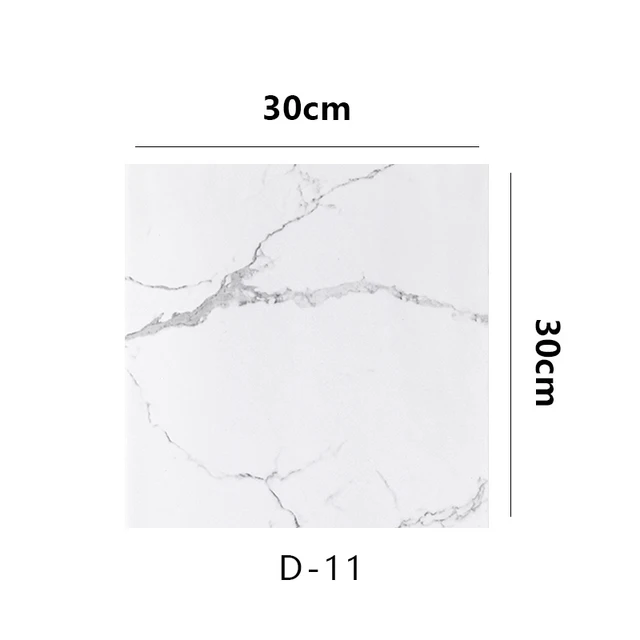
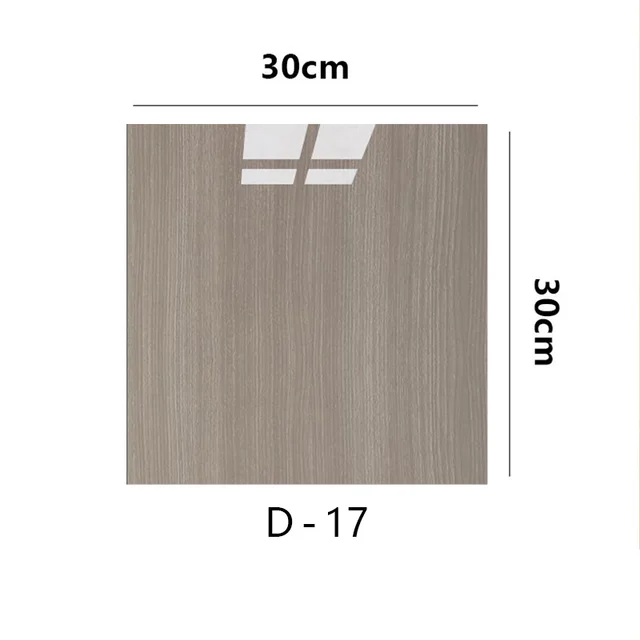
Introduction to Shower Wall Panels
How to install shower wall panels? Shower wall panels are a modern alternative to tiles. They offer a seamless finish and come in various styles. Unlike tiles, they do not require grouting. This makes them easier to clean and maintain over time. Whether you’re a DIY enthusiast or a professional, installing shower wall panels is a straightforward task that can transform your bathroom.

Wall panels are made from waterproof materials such as PVC, acrylic, or laminate. They are designed to withstand moisture and steam from showers. This helps prevent mould and dampness in your bathroom. When choosing shower wall panels, consider the size of your bathroom and the look you want to achieve. With the right tools and instructions, anyone can install these panels. Let’s begin by covering the tools and materials needed for installation.
Tools and Materials Needed
Before you jump into installing your new shower wall panels, gathering the right tools and materials is essential to ensure a seamless installation process. Setting up with the necessary items will make the task smoother and help you achieve that professionally done appearance. Here’s what you need to get started on how to install shower wall panels:
- Measuring Tape: You can’t do without this for precise measurements.
- Spirit Level: Essential for ensuring everything is perfectly aligned.
- Fine-tooth Saw or Jigsaw: For cutting the panels to the correct size.
- Drill: Sometimes required for fixtures or if you need to make holes for pipes.
- Silicone Sealant: A must-have to waterproof the edges and join the panels together.
- Adhesive: Specifically designed for shower wall panels to ensure a strong bond.
- Pencil: For marking where to cut or drill.
- Safety Equipment: Safety glasses and gloves to protect yourself during the cutting and installation process.
- Cleanup Cloth: To wipe away excess adhesive or sealant for a clean finish.
Having all these items will put you on the path to a successful installation of your shower wall panels. It’s advisable to ensure you have more than enough sealant and adhesive before starting, as running short can cause unnecessary delays. Now you’re prepared with the tools and materials, the next step is to prep your bathroom for the installation.
Preparing the Bathroom for Installation
Before you start installing shower wall panels, preparing your bathroom is essential for a smooth process. Here’s how to get your space ready:
- Clear the Area: Remove all bathroom items. This includes shower accessories and any mounted fixtures.
- Clean the Walls: Wipe them down to remove dust and debris. This helps adhesives stick better.
- Repair Damages: Fix any wall damages like cracks or holes. Smooth surfaces promote better adhesion.
- Remove Old Fixtures: Take off any hardware that will interfere with panel placement.
- Check Surfaces: Ensure walls are even. Use a level to confirm.
- Dry Layout: Mock up panel placement to foresee any issues.
Following these steps will set a strong foundation for a successful installation. With a clean, flat surface, you’ll reduce the risk of issues during the process. Next, we’ll measure and cut the wall panels to size.
Measuring and Cutting the Wall Panels
To start with the actual installation, you first need to measure and cut your shower wall panels accurately. Here’s a breakdown of the process to guide you:
- Take Precise Measurements: Using your measuring tape, record the height and width of your shower area. Check these figures at different points for accuracy.
- Mark for Cutting: Lay the panels flat and use a pencil to mark the cutting lines. Lines should be straight and clear.
- Secure the Panel: Before cutting, ensure the panel is secure. This prevents accidents and uneven cuts.
- Cutting the Panels: With your fine-tooth saw or jigsaw, carefully cut the panels. Follow the marks you made earlier. Remember to wear safety equipment while doing this.
- Dry Fitting: Once cut, hold the panel up against the wall to check the fit. It’s better to correct any mistakes now before applying adhesive.
- Repeat for Other Panels: Perform the same steps for all the panels needed for your shower area.
Correct measurement and cutting are vital for a clean installation. Don’t rush through it – taking your time here can save you from potential issues later on.

Installing Internal Corner Trim
Installing internal corner trim is a crucial step in making your shower wall panels look neat and professional. Follow these easy steps to fit the corner trim properly:
- Cut to Size: Measure the height of your shower wall. Take your fine-tooth saw and cut the trim to match this measurement.
- Check Fit: Hold the cut corner trim against the wall to ensure it fits snugly from top to bottom.
- Apply Adhesive: Run a bead of silicone adhesive along the back of the trim where it will contact the wall.
- Fix in Place: Carefully place the trim into the corner, pressing firmly to secure the adhesive.
- Secure Temporarily: Use masking tape to hold the trim while the adhesive sets. Remove it once dry.
By following these steps, you’ll set a solid foundation for the rest of your panel installation. It will prevent water from entering the joints and give a professional finished look to your shower.
Fitting the Wall Panels onto the Wall
After measuring and cutting your shower wall panels, the next step is to fit them onto the wall. This process is straightforward and can dramatically change the look of your bathroom. Here’s what to do:
- Apply Adhesive: Begin by applying a generous bead of panel adhesive on the wall, following the materials’ guidelines. This secures panels in place.
- Position the Panel: Carefully align the panel’s edge with the corner trim you’ve installed. Press firmly on the panel to adhere it to the wall.
- Smooth Out Air Pockets: Run your hand along the panel, pressing out any air that’s trapped behind. This ensures a tight bond and smooth surface.
- Check Alignment: Use a spirit level to check the panel is straight. Adjust as necessary before the adhesive dries.
- Seal Edges: Apply a thin line of silicone sealant along the edges where the panel meets the trim. This keeps water out.
- Install Remaining Panels: Follow the same steps for each panel, ensuring tight joins and a continuous look.
- Clean as You Go: Wipe away any excess adhesive or sealant with a damp cloth for a neat finish.
Fitting your panels correctly is key to a great-looking bathroom that’s also watertight. Be sure to let the adhesive and sealant dry according to the product instructions before using the shower. This will help avoid any moisture damage.
Applying End Cap Trim and Sealing
Properly applying end cap trim and sealing is essential for waterproofing your shower wall panels. Follow these instructions to protect against water damage:
- Measure and Cut Trim: Measure the height of your wall and cut the end cap trim to fit.
- Apply Adhesive: Spread a bead of adhesive on the back of the trim where it meets the wall.
- Press into Place: Align the trim with the edge of the panel and press firmly.
- Seal the Edges: Use silicone sealant along the edges of the trim for a watertight seal.
After you have installed your end cap trim and sealed the edges, wait for the adhesive and sealant to fully cure before using the shower. This is critical to avoid any water seepage.
Properly installing end cap trims and sealing not only helps prevent water damage but also gives your installation a neat, finished look. Be patient and give the sealant time to dry completely for the best results.
Maintaining Your New Shower Wall Panels
After installing your shower wall panels, maintaining them is key for longevity. Here’s how to keep them looking great:
Cleaning Regularly
Clean your panels routinely with mild soap and warm water. This helps prevent soap scum and mineral deposits.
Avoid Harsh Chemicals
Don’t use abrasive cleaners or harsh chemicals that can damage the panel surface.

Quick Wipe Downs
After showering, quickly wipe down panels. This can minimize water spots and maintain shine.
Check the Sealant
Inspect silicone sealant regularly for any gaps or cracks. Promptly reseal to keep water out.
Gentle Cleaning Tools
Use soft cloths or sponges to clean. Avoid scourers or rough brushes that scratch.
Following these tips will ensure your shower wall panels remain clean and in good condition.
Conclusion and Final Thoughts
Completing the installation of shower wall panels brings a fresh and modern look to your bathroom. The stepwise approach helps ensure a watertight fit. It’s vital to measure twice, cut once and apply the trim and sealant with care. Keeping maintenance in mind will keep your new panels shining and protect them from water damage for years. With this guide, the process of how to install shower wall panels has hopefully become clear and manageable. Patience and attention to detail during installation will reward you with a bathroom that stands the test of time. Now, step back and appreciate the fruits of your labor. Your bathroom transformation is complete, thanks to your efforts and this handy guide.


