Introduction to Shower Door Types
Choosing the right type of shower door can enhance your bathroom’s functionality and style. So how to install glass shower door? Understanding the differences between the various door types will help guide your selection based on your specific needs and preferences.

Framed Shower Doors
Framed shower doors are a classic and economical option, suitable for many bathrooms. They feature a sturdy metal frame that encloses the glass panels, ensuring stability and reducing the risk of leaks. This type, which uses a seal around the glass, is relatively simple to install and is often recommended for those attempting a DIY project for the first time.
Frameless Shower Doors
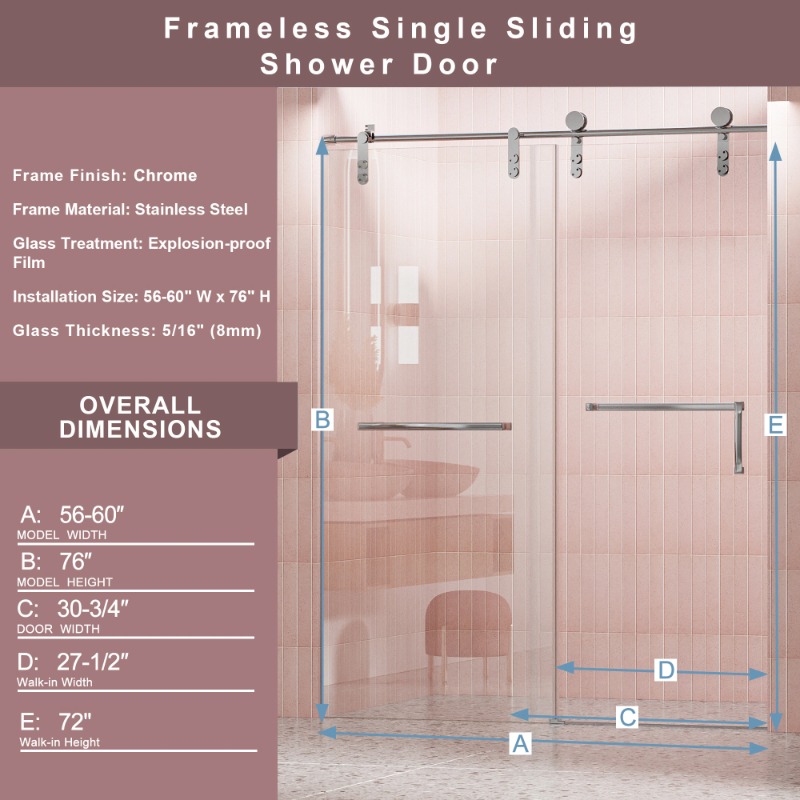
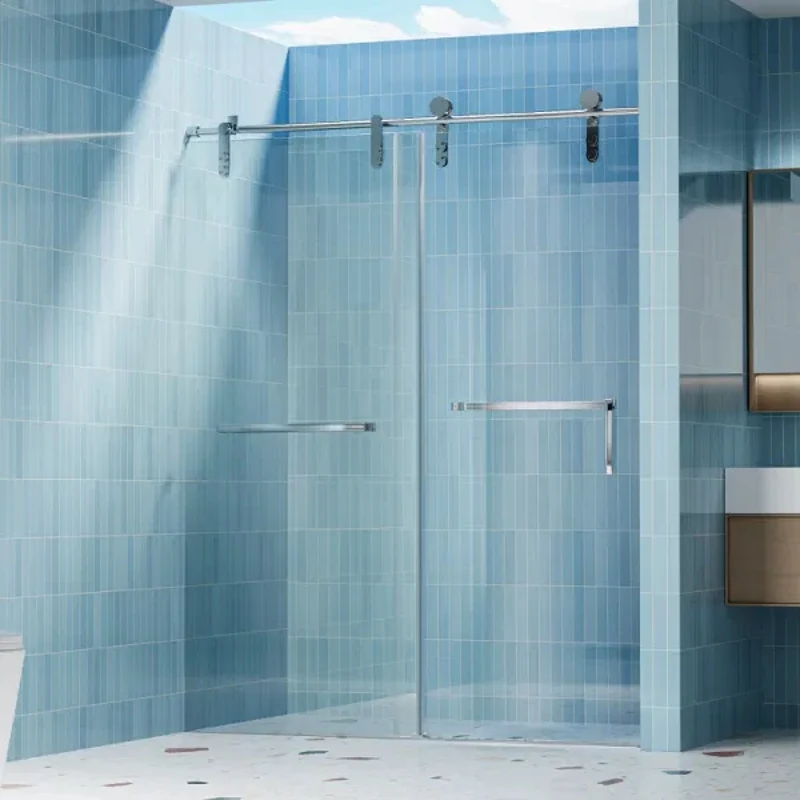
For a more contemporary look, consider frameless shower doors. These doors provide a clean, minimalistic aesthetic that can make your bathroom appear larger and more open. They are constructed from thicker glass since they lack the structural support of a frame. Installation is more challenging, requiring precise alignment and secure attachment to prevent movement and maintain functionality.
Sliding Shower Doors
Sliding shower doors, also known as bypass doors, are perfect for smaller bathrooms with limited space. These doors operate on a track, sliding past each other, which eliminates the need for outward space that swinging doors require. They can be both framed and frameless, offering versatility across various bathroom designs and sizes.
Tools and Materials Needed
Before diving into the installation of a glass shower door, gathering the right tools and materials is critical. This section will outline what you’ll need to ensure a smooth installation process.
Essential Tools List
To install a glass shower door, you must have specific tools. Here is what you’ll need:
- Tape Measure: Essential for accurate measurement of the shower opening.
- Level: Ensures everything is perfectly vertical or horizontal.
- Drill: Necessary for making holes needed for mounting.
- Masonry Bit: Used with the drill for masonry walls.
- Hacksaw: For cutting the base track to size.
- Screwdriver Set: Both flathead and Phillips heads.
- Caulking Gun: For applying silicone caulk.
- Utility Knife: For cutting and adjusting materials.
- Hammer & Plastic Mallet: Useful for fitting parts gently without damage.
- Safety Glasses and Work Gloves: Safety first to protect your eyes and hands.
Required Materials
Here’s what materials you will need in addition to your basic tools:
- Shower Door Kit: Usually includes the door, its frame, and all necessary hardware.
- Mildew-Resistant Silicone Caulk: To seal joints and prevent water leakage.
- Wall Anchors and Stainless Steel Screws: For securing door components to the wall.
- Post-installation Cleaning Supplies: For cleaning up after the installation.
By ensuring that you have all these tools and materials at hand, you can efficiently address the installation process without unnecessary interruptions. Gathering these items beforehand will significantly smooth the path forward in upgrading your bath space with a new glass shower door.

Preparing for Installation
Before launching into the main installation process for your glass shower door, proper preparation is crucial. Ensuring accurate measurements and verifying that your installation surface is even can save considerable time and prevent issues during and after the installation.
Measuring the Shower Opening
Begin by measuring the width of the shower opening in three key places: the bottom (threshold), middle, and top. Use the smallest of these measurements when selecting your new shower door, as it ensures the door will fit snugly and operate smoothly. Additionally, measure from the door’s pivot point to any nearby fixtures to confirm that the door can swing open without hindrance.
Checking Wall Plumbness
Use a level to check if your shower walls are perfectly vertical. If a wall is more than half an inch out of plumb over a height of 5 feet, installation adjustments, such as using a filler strip, may be necessary. This check is vital as it ensures the door functions correctly and maintains a watertight seal when closed.
Step-by-Step Installation Process
Installing a glass shower door can be a rewarding DIY project. Follow these clear steps to ensure a stable and professional-looking installation.
Installing the Base Track
First, measure your shower threshold and cut the base track to fit with a hacksaw. Then, smooth any rough edges with a file. Next, place the track on the threshold, marking with a pencil for accurate placement. Optionally, apply silicone caulk under the track for a watertight seal before securing it, following manufacturer instructions.
Mounting the Side Jambs
For the side frames of the door, start with the hinge-side jamb. Fit the lower end into the base track, and ensure it’s vertical with a level. Mark the drill spots through the jamb, drill holes, and insert wall anchors. Secure the jamb with screws. Repeat for the strike-side jamb, making sure to align properly with the door.
Hanging the Shower Door
Carefully lift the door, positioning the hinge rail to fit into the jamb. Check the opposite side with a level and adjust the hinge rail for plumb. Secure the door by drilling pilot holes and attaching with screws. Getting help for this part is wise to avoid damaging the door.
Installing Additional Components
Measure and cut the header to fit at the top of the enclosure for added stability. Then attach the drip rail to the bottom of the door, with the vinyl sweep inserted to direct water back into the shower. These additional components are essential for a functional shower door setup.
Shower Door Sealing and Finishing Touches
Sealing your glass shower door correctly is crucial. This section reviews how to seal the door and apply finishing touches for a complete installation.
Applying Silicone Caulk
Ensure a waterproof seal by applying clear, mildew-resistant silicone caulk. Start by running a bead of caulk along the inside and outside edges of the base track. Apply it to the inside edges of both side jambs too. Smooth the bead with your finger to achieve an even finish.
Attaching the Drip Rail
Fix the drip rail to the bottom of the door. This rail guides water back into the shower. Cut the drip rail to match the door width using a hacksaw. Smooth the ends with a file. After inserting the vinyl sweep into the rail’s groove, crimp the ends to keep it in place. Finally, attach the drip rail with a slight tilt towards the hinge side for effective water drainage.
Installing Door Handles
Finish by attaching the door handles provided in your shower door kit. Align the external handle with the pre-drilled holes on the door frame. Attach the interior handle and secure it by tightening any set screws. This ensures the handles are firmly fixed and operational.
Troubleshooting Common Issues
When installing a glass shower door, you might encounter some challenges. Here’s how to address them.
Dealing with Uneven Walls
If your shower walls aren’t exactly straight, use shims behind the jambs for a level surface. For extensive issues, a full-length filler strip might be necessary to ensure a flat, stable mounting area for your door frame.
Fixing Leaks and Gaps
After installing your shower door, conduct a water test to identify leaks. If water escapes, reapply silicone caulk around the base track and jambs. Adjust the door’s alignment or add sweeps or weatherstripping for any gaps between the door and frame.
Cost Considerations
When planning to install a glass shower door, budgeting is essential. Several factors will influence your total cost.
Factors Affecting Cost
Several elements can affect how much you spend. These include:
- Door Type: Framed, frameless, or sliding doors vary in price.
- Glass Quality: Thicker and treated glass may cost more.
- Opening Size: Larger showers need bigger doors, increasing the price.
- Custom Features: Special designs or features add to the cost.
- Installation Complexity: Odd-shaped showers can hike up installation prices.
Calculating these factors will give you a better estimate of the project budget.

DIY vs. Professional Installation Options
Deciding between DIY and hiring a pro is a big choice. Here’s what to consider:
- DIY: Saves labor costs; good for those with handy skills.
- Professional: Offers expertise and often a warranty; adds to the cost.
Think about your skills, the time you can commit, and the complexity of the job when deciding.


