Introduction
Installing a shower can seem like a daunting task, but it’s a manageable DIY project with the right preparation. Proper installation not only enhances the bathroom’s look but also ensures that everything functions well. In this guide, we will take you through the process step by step, covering how to install shower.

Understanding Shower Options
Before you dive into installation, understanding your shower options is crucial. Showers come in various styles, sizes, and configurations. You may choose between a shower stall, a corner shower, or even a bathtub-shower combo. Consider your space and personal preferences. Measure the area where you want to install the shower. Determine if you want a built-in shower or a prefabricated stall. Both options have their pros and cons. Built-in showers allow for greater customization, while prefabricated ones can save time and hassle during installation.
Keep in mind that plumbing is a central concern. If you’re moving existing plumbing, you may need to consult a professional. However, if you plan to keep the current plumbing layout, the installation becomes much simpler. After understanding your options, make a final decision on the design and type of shower you want to install.
Required Tools and Materials
Once you finalize your shower design, gather the necessary tools and materials. You’ll need a few basic tools: a tape measure, level, drill, and various hand tools like a wrench, hammer, and pliers. Make sure you have safety gear, such as goggles and gloves. Safety first!
The materials you will need depend on the type of shower you choose. For a shower stall, you will typically need the stall itself, showerhead, faucet, and plumbing fixtures. Make sure to purchase quality materials to avoid future problems. Check if you need a new shower valve and water supply lines.
Don’t forget about the finishing materials, like tiles or wall panels if you’re going for a built-in option. You may also need cement backer board, waterproofing membrane, silicone caulking, and tile adhesive. List everything you need and shop around for good deals. Doing this research will save you both time and money.
Preparing the Installation Area
After gathering tools and materials, it’s time to prepare the installation area. First, turn off the water supply to the bathroom. This will prevent any surprises during the installation process. If you have an existing shower, you will need to remove it. Use your tools to carefully detach the old plumbing fixtures.
Next, inspect the area for any signs of damage, like mold or rot. If you find significant issues, consider fixing them before proceeding further. You don’t want water issues after your new shower is in place. Once everything checks out, clean the area thoroughly. Remove any debris, dust, and leftover materials from the old shower.
If you are building a custom shower, the next step involves framing. Use a level to ensure everything is straight and even. Remember, a well-framed shower will make the rest of the installation smoother. Additionally, ensure the subfloor is sturdy. You may need to add plywood or other materials to strengthen it. Afterward, you can proceed to install the cement backer board or other wall materials.

Installing Plumbing Fixtures
With the area prepped, it’s time to focus on the plumbing. Start by installing the shower valve according to the manufacturer’s instructions. Position it at a comfortable height for users. With the valve in place, connect the water supply lines. Make sure everything is tightened properly to prevent leaks. Use Teflon tape on threaded connections for better sealing.
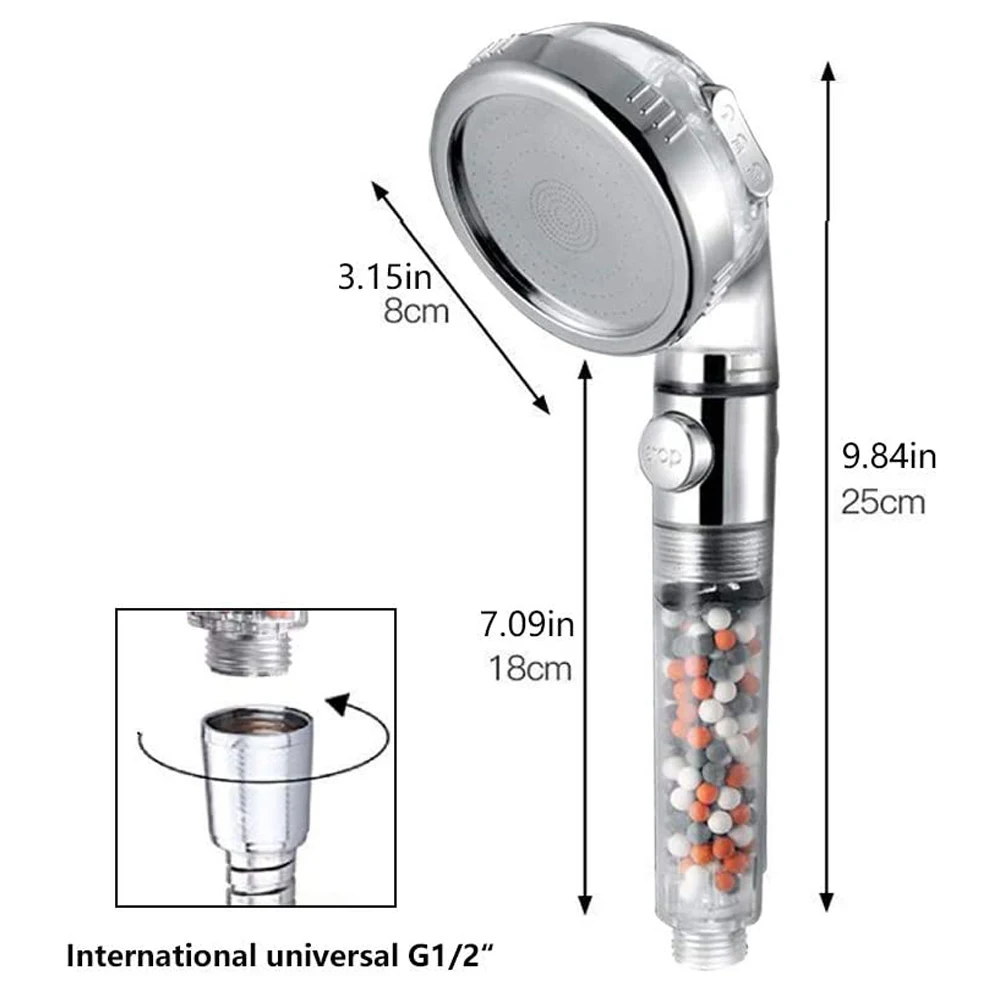
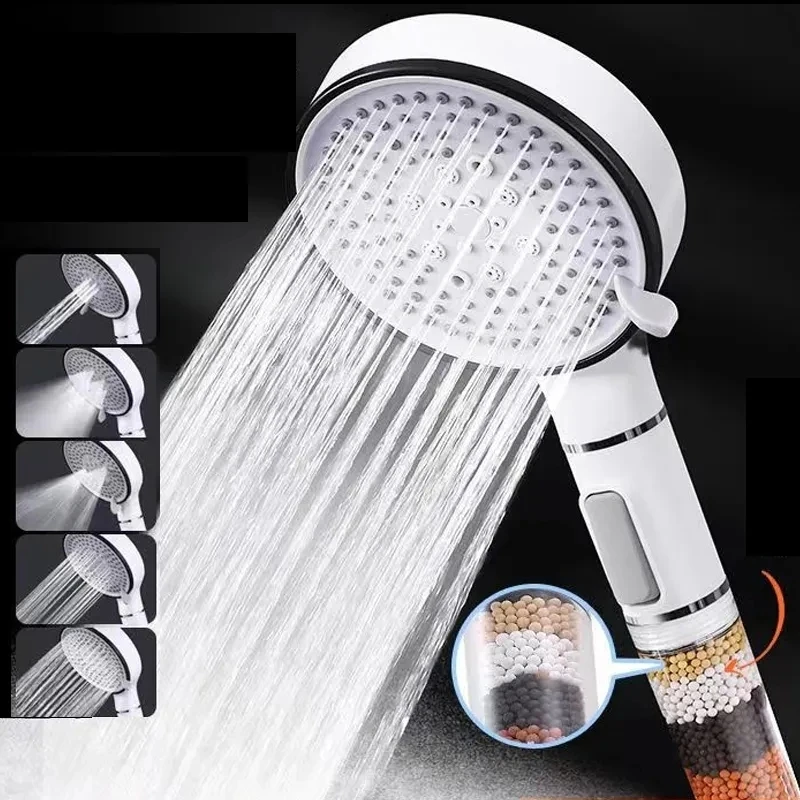
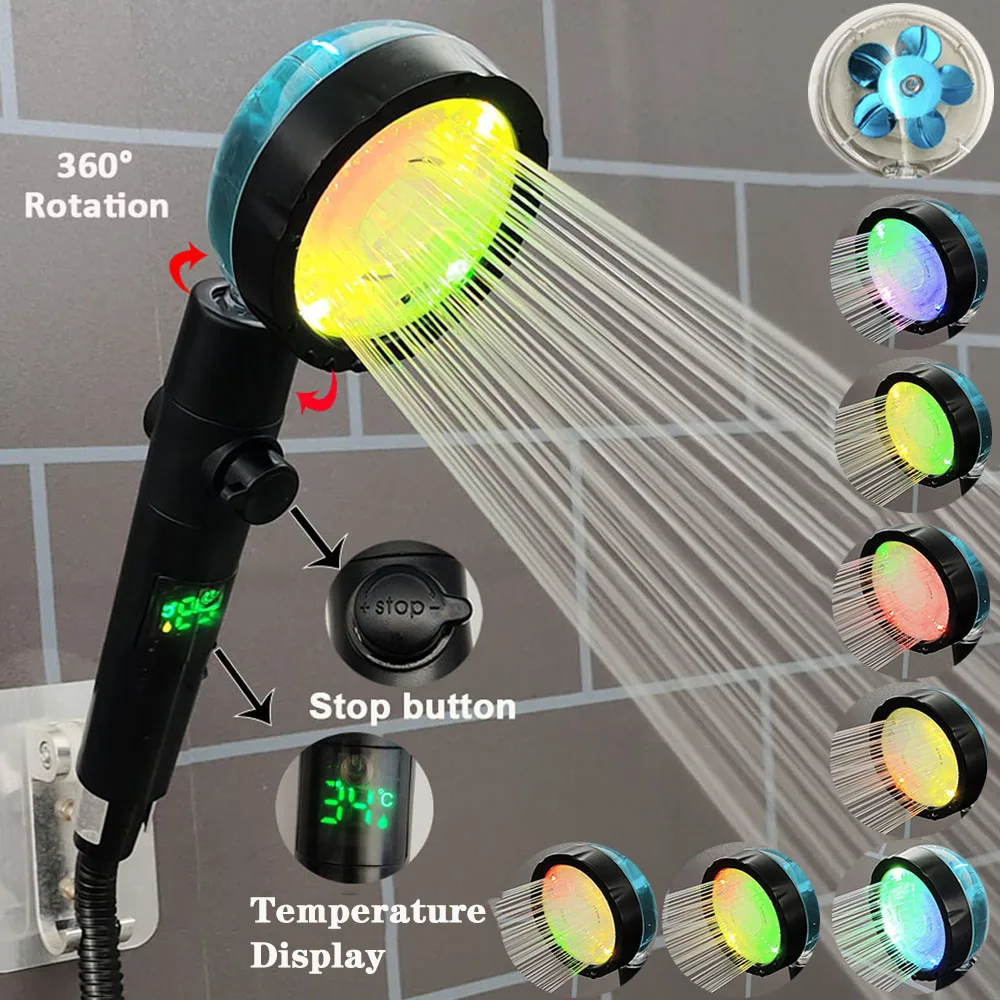
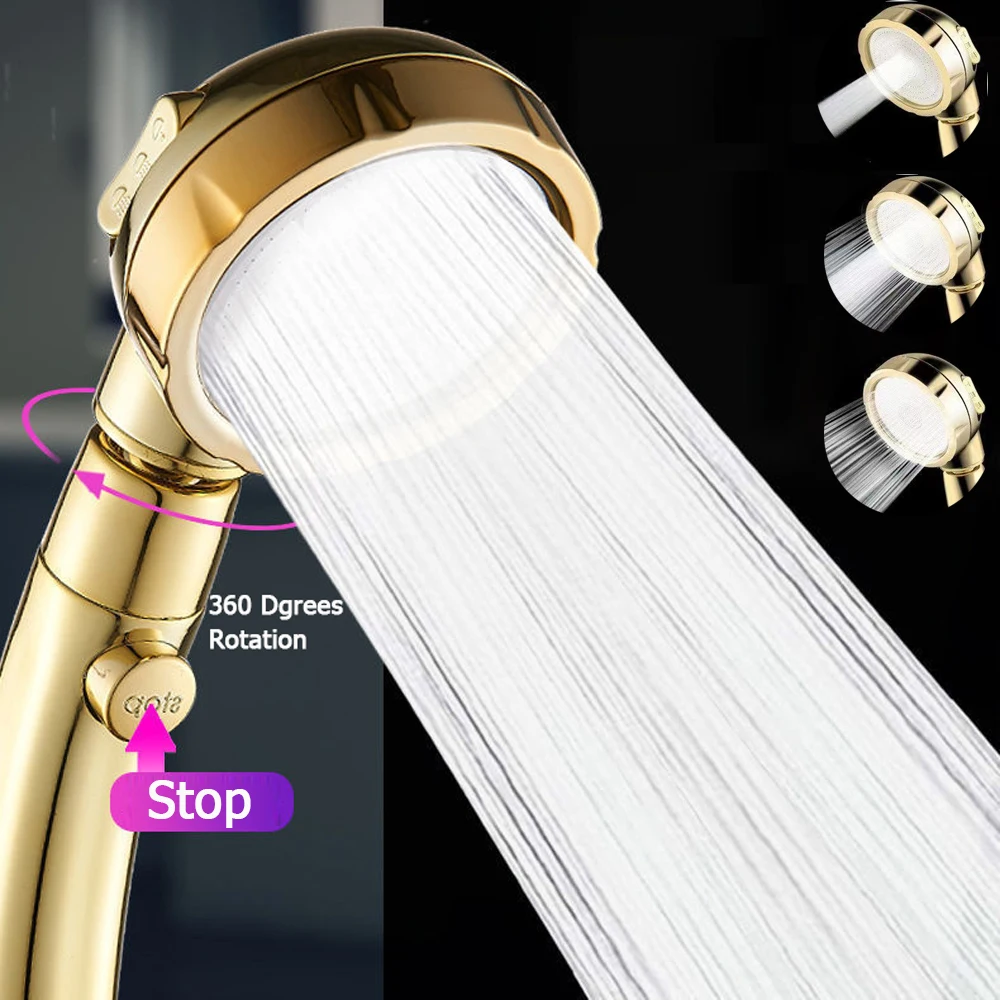
Next, attach the showerhead. It usually screws onto the arm you install from the wall. However, ensure the arm is securely in place. Test all plumbing connections before sealing them up. Turn the water supply back on and check for leaks. If everything looks good, proceed to install the remaining fixtures, like the handle or knobs.
While you’re doing this, keep an eye on water pressure as well. Low pressure can indicate a plumbing problem that needs fixing. Once all plumbing fixtures are installed and leak-free, you can move to the next stage.
Setting Up the Shower Base
A shower base is necessary for your shower to function correctly. It collects and drains water, preventing it from spreading across your bathroom floor. If you’ve chosen a prefabricated stall, this step will be straightforward. Follow the manufacturer’s instructions to install the shower base. Make sure it’s level before securing it in place.
For custom-built showers, you must create a sloped base. Use a mixture of mortar to create a slope towards the drain. This slope is vital for drainage and will prevent standing water. Once the base is sloped and dry, you can apply a waterproofing membrane. This membrane will protect the underlying areas from water damage.
Do not rush this step. Proper installation of the shower base will save you headaches in the future. Allow the mortar and waterproofing membrane to cure as required. Follow the manufacturer’s guidelines for drying times. Only proceed to the next step once everything is fully dry and set.

Installing Wall Panels or Tiles
After the shower base is dried, it’s time to install wall panels or tiles. If you are using wall panels, follow the manufacturer’s instructions closely. Cut the panels to size and attach them using adhesive or screws. Make sure there are no gaps for water to leak through.
For tiles, start by marking a level line around the shower walls. This will guide you in laying the first row of tiles. Apply tile adhesive to the walls and press each tile firmly into place. Use spacers to ensure even gaps between the tiles.
Continue this process row by row until you reach the top of the shower walls. Use a tile cutter for any corners or tricky spaces. Once all tiles are installed, let the adhesive cure for the time specified by the manufacturer.
After the adhesive is dry, grout the tiles. Apply grout to the gaps, and wipe off excess with a damp sponge. This step may require some patience, but it greatly contributes to the overall appearance and waterproof nature of your shower.
Final Touches and Testing
Now that the main components of your shower are in place, it’s time to add finishing touches. Start with any additional fixtures you didn’t install earlier, like towel racks, shelves, or shower doors. Make sure that everything is secure and functional.
Once the finishing touches are complete, it’s time to test the shower. Turn the water supply back on and carefully check for leaks. Examine each connection, as well as the showerhead and faucet. If you see any leaks, address them immediately. Tightening connections or applying more Teflon tape can solve many common issues.
Also, check the water pressure and flow. Sometimes, sediment can clog fixtures, leading to poor performance. If everything functions well, congratulate yourself on a job well done! Perform one final clean-up of the area, removing any dust or debris from the installation process.
Ongoing Maintenance and Care
Installing a shower is just the beginning. Ongoing upkeep is crucial for ensuring longevity and functionality. Regularly clean the shower to prevent mold and mildew. Use a mildew-resistant shower curtain and keep the area ventilated.
Furthermore, inspect plumbing connections every few months for signs of wear or leaks. Pay attention to the seals around fixtures, as these can wear down over time. If you notice any issues, address them promptly.
Consider having a professional inspect your plumbing system periodically. This can catch potential problems early, saving you future headaches and expenses. By investing some time in maintenance, you ensure that your shower remains a source of comfort and enjoyment for years to come.
Conclusion: Enjoy Your New Shower
In summary, installing a shower involves several key steps, including gathering tools, preparing the area, installing plumbing, and adding the finishing touches. Though it may seem overwhelming, breaking it down into manageable segments makes the process simpler. Don’t hesitate to take your time and double-check your work along the way.
Once you’ve installed your shower, take a moment to appreciate the transformation. You have created a functional and aesthetically pleasing space that will serve you well for years. With regular maintenance, you can enjoy a dependable shower that enhances your daily routine. Happy showering!


