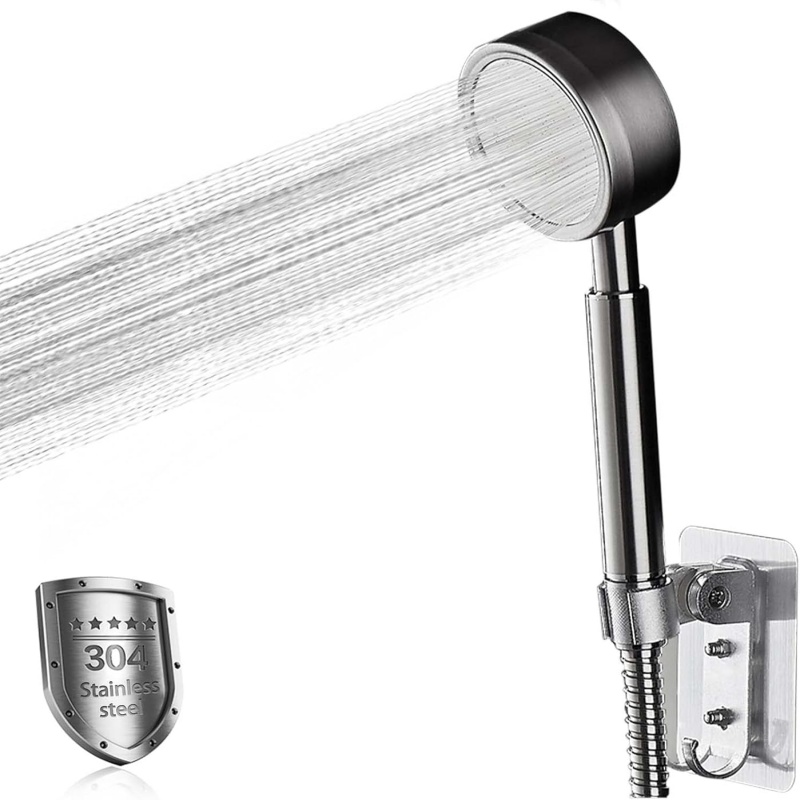
A leaking shower head can be a frustrating experience for any homeowner. Not only does it waste water, but it can also lead to increased water bills and, in some cases, potential water damage. Understanding the causes of a leaking shower head is essential for addressing the issue effectively. This article will explore the common reasons shower heads leak, how you can identify the problem, and practical solutions for fixing the issue.
Identifying the Source of the Leak
Before fixing a leaky shower head, pinpoint where the leak is coming from. Watch for drips when the shower is on and off. The issue may be with the shower head, arm, or valve.
- Inspect the shower head while it’s running. Look for leaks around the faceplate or at the joints.
- Check the shower head connection to the arm when the water is off. If you see dripping here, the issue might be with the washer or thread sealant.
- Examine the shower arm and valve for moisture. Signs of wetness might indicate deeper plumbing issues.
By identifying the source of the leak, you will know where to focus your repair efforts. Look out for cracks, rust, or loose parts. Knowing ‘why is my shower head leaking‘ is vital for a successful fix. Address the exact problem for an effective repair.
Tools and Materials Needed for the Repair
Before you start fixing the leaky shower head, gather the right tools and materials. Here’s what you’ll need to make the repair:
- Adjustable wrench or pipe wrench: To loosen or tighten the shower head and arm.
- Screwdriver set: For disassembling parts that may be screwed on.
- Plumber’s tape: Also known as thread seal tape, used to prevent leaks at joints.
- Replacement washers and O-rings: To replace old or damaged ones that may cause leaking.
- Sealant: In case the threads need resealing.
- Rags or towels: To clean up and to help grip when unscrewing parts.
- Vinegar and a small brush: For cleaning off mineral build-up.
Be sure to have all these items on hand before starting. This will save time and help ensure a smooth repair process. Remember, figuring out ‘why is my shower head leaking’ is key before using these tools and materials for the most effective repair.
Steps to Disassemble the Shower Head
Once you have identified the leak’s source and have your tools ready, follow these steps to disassemble the shower head:
- Turn off the water supply: Ensure the water is off to prevent any spillage during the repair process.
- Protect the finish: Wrap the jaws of your wrench with a rag to avoid scratching the shower head’s finish.
- Loosen the shower head: Use the adjustable wrench to turn the shower head counterclockwise.
- Remove the shower head: Once loose, unscrew it by hand and carefully take it off the arm.
- Inspect the shower arm threads: Look for any damage that might cause leaking.
Disassembling the shower head is straightforward. Be gentle to prevent damage to the shower head or arm threads. Knowing ‘why is my shower head leaking’ helps you to tackle the disassembly with focus. If the issue lies with the connections, you will likely find an answer once the shower head is off. Handle all components carefully to avoid creating new issues.
Inspecting for Damage or Calcium Buildup
To continue fixing the issue of ‘why is my shower head leaking,’ inspection is crucial. With the shower head disassembled, look for signs of damage or calcium buildup that could be causing the leak.
- Check the washer: Inspect the washer’s condition inside the shower head. If it looks worn or damaged, replace it.
- Examine O-rings: Look at the O-rings for any wear or tear. A compromised O-ring can cause leaks.
- Look for cracks: Check the shower head and arm for any visible cracks or damage.
- Identify mineral deposits: Spot mineral or calcium deposits on the components. These deposits often indicate a leak source.
Use vinegar and a small brush to clean any buildup. Soak the parts in vinegar if necessary. Removing buildup and repairing damage are key steps to fix the problem of ‘why is my shower head leaking.’ A clean and undamaged shower head prevents future leaks. Take care of these issues before moving to the next repair steps.
Replacing Washers and O-Rings
Once you’ve located damage or wear on the washers and O-rings during inspection, it’s time to replace them. This step is often the key to solving the ‘why is my shower head leaking’ dilemma. Here’s how to do it efficiently:
- Remove old washers and O-rings: Carefully take out the worn-out pieces. Avoid tearing them if they stick.
- Clean the seating area: Wipe where the washer and O-rings sit. Make sure no debris remains.
- Align new washers and O-rings: Place them exactly where the old ones were. Proper placement ensures a tight seal.
- Gently press them in place: Do not stretch or twist them. They need to fit snugly to prevent leaks.
It’s important to use the exact size and type of washer and O-ring for your shower head. Using incorrect parts may cause new leaks to form. Additionally, avoid over-tightening when you later reassemble the shower head to avoid damage. If done correctly, this step will stop water from escaping through any gaps, which answers ‘why is my shower head leaking’ in many cases.
Applying Plumber’s Tape Correctly
To prevent future leaks, applying plumber’s tape correctly is crucial. This white Teflon tape provides a water-tight seal on threaded joints. Here’s how to use it:
- Clean the Threads: Wipe the threads on the shower arm to remove any old tape or debris.
- Cut the Right Length: Measure a piece of tape long enough to wrap around the threads 2-3 times.
- Wrap Clockwise: Hold the end of the tape against the threads and wrap it clockwise. This prevents unwinding when you reattach the shower head.
- Press Firmly: After wrapping, press the tape into the threads to ensure it sticks well.
- Keep it Smooth: Avoid wrinkles or bunches. Smooth tape will make a better seal.
By properly applying plumber’s tape, you answer the ‘why is my shower head leaking’ question at the thread level. It’s a simple yet essential step in ensuring a leak-free shower head reinstallation.
Reassembling and Testing the Shower Head
After replacing any damaged washers and applying plumber’s tape, it’s time to reassemble the shower head and test it to ensure that the leak has been fixed. Following these steps will help you to wrap up the repair process efficiently.
- Reattach the shower head: Carefully screw it back onto the shower arm by hand.
- Tighten with a wrench: Once hand-tight, use the wrench for a final snug fit. Remember the cloth to protect the finish.
- Turn on the water supply: With everything in place, slowly turn the water back on.
- Check for leaks: Look for any signs of water escaping where it shouldn’t be. Repeat the steps if needed.
Now that you’ve reassembled the shower head, it’s critical to ensure that there are no more leaks. Turn the shower on and watch the flow. No water should be dripping from the head or at the point of connection. If the water flows smoothly without any leakage, you have successfully answered ‘why is my shower head leaking’ and fixed the problem. Should there be any remaining leaks, it may require additional tightening or checking if the washer and O-rings are properly in place. Once you’re leak-free, you can enjoy the comfort of a fully functional shower once again.


