Essential Tools for Shower Head Replacement
To embark on your journey to replace a shower head, readiness is crucial. Gather the essential tools before you begin. You will need a few standard items:

- Adjustable Wrench: This tool will help you loosen and tighten the nuts.
- Teflon Tape: Often called plumber’s tape, this is critical for preventing leaks.
- Rags or Towels: Protect the shower area and provide a place to lay tools.
- Bucket or Bowl: Catch any residual water that may drip out.
- Pliers: In certain cases, these might be necessary for grip and leverage.
- Cleaning Supplies: Clean the threads on the shower arm before installing the new head.
Having these tools at hand will help ensure that ‘how to remove a shower head‘ becomes a simple, uncomplicated task. Take care not to overtighten with the wrench, which could damage pipes. Placing a towel or rag over the shower arm can prevent scratches when using the tools.
Step-by-Step Guide to Removing the Old Shower Head
Removing an old shower head is a straightforward task that anyone can handle with the right guidance. Here’s a simple step-by-step process to make it easy for you:
- Turn Off the Water: Ensure the water supply to your shower is off to avoid a watery mess.
- Cover the Drain: Place a cloth or small towel over the drain to prevent any dropped parts from disappearing.
- Stabilize the Arm: Hold the shower arm with one hand. This will keep it from turning as you work.
- Unscrew the Shower Head: Use your adjustable wrench to turn the shower head counterclockwise. Be gentle to avoid damaging the threads.
- Check for Corrosion: Observe any corrosion on the threads. Consider using vinegar to clean off any buildup before installing a new head.
- Clean the Threads: Wipe the threads on the shower arm with your rags. Apply Teflon tape if needed for the new head.
- Inspect for Damage: Look at the shower arm for damage. If it’s compromised, consider replacing it before attaching a new shower head.
Following this guide on ‘how to remove a shower head’ will prepare you for a successful replacement. Before moving on to the installation of the new shower head, ensure that the area is clean and ready for the new fixture.
Common Challenges and Solutions During Removal
When tackling ‘how to remove a shower head’, you might face some common issues. Here, we address these challenges with practical solutions to keep your replacement process seamless.
- Stuck Shower Head: Sometimes, mineral deposits cause the shower head to stick. To loosen it, apply a vinegar solution. Let it soak to break down the buildup, then try unscrewing it again.
- Difficult-to-Reach Areas: For shower heads in tight spaces, use a basin wrench for better reach and grip.
- Stripped or Damaged Threads: If the threads are damaged, wrap them in Teflon tape as a temporary fix. However, consider replacing the shower arm if the damage is severe.
- Leaking Shower Arm: A shower arm that leaks needs new Teflon tape. Wrap the tape correctly around the threads to ensure a watertight seal.
- Tools Slipping: If your tools keep slipping, use rags to improve grip. This also helps protect the shower arm’s finish from scratches.
By facing these challenges head-on with the right solutions, you’ll know how to remove a shower head efficiently and get ready for the new installation.
Selecting the Right Replacement Shower Head
Moving on from understanding ‘how to remove a shower head’, selecting an appropriate replacement is your next step. It involves considering several aspects to ensure you make a choice that not only fits your needs but also your shower’s specifications. Here are key factors to guide you:
- Compatibility: Check the size and thread type of your current shower arm. Your new head must match these.
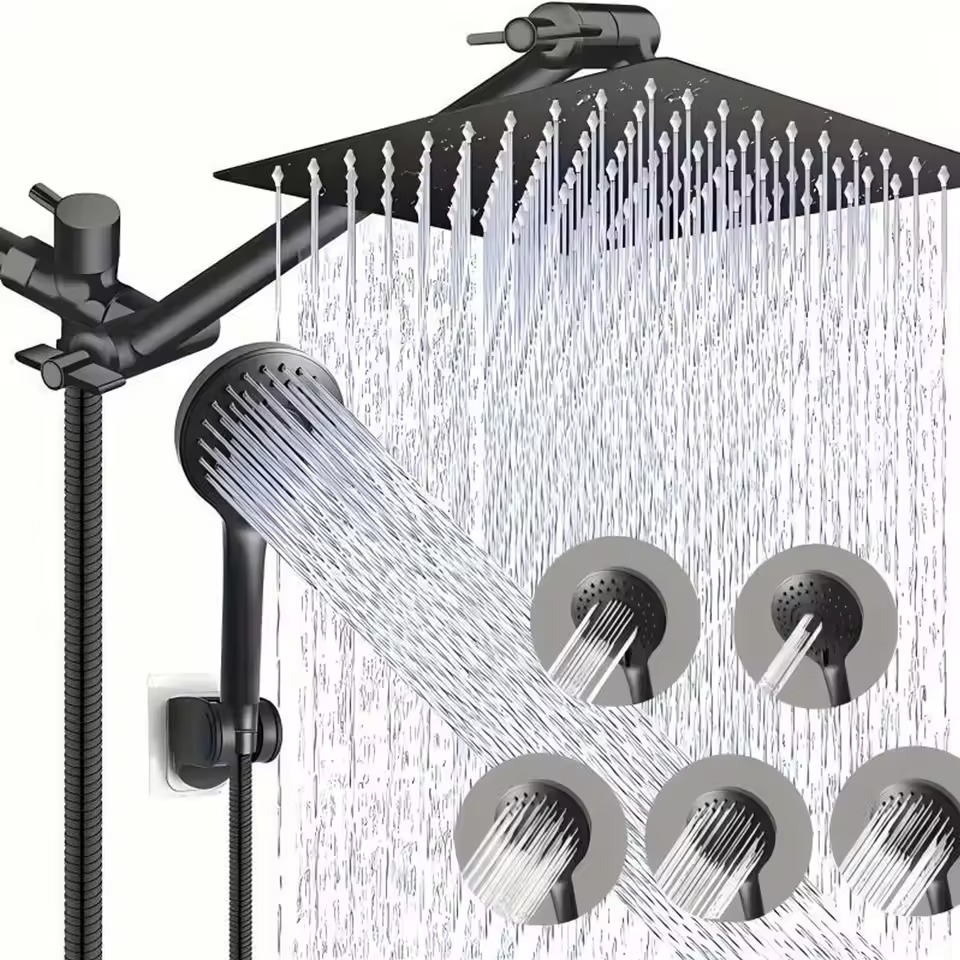
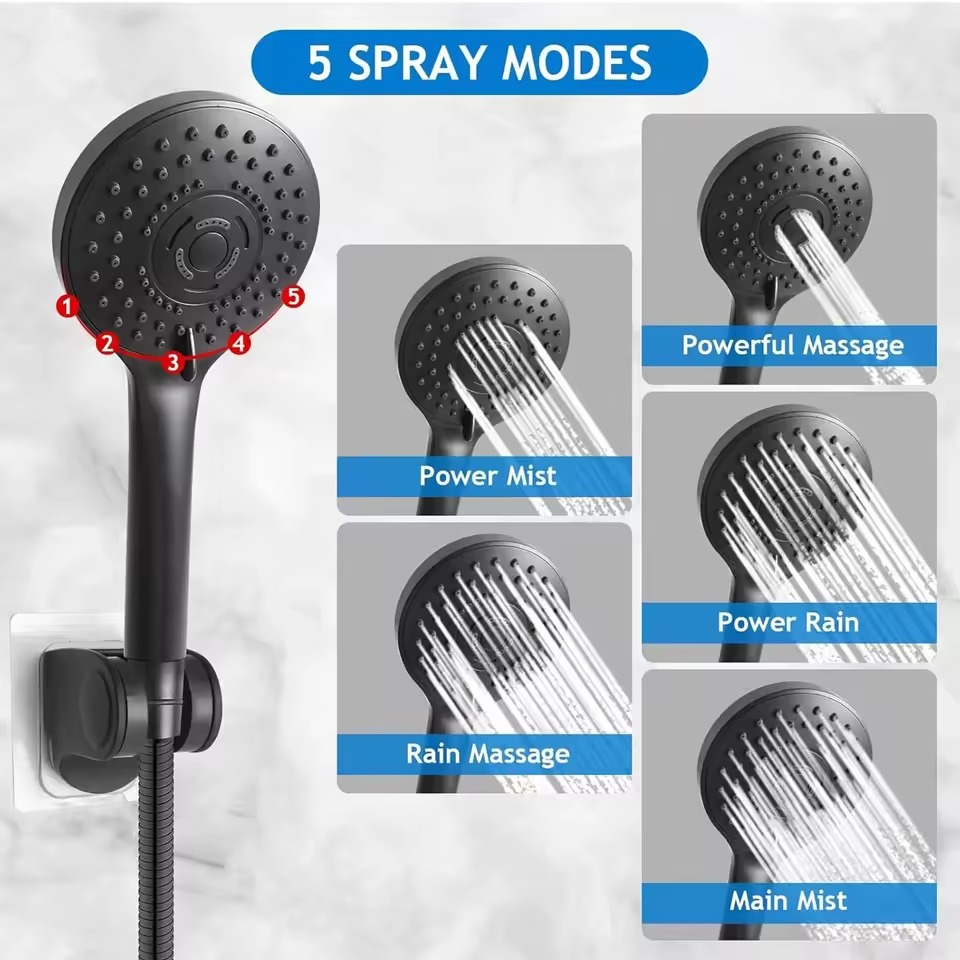
- Spray Patterns and Pressure: Think about your preferred spray type. Some may desire a strong, pulsating spray while others might prefer a gentler, rain-like pattern.
- Installation Ease: Look for shower heads that boast easy installation. This can save you time and prevent frustration.
- Water Efficiency: Consider eco-friendly options. They save water and can reduce your bills.
- Material and Durability: Select materials that resist corrosion and buildup. Stainless steel or chrome often fare well.
- Design and Aesthetics: Choose a style that complements your bathroom’s existing design.
- Budget: Set a reasonable budget and stick to it while shopping. Quality doesn’t always have to break the bank.
Take these points into account, and you’ll find a replacement that not only looks good but also performs to your expectations. Remember, a well-chosen shower head can elevate your daily routine far beyond a mere shower to an invigorating experience.
Installation Process for the New Shower Head
After tackling ‘how to remove a shower head’, the next stage is installation. Follow these steps to guarantee a smooth process:
- Examine the Shower Arm: Before attachment, inspect the shower arm for damage. Replace if necessary.
- Apply Teflon Tape: Wrap Teflon tape clockwise around the shower arm’s threads. This ensures a leak-free seal.
- Position the New Shower Head: Carefully start screwing the new head onto the arm by hand.
- Hand-Tighten: Ensure the head is snug but do not over-tighten, which may cause damage.
- Check the Alignment: Adjust as needed so the head sits evenly, without any tilt.
- Secure with a Wrench: If required, use an adjustable wrench for the final turn. Protect the finish with a rag or towel.
- Turn on the Water: Gently restore the water supply and observe for leaks.
- Test the Head: Run the shower and cycle through settings to ensure everything works as expected.
By following these steps, the installation process for your new shower head should be efficient and effective. Always take your time to prevent any damage and secure a proper fit. This completes our guide on ‘how to remove a shower head’ and install a new one, steering you towards a rejuvenating shower experience.
Tips for Avoiding Leaks and Ensuring a Tight Seal
Ensuring a tight seal is key to avoiding leaks when you learn how to remove a shower head and install a new one. Here are some tips to help you achieve a leak-free connection:
- Wrap Teflon Tape Correctly: Apply Teflon tape in a clockwise direction. Make sure it covers all threads.
- Hand-Tighten First: Initially, tighten the shower head by hand to avoid cross-threading.
- Use the Right Tools: An adjustable wrench can provide extra tightness. Always use a rag for protection.
- Check Alignment: Make sure the shower head aligns with the arm. It should look straight.
- Do a Leak Test: After installation, turn on the water slowly. Watch for any dripping.
- Retighten if Necessary: If you spot a leak, turn off the water. Tighten the head just a bit more.
By following these straightforward steps, you can maintain a strong seal and prevent future leaks. Remember, a successful DIY repair not only solves the problem but also instills a sense of accomplishment.
Maintenance Advice to Prolong the Life of Your Shower Head
Once you have mastered ‘how to remove a shower head’ and installed a new one, proper maintenance is essential to prolong its life. Here are some helpful tips to keep your shower head functioning well over time:
- Regular Cleaning: Periodically clean your shower head to prevent mineral buildup. Unscrew it and soak it in vinegar or use a brush for on-spot cleaning.
- Inspect for Wear and Tear: Every few months, check for signs of damage or leakage. Early detection can save you from more extensive repairs later.
- Replace Seals and Washers: Over time, seals and washers can wear out. Replacing them can prevent leaks and improve function.
- Avoid Harsh Chemicals: Steer clear of strong cleaning agents that can damage the shower head’s finish. Mild soap and water usually suffice.
- Gentle Use: Handle the shower head carefully, especially when adjusting its settings. Rough handling can cause unnecessary stress.
- Schedule Descale Tasks: If you live in a hard water area, descaling the shower head should be a regular task to keep the water flow clear.
By following these straightforward maintenance tips, your shower head should remain in good condition, offering you a refreshing shower experience for years to come. Remember, a little care goes a long way in the upkeep of your bathroom fixtures.


