Introduction to Shower Head Replacement
Replacing a shower head can refresh your bathroom experience. It sounds like a job for experts, but with the right tools and guidance, anyone can do it. A new shower head can improve water pressure, enhance aesthetics, or add new functions. Tired of a dribbling shower? A change could be the fix. A shower head replacement is also a green move. New models are often more water-efficient, saving bills and the planet. So, dive in to learn how to swap out your old shower fixture for a shiny new one. This guide covers what you’ll need and the steps to follow for a smooth shower head replacement.

Tools and Materials Needed
Before you start your shower head replacement, gather the necessary tools and materials. Doing so ensures a smooth installation process.
- Adjustable Wrench: Needed for unscrewing the old shower head and tightening the new one.
- Teflon Tape: Helps seal the connection and prevent leaks.
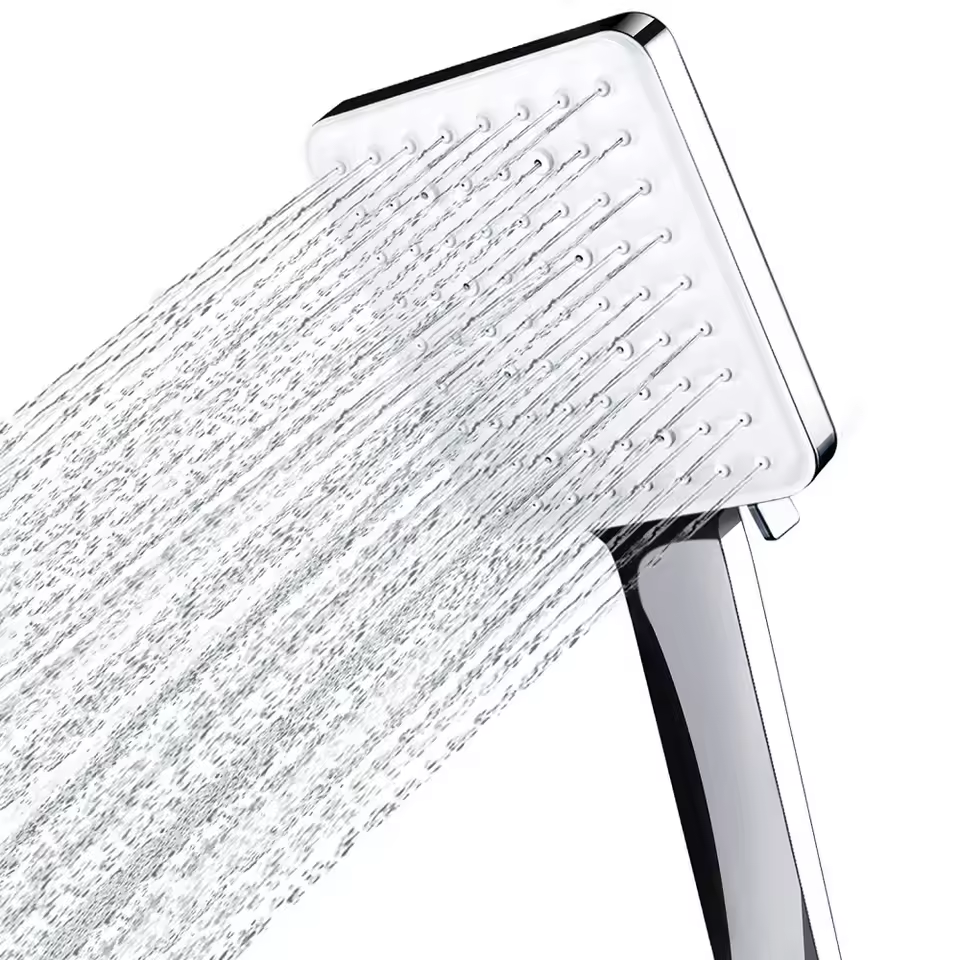
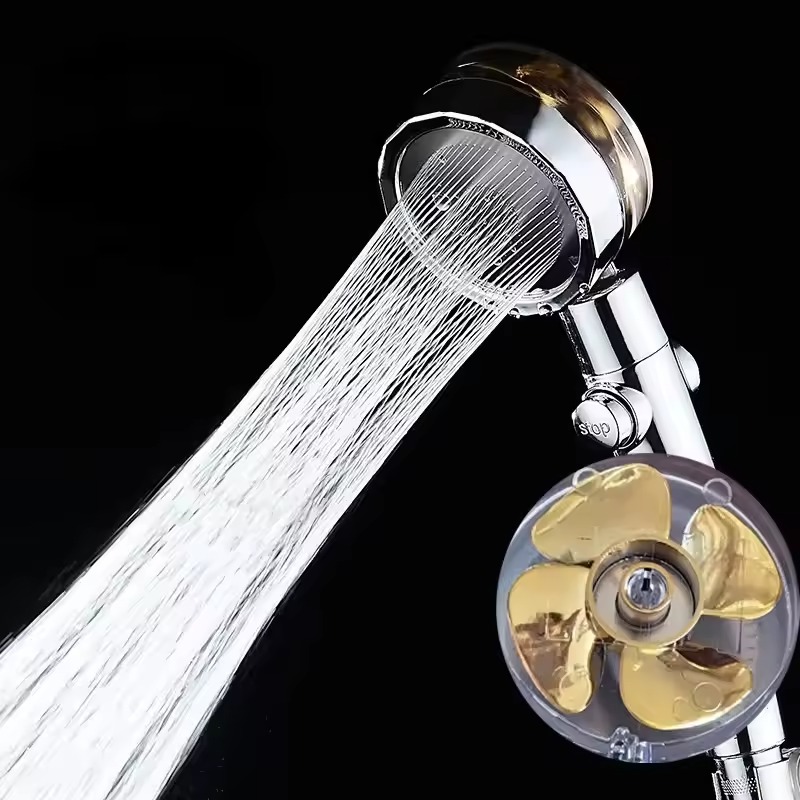
- New Shower Head: Choose one that fits your needs and is compatible with your current setup.
- Towel or Cloth: Protects the shower arm and finish when using the wrench.
- Plumber’s Tape or Joint Compound (optional): Provides an extra seal if needed.
- Bucket or Bowl: Catches any remaining water in the shower arm.
Check that your new shower head comes with all the necessary parts. Some may include washers or rubber seals that are essential for a leak-free installation. Before purchasing, ensure you have a model suited for your bathroom’s plumbing. This prevents last-minute runs to the store during installation.
Step-by-Step Process for Replacing a Shower Head
Follow these steps for an easy shower head replacement job:
- Turn Off the Water: Start by shutting off the water supply to your shower. This prevents any unwanted water spray during the process.
- Remove the Old Shower Head: Use the adjustable wrench to loosen the old shower head. Wrap the towel or cloth around the shower arm first to avoid scratches. Unscrew it by hand once it’s loose enough.
- Clean the Shower Arm: Before you install the new shower head, ensure that the shower arm is free of old Teflon tape and debris. This ensures a clean seal.
- Apply Teflon Tape: Wrap Teflon tape around the shower arm threads. Typically, three wraps are sufficient. It prevents leaks at the connection.
- Attach the New Shower Head: Screw the new shower head onto the shower arm by hand. Do not overtighten, as this can damage the threads.
- Use the Wrench: Secure the shower head with the wrench. Remember to protect the finish with the towel or cloth.
- Test for Leaks: Turn the water supply back on. Check for leaks around the new shower head. If you notice any, gently tighten further or apply more Teflon tape.
- Final Adjustments: Adjust the shower head to the desired angle or position.
There you have it, a new shower head installed. You didn’t have to call a plumber, and the entire process could save you money and improve your daily shower experience.
Tips for Choosing the Right Replacement Shower Head
When considering a shower head replacement, selecting the appropriate model is crucial. Here are tips to help you choose:
- Consider the Spray Patterns: Shower heads come with various spray options. Some provide a gentle rain-like experience, while others have powerful massaging jets. Think about your preference and pick accordingly.
- Water Efficiency: Look for shower heads with a WaterSense label. These models use less water and can save on your utility bills. This is also an eco-friendly choice.
- Size and Fit: Make sure the new shower head will fit your existing plumbing. Check the size and connection type against your current setup.
- Design and Features: Think about the look and additional features you might want. LED lights, adjustable arms, or handheld options could enhance your showering experience.
- Budget: Set a budget before shopping. Shower heads range from basic, affordable models to luxurious, pricey ones. Decide how much you’re willing to spend.
- Read Reviews: Online reviews can provide insight into how well a shower head performs and its durability. Prioritize models with positive feedback from users.
By keeping these tips in mind, you will find a replacement shower head that suits your needs and ensures a satisfying upgrade. Remember to match it with your bathroom’s style and functionality for the best outcome.
Troubleshooting Common Issues During Installation
When replacing a shower head, you might face some challenges. Here’s how to tackle common troubles:
- Handling a Stuck Shower Head: If the old shower head won’t budge, apply penetrating oil around the connection. Wait a few minutes then try again. Use the wrench with care.
- Leaks After Installation: Leaks can happen if the seal isn’t tight. Double-check the Teflon tape. You might need to add more or rewrap it neatly. Ensure everything is snug, but not over-tightened.
- Cross-threading Worries: Cross-threading damages threads, making leaks likely. Start screwing on by hand and be gentle. If it doesn’t feel right, realign and try again. Slow and steady wins the race.
- Low Water Pressure: This can occur with a new shower head. It might be the water-saving feature. Give it time. If pressure is still a concern, check for clogs or adjust the settings.
- Mismatched Shower Head and Arm: Bought the wrong size? Don’t force it. Return it and get the correct one to fit your existing arm. Always double-check compatibility before buying.
Remember, take your time and read the instructions that come with your new shower head. Most issues are easy fixes. However, if you’re stuck, it’s okay to call for professional help. A smooth shower head replacement is within your reach, even if you encounter these common issues. Stay calm and you’ll soon enjoy your upgraded shower experience.
Maintenance and Care for Your New Shower Head
Keeping your new shower head in prime condition is key to a lasting, satisfying shower experience. Here’s how to maintain and care for it effectively:
- Regular Cleaning: Water contains minerals that can build up on your shower head, affecting its performance. Clean it every month with a mild cleaner or vinegar solution. This prevents blockages and maintains water flow.
- Inspect for Wear: Regularly check for signs of wear or damage. If you see any, it may be time for another replacement. Staying ahead of problems keeps your shower running smoothly.
- Avoid Harsh Chemicals: Harsh chemicals can damage your shower head’s finish. Stick to gentle cleaning solutions and soft cloths when wiping it down. This will help preserve its look and function.
- Check for Leaks: Every few months, check for leaks around the shower head. If you spot any, you may need to reapply Teflon tape or tighten the connection mildly with a wrench.
- Follow Manufacturer’s Instructions: Each shower head comes with care guidelines from the maker. Follow these for the best results. It’s good to keep the manual for reference.
By applying these simple maintenance practices, your shower head should serve you well for a long time. Routine care not only prolongs its life but also ensures you keep enjoying those perfect showers day after day.
When to Call a Professional for Shower Head Installation
While DIY shower head replacement is doable for many, some situations call for professional help. Here’s when to consider calling a plumber:
- Complex Installations: If your new shower head has advanced features or requires complex installation, a pro can ensure it’s done right.
- Plumbing Modifications Needed: If you need to alter your plumbing to fit the new shower head, it’s best to hire a professional. This can avoid expensive mistakes.
- Persistent Leaks: If you’ve tried fixing leaks and they persist, a plumber can diagnose and solve the issue.
- Lack of Tools or Confidence: Don’t have the necessary tools? Not confident in your ability to replace the shower head? Better to call a pro than risk damage.
- Warranty Concerns: Some warranties require professional installation. Check your shower head’s warranty to see if this applies.
In these scenarios, getting professional help can save you time and prevent frustration. Remember, safety first. If you’re in over your head, there’s no shame in calling a plumber.
Conclusion and Summary
Wrapping up our guide, shower head replacement is doable for most. Remember to gather the right tools, follow the steps, and choose a suitable model. This simple project can boost your shower’s function and look, all while being kinder to your wallet and the environment. Encounter hitches? Tackle them with the troubleshooting tips. Keep your new shower head clean and check for wears. If the task surpasses your DIY skills or requires complex setup, call in a pro. They’ll ensure everything runs perfectly. Aim for a smooth, rewarding shower experience by upgrading to the right shower head today!


