Preparation Before You Start
Before embarking on the task of removing your shower head, it’s essential to prepare adequately. Doing so ensures a smooth process without any unexpected setbacks.
Safety Measures and Tools Needed
Your safety comes first. Start by turning off the water supply to prevent any accidents. Next, gather all the necessary tools for the job. You’ll need:
- Adjustable wrench or pliers: To grip and turn the shower head.
- Teflon tape: For sealing the threads when you install a new head.
- Clean rag or cloth: To protect the shower head’s finish from scratches.
- Safety glasses: To shield your eyes from any debris.
- Vinegar: Useful for dissolving any limescale or mineral deposits.
Having the right tools not only simplifies the task but also helps prevent damage.
Understanding Your Shower Head Type
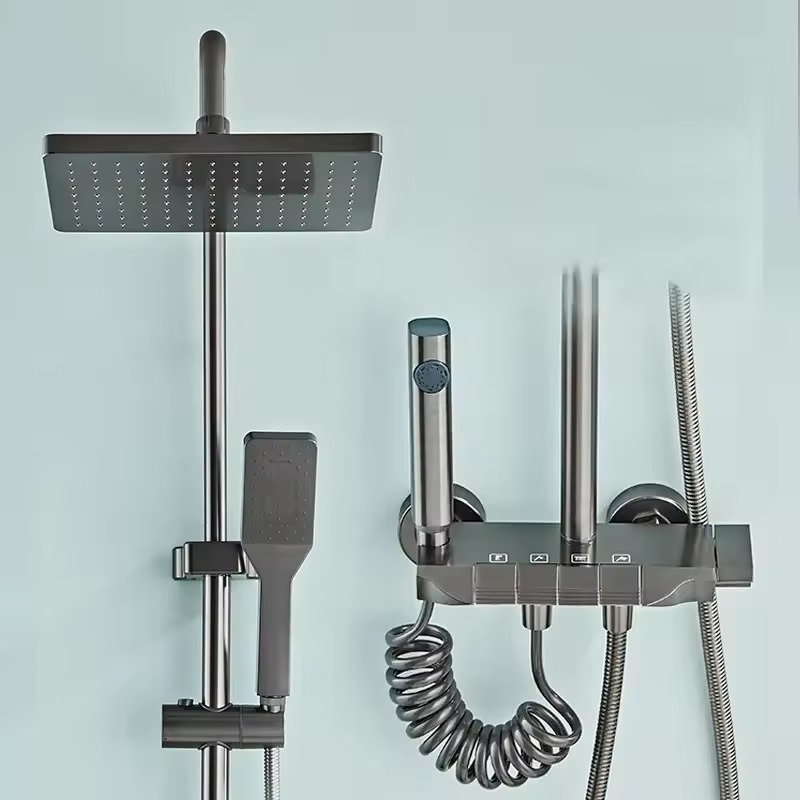
Shower heads come in various designs. The two main types are fixed and handheld. A fixed shower head is attached directly to the shower arm coming out of the wall. A handheld shower head has a hose attached to it for flexibility. Identifying which type you have will determine how you approach the removal process. This knowledge ensures you remove the shower head efficiently and with care.
Using these precautions and insights, you’re now ready to proceed with the actual removal of your shower head. Be sure to follow the ‘how to remove shower head‘ instructions closely for the best results.
Step-by-Step Guide to Removing a Fixed Shower Head
Removing a fixed shower head is straightforward with the right approach. Follow these steps:
- Locate the Nut: Look for the nut that connects the shower head to the arm.
- Stabilize the Arm: Hold the shower arm with one hand or use a clean rag for grip.
- Loosen the Nut: Adjust the wrench or pliers to fit the nut. Turn it counterclockwise.
- Unscrew by Hand: After loosening, twist the shower head by hand until it comes off.
- Check the Threads: Inspect the threads on the shower arm for any damage.
- Clean the Area: Wipe the threads clean to prepare for the new shower head.
Always remember to apply steady pressure while turning the wrench to avoid damaging the shower head or arm. Perform these steps carefully to ensure ‘how to remove shower head’ goes smoothly.
Step-by-Step Guide to Removing a Handheld Shower Head
Removing a handheld shower head may seem daunting, but it’s quite simple. By following these steps, you can remove it without any trouble. Keep in mind the ‘how to remove shower head’ keyword as you proceed.
- Turn Off the Water: Ensure the water supply to the shower is off to prevent any spills.
- Stabilize the Hose: Grip the hose near the shower head to keep it from twisting.
- Locate the Nut: Find the coupling nut that connects the shower head to the hose.
- Loosen the Nut: Use the adjustable wrench or pliers to turn the nut counterclockwise.
- Detach the Head by Hand: Once loose, unscrew the shower head from the hose by hand.
- Inspect the Hose End: Look at the end of the hose for any wear or damage.
- Clean the Threads: Wipe the threads on the hose end to clear any debris.
Just like with fixed shower heads, take care not to over-tighten the wrench. This avoids damaging the unit. The process is simple when you have the right tools and knowledge on ‘how to remove shower head’. After removal, you’re set to install a fresh shower head or clean the current one.
Troubleshooting Common Problems
Sometimes, you might face issues when trying to remove your shower head. Knowing how to tackle these problems is key to a hassle-free process.
Dealing with Hard Water Deposits
Hard water can leave deposits on your shower head, making removal tough. Here’s how to manage this:
- Soak in Vinegar: Remove the shower head and soak it in a bowl of white vinegar. This loosens the deposits.
- Use a Brush: After soaking, use a small brush to scrub off the loosened deposits.
- Rinse Thoroughly: Wash the shower head with water to clear any vinegar and debris.
- Reapply Teflon Tape: Before reattaching, wrap the threads on the shower arm with new Teflon tape.
Remember, persistent hard water issues may require more frequent cleaning to keep the shower head functioning well.
Managing Stuck or Corroded Shower Heads
A shower head that won’t budge could be stuck due to corrosion. Here’s what to do:
- Apply Penetrating Oil: A day before removal, apply penetrating oil to the joint. This breaks down the corrosion.
- Gently Tap: Use a rubber mallet to lightly tap the shower head. This helps loosen it.
- Increase Leverage: If it’s still stuck, wrap a cloth around the shower head and use a wrench for extra leverage.
- Alternate Methods: If all fails, consider using a strap wrench to avoid damaging the finish.
Corroded units may need replacement. If so, ensure you choose a compatible shower head that can handle your water type.
Cleaning and Maintenance After Removal
Once you have successfully removed the shower head, it’s time for cleaning and maintenance. Taking care of your shower head can prolong its life and improve water flow. Here’s what you should do:
- Inspect for Damage: Check the removed shower head for any cracks or wear that could affect its function.
- Clean the Shower Head: Submerge the shower head in a vinegar solution for several hours to dissolve mineral deposits. This is particularly important if you have hard water.
- Scrub Thoroughly: Use a toothbrush or a small cleaning brush to gently scrub away any remaining buildup. Pay attention to the nozzles where blockages commonly occur.
- Rinse Well: After scrubbing, rinse the shower head with warm water to remove any cleaning residue. Ensure that water flows freely through the nozzles.
- Dry Completely: Use a clean towel to dry the shower head before reattaching it, or let it air-dry if you’re not reattaching immediately.
- Check the Shower Arm: Before installing a new or cleaned shower head, make sure to clean the shower arm threads too. A small wire brush can be effective for this task.
Regular cleaning and maintenance after removal are essential steps in how to remove shower head efficiently. These steps ensure you start fresh with each installation, be it the same header or a new one.
Replacement Tips: Choosing a New Shower Head
After removing the old shower head, selecting the right replacement is crucial. Here are some helpful tips:
- Consider Water Pressure: Check your home’s water pressure. Choose a head designed to work well with it.
- Look at Types: Decide between fixed, handheld, or dual shower heads based on your preference.
- Check the Fit: Make sure the new shower head fits the existing arm correctly.
- Evaluate Features: Some heads have various settings like massage, mist, and pause features. Consider what fits your needs.
- Think about Maintenance: Opt for a shower head that’s easy to clean and resists hard water buildup.
- Assess the Finish: Pick a finish that matches the rest of your bathroom fixtures.
- Set a Budget: Determine how much you’re willing to spend and find the best option within that range.
The ‘how to remove shower head’ process doesn’t only include removal but also involves careful selection of the new fixture. Keep the keywords in mind as you choose a shower head that is both functional and complements your bathroom’s design.
Conclusion: Final Check and Advice
To cap off our guide on ‘how to remove shower head,’ let’s wrap up with some parting advice. After following all the steps for removal and dealing with any potential issues that arise, you’ll want to make sure you are ready to reinstall a shower head. Here are some final checks and tips to ensure everything is set:
- Inspect the Seal: Before attaching a new or cleaned shower head, check the threads on the shower arm for any remaining debris. Clean off thoroughly if any is present.
- Securely Attach: Hand-tighten the shower head to prevent damage to the threads or the head itself. Use wrenches carefully, if necessary.
- Turn On Water Slowly: Once reattached, gradually turn on the water to avoid any sudden pressure that could cause leaks.
- Check for Leaks: After the water is on, look for any signs of dripping or leaking from the connection. Tighten slightly if needed, but do not overdo it.
- Test Function: Turn the shower on to various settings to ensure the head functions correctly.
Remember to perform your new shower head installation or cleaning on a routine basis. It is essential not only for maintaining a pleasant shower experience but also for conserving water and keeping your fixture in top shape. Keep this guide handy for future reference, and enjoy your rejuvenated shower experience.


