Introduction to Shower Head Maintenance
Maintaining a clean shower head is key to a refreshing shower experience. It’s not just about aesthetics; it’s about health and performance too. Over time, minerals and other deposits can clog your shower head. This can lead to reduced water flow and even a home for bacteria to flourish. Regular maintenance ensures your shower head works well and remains hygienic. In this introduction, we’ll cover the basics of keeping your shower head in top condition. Remember, learning how to clean a shower head is simple, and doesn’t require specialized tools or expertise.
Signs Your Shower Head Needs Cleaning
Recognizing when your shower head requires a thorough clean is important. Here are a few signs that indicate it’s time:
Loss of Water Pressure
If you notice a decrease in the water flow, it’s likely due to mineral buildup within the shower head’s nozzles.
Erratic Spray Patterns
Uneven or blocked spray streams can result from sediment and lime obstructing the spray holes.
Visible Mineral Deposits
White, green, or brown stains on the shower head are clear signs of mineral deposits.
Mold or Mildew Presence
A musty odor or visible black, grey, or pink spots are indications of mold or mildew colonization.
Frequent Clogging
A shower head that often gets clogged is a signal that cleaning is overdue.
Audible Noise
If your shower head makes unusual sounds, it might be struggling to function due to internal blockages.
Watch out for these signs and act promptly. Learning how to clean a shower head can restore its performance and extend its lifespan.
Essential Tools and Materials
Before you start learning how to clean a shower head, gather all the necessary tools and materials. Having these at hand will make the cleaning process much smoother and more efficient. Here’s what you’ll need:
- Vinegar: This common household item is excellent for dissolving mineral deposits.
- Baking soda: It helps in tackling stubborn stains and mild buildup.
- Rubber bands: These are handy for securing bags of vinegar around the shower head.
- Plastic bag: Large enough to cover the shower head, used in conjunction with vinegar for soaking.
- Soft cloth or sponge: For wiping and gently scrubbing the shower head.
- An old toothbrush: Perfect for scrubbing away grime from nooks and crannies.
- Adjustable wrench: This may be needed to remove the shower head if deep cleaning is required.
- Teflon tape: If you remove the shower head, you’ll use this to reseal the threads.
- Bucket or bowl: In case you prefer to detach and soak the shower head.
Make sure you have these items ready before you start the cleaning process. They will help you to effectively learn how to clean a shower head. The goal is to avoid any interruptions once you begin. With the right tools and a little bit of elbow grease, your shower head will look and perform like new.
Step-by-Step Guide to Cleaning a Shower Head
Now that you have your tools ready, let’s dive into how to clean a shower head with a step-by-step guide. This process will not only improve the water flow but also ensure that you’re not exposed to any harmful bacteria.
Prepare Your Cleaning Solution
Mix equal parts of vinegar and water in a bucket or bowl. For tough stains, add a teaspoon of baking soda to the solution for extra cleaning power.
Disconnect the Shower Head (If Necessary)
Use the adjustable wrench to gently remove the shower head if it’s too clogged. Remember to place Teflon tape aside for reattaching it later.
Submerge and Soak
If you’ve removed the shower head, submerge it in the cleaning solution. Let it soak for at least 30 minutes. For an attached shower head, fill a plastic bag with the solution and secure it with a rubber band.
Scrub Away Deposits
After soaking, take the old toothbrush and scrub the nozzles and surface to remove any loosened deposits. Use the soft cloth for final wiping.
Rinse Thoroughly
Once you’ve scrubbed off the residue, rinse the shower head with water. If it was removed, reattach it using the Teflon tape to ensure a good seal.
Test the Flow
Turn the water on to check the flow. Repeat the process if necessary. Regular cleaning will prevent future buildup and maintain a strong, even water pressure.
With these simple steps on how to clean a shower head, you can ensure a healthier and more enjoyable shower experience. Practice these regularly for the best results.
Cleaning a Shower Head Without Removing It
Sometimes you don’t have the luxury of time to remove and deep clean your shower head. Fortunately, there’s a straightforward method to clear away the build-up without detaching it from its place.
Use a Vinegar Soak
Here’s a hassle-free technique:
- Fill a plastic bag with enough vinegar to submerge the shower head nozzles.
- Secure the bag around the shower head using a rubber band. Ensure it’s tight so the vinegar doesn’t leak.
- Let the shower head soak in the vinegar for at least 30 minutes. For heavy build-up, leave it for an hour.
- Remove the bag carefully, and let the shower head run with hot water for a minute to flush out loosened deposits.
Apply Baking Soda for Tough Stains
If stains persist:
- Make a paste using baking soda and a small amount of water.
- Apply the paste to the affected areas, scrub gently with a toothbrush.
- Rinse thoroughly after a few minutes.
- Repeat if necessary until the surface is clean.
By following these steps on how to clean a shower head without removal, you maintain a clear flow and a clean appearance. Plus, you avoid the additional work of dismantling the setup. Regular cleaning using this method can prolong the need for a deep clean.
Removing and Deep Cleaning a Shower Head
Sometimes, a quick clean won’t do, and you’ll need to remove and deep clean your shower head. Here’s what to do when a thorough cleaning is in order:
Disassemble the Shower Head
Before starting, ensure the water supply is off. Use the adjustable wrench to gently twist off the shower head. Place all parts on a towel to keep them safe.

Prepare a Deep Cleaning Solution
In your bucket, mix hot water and vinegar in equal parts. Add a tablespoon of baking soda for extra cleaning power.
Soak All Components
Place the shower head and any removable parts into the solution. Let them soak for at least an hour. This will help break down hard mineral deposits.
Scrub All Parts
After soaking, use the old toothbrush to scrub each component. Focus on areas with visible buildup or stains.
Rinse and Reassemble
Rinse all parts with clean water. Dry them with a soft cloth. Reattach the shower head to the pipe with Teflon tape, ensuring a snug fit.
Perform a Function Check
Turn the water back on and check for leaks. Test the water flow to make sure it’s even and strong.
Deep cleaning your shower head can enhance water pressure and prevent bacterial growth. Make sure to do this every few months for optimal maintenance.
Preventive Measures for Shower Head Maintenance
To prevent frequent build-up and minimize the need for deep cleaning, adopt these maintenance habits:
- Regular Rinsing: After each use, let hot water run for a minute to flush out any loose minerals.
- Weekly Wiping: Use a soft cloth to wipe the shower head weekly, preventing sediment accumulation.
- Monthly Inspections: Check for signs of build-up or wear once a month and act if needed.
- Vinegar Spray: Monthly, spritz the shower head with a vinegar-water solution to dissolve minor deposits.
- Gentle Scrubbing: Softly brush the nozzles with an old toothbrush to maintain clear paths.
- Avoid Harsh Chemicals: Stick to natural cleaners like vinegar to protect your shower head’s finish.
- Proper Installation: Ensure your shower head is correctly installed to prevent leaks and premature wear.
Preventive maintenance is key to a lasting, efficient shower head. These simple habits can significantly extend the time between deep cleanings and ensure consistent water flow. Regular attention also helps you spot when to clean a shower head before performance deteriorates. For a safe and pleasant shower experience, integrate these practices into your routine.
When to Replace Your Shower Head
Even with the best care, there comes a time to replace your shower head. Knowing when to say goodbye is important for both performance and hygiene. Here are some clear indicators that it’s time for a new one:
Persistent Performance Issues
If cleaning no longer restores water flow or spray patterns, consider a replacement.
Corrosion or Damage
Visible rust or damage can’t be fixed by cleaning and require a new shower head.
Upgrading for Efficiency
New models can save water and offer better pressure. Upgrade for these benefits.
Changes in Water Quality
A new shower head might be needed if water quality diminishes noticeably.
Frequent Repairs
Consistent need for repairs suggests it’s more practical to invest in a new shower head.
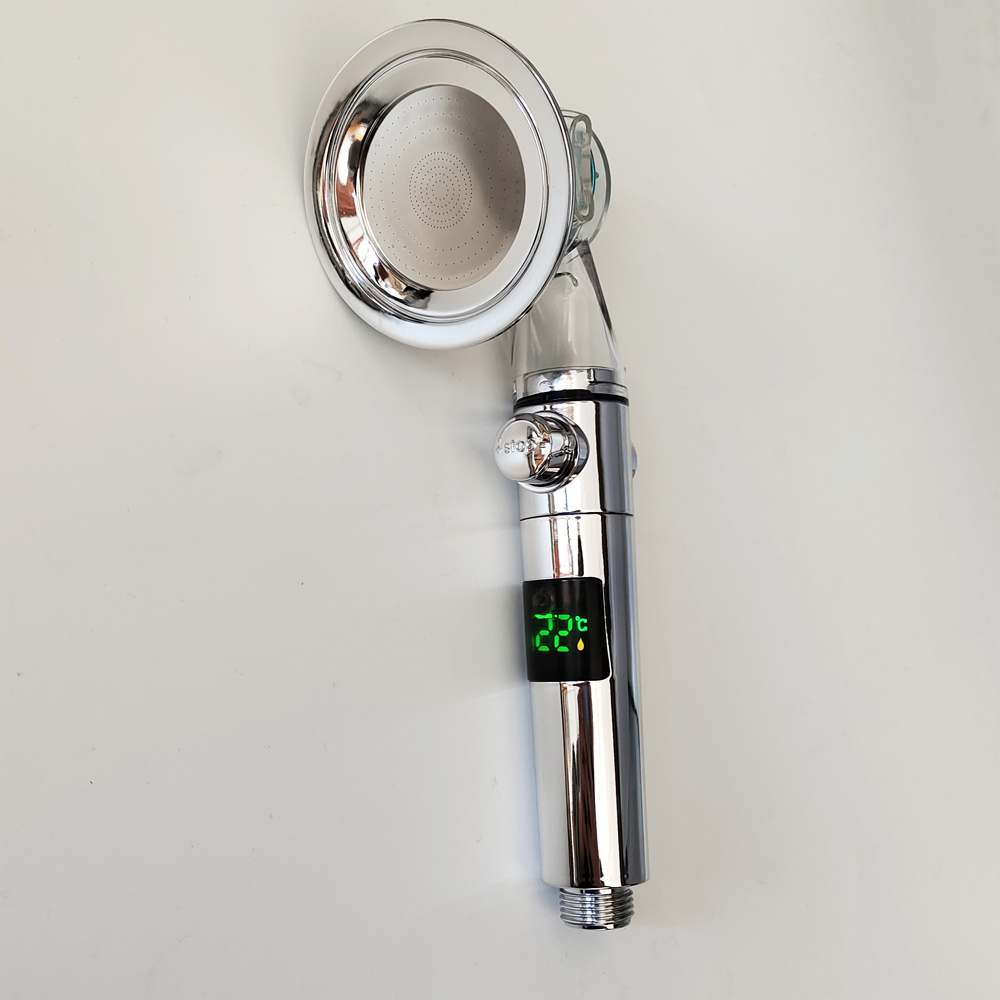
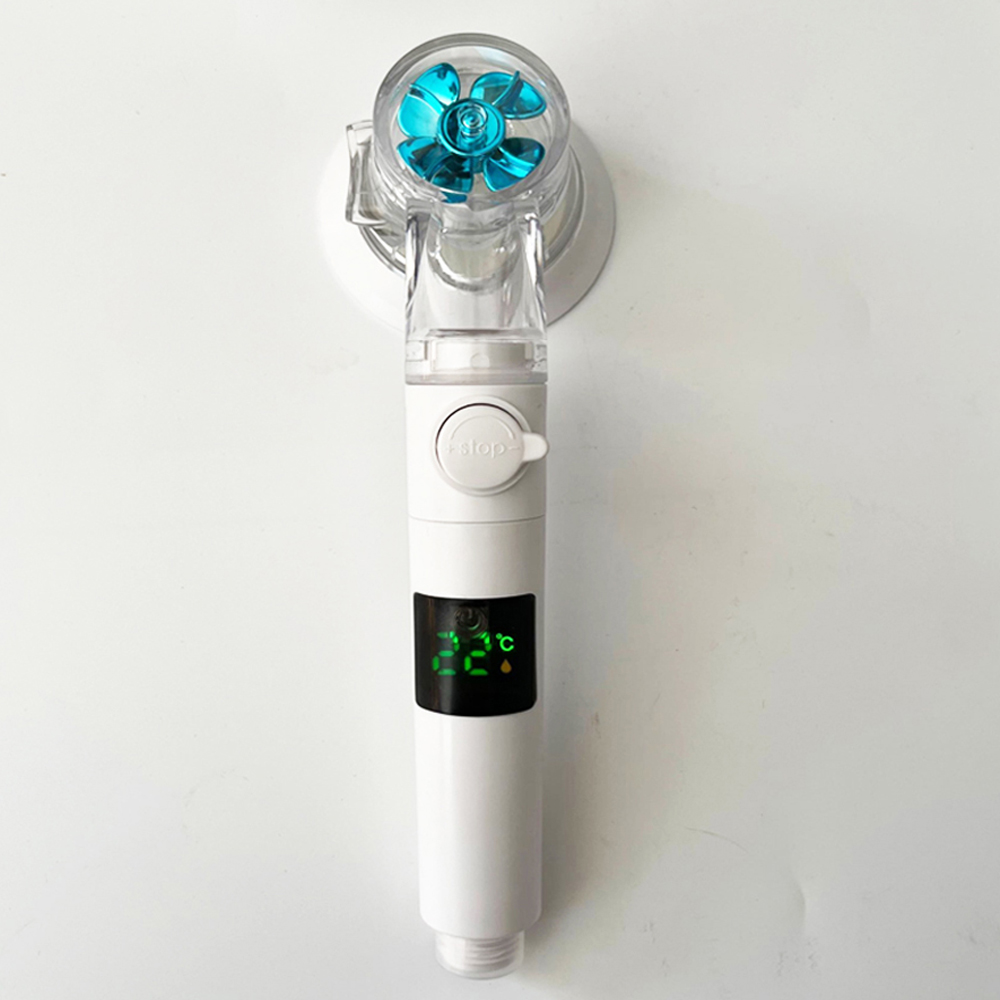
Technological or Aesthetic Update
Switch to a modern design or features like LED temperature indicators for a better experience.
When you notice these signs, it’s time to shop for a new shower head. Opt for one that suits your needs and enhances your shower routine. Remember, how to clean a shower head regularly still remains an essential practice even with a new unit for lasting performance. Keep tools and maintenance habits up for your new shower installation.


