Introduction to Shower Head Replacement
Upgrading your bathroom with a new shower head can refresh the space and improve your shower experience. You may wish to change your shower head for better water pressure, aesthetic reasons, or to have a more eco-friendly option. Replacing a shower head is a straightforward task that many homeowners undertake as a DIY project. So how to change shower head? Before diving into the process of how to change a shower head, it’s crucial to understand why shower head replacement might be necessary and what benefits it can bring.
Replacing an old shower head can help to:
- Save water and reduce bills with a water-efficient model.
- Improve water flow and pressure for a better showering experience.
- Update bathroom aesthetics with a modern design.
- Avoid leaks and water wastage by fixing malfunctioning units.
Throughout this guide, we will walk through each step in the process of changing a shower head. From gathering tools and materials to the installation of your new shower head, this guide will equip you with the knowledge to complete the task with confidence. Remember, while the procedure is generally simple, do not hesitate to seek professional help if you’re not comfortable with the process.
Tools and Materials Needed for Installation
Before you start to change your shower head, gather your tools and materials. Having everything on hand will make the process smoother. Below is a list of items you will likely need.
- Adjustable wrench: This will help you loosen and tighten the connections.
- Teflon tape: Also known as plumber’s tape, this helps create a water-tight seal.
- Rag or cloth: You’ll use this to protect the shower head’s finish as you work.
- Bucket or bowl: Useful to catch any residual water when removing the old shower head.
- New shower head: Choose one that fits your needs and matches the bathroom’s decor.
- Plumbers’ wrench: In case the adjustable wrench doesn’t fit.
- Leak-proof tape: For extra sealing around the thread connections.
Before you begin, ensure that the new shower head is the correct size and thread type for your shower arm. It’s also wise to keep the manufacturer’s manual close by for specific instructions related to your model. With these tools and materials ready, you’re set to start this DIY task on how to change your shower head.
Step-by-Step Guide to Removing the Old Shower Head
Removing your old shower head is the first step in the installation process. Here is a clear, step-by-step guide to help you successfully remove your old shower head without any hassles.
- Turn off the Water Supply: Start by turning off the water supply to your shower to prevent any leaks while you work.
- Protect the Shower Arm and Fixture: Use a rag or cloth to wrap the shower arm. This will protect the finish from scratches when you use tools on it.
- Loosen the Old Shower Head: Place the adjustable wrench on the nut at the base of the shower head. Gently turn it counterclockwise to loosen. If it’s tight, apply more force carefully.
- Unscrew by Hand: Once loose, twist the shower head counterclockwise by hand to remove it completely.
- Clean the Shower Arm: With the old shower head off, clean any residue or old Teflon tape from the threads of the shower arm.
- Check for Damages: Look at the threads and condition of the shower arm. If there’s damage, seek professional help.
- Prepare for New Installation: Apply fresh Teflon tape clockwise onto the threads to ensure a good seal for the new shower head.
By following these steps, you will have removed the old shower head cleanly, preparing for the new shower head’s installation.
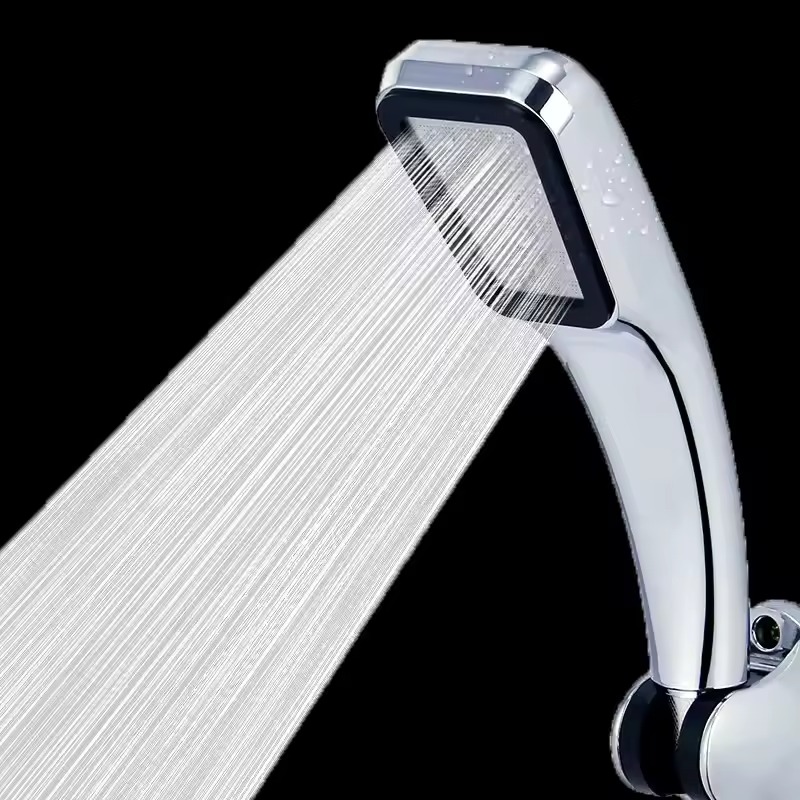
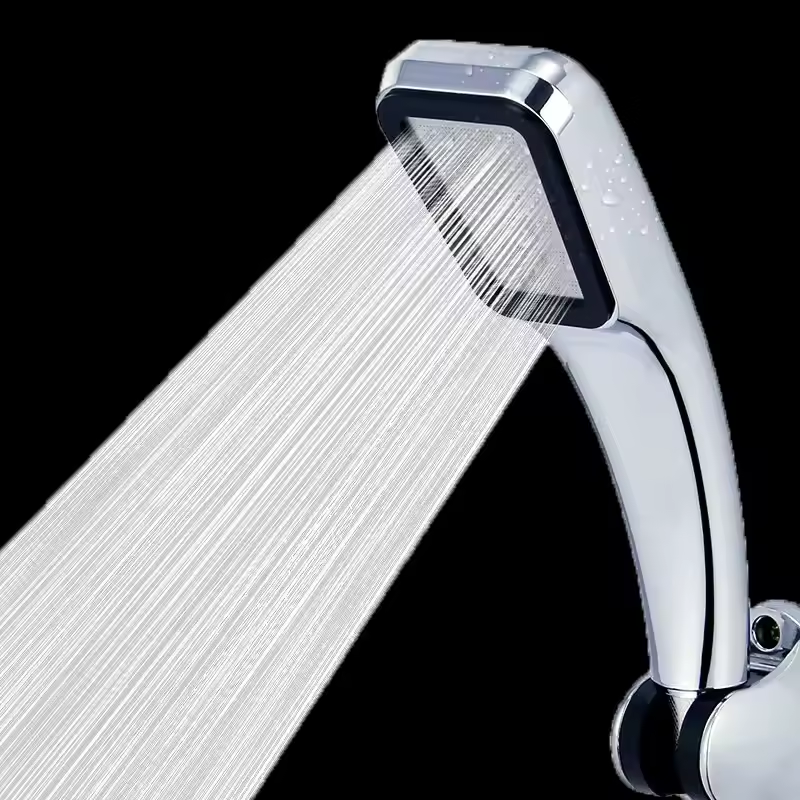
Choosing the Right Shower Head for Your Bathroom
When it’s time to select a new shower head, consider your needs and preferences. Think about the type of spray you enjoy: a firm, invigorating jet, or a gentle rain. Also, look for water-saving features if you aim to reduce consumption. Here are some tips to guide you in picking the perfect shower head:
- Assess the Water Pressure: Make sure the shower head matches your home’s water pressure.
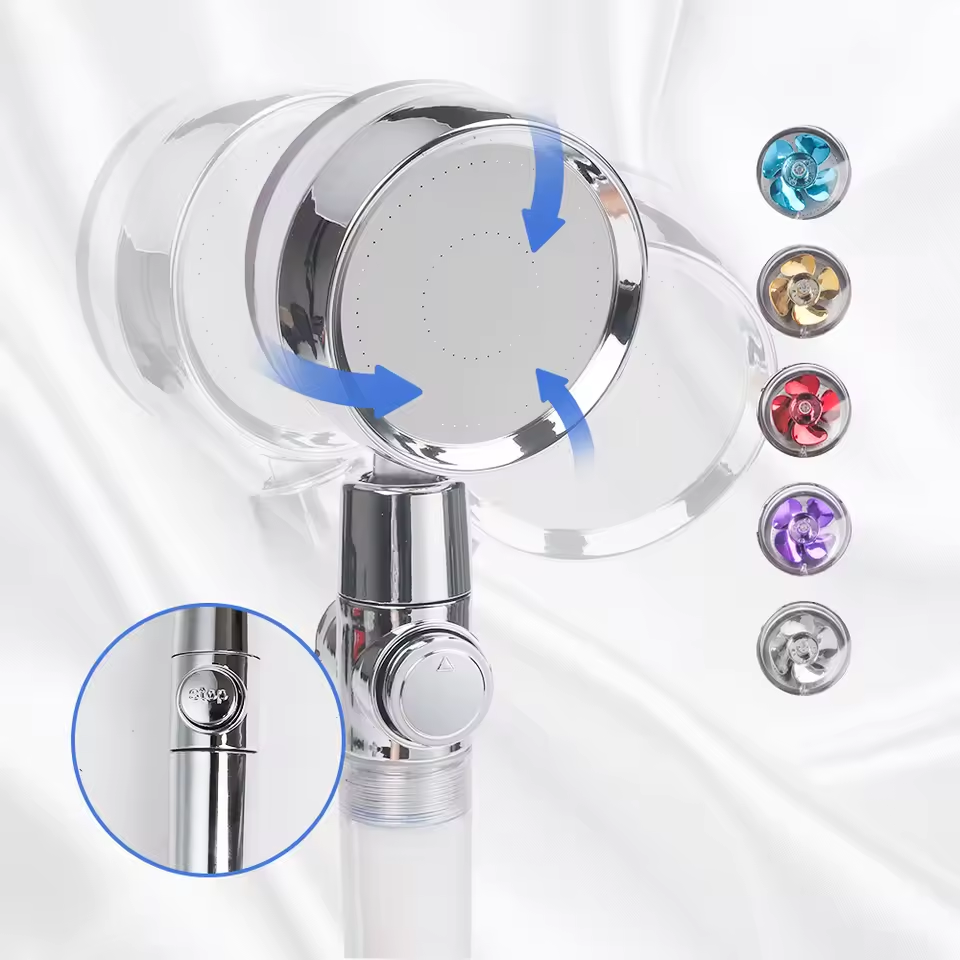
- Consider the Spray Patterns: Choose a model with adjustable settings if you like variety.
- Water Efficiency: Look for a shower head with a WaterSense label for savings on water bills.
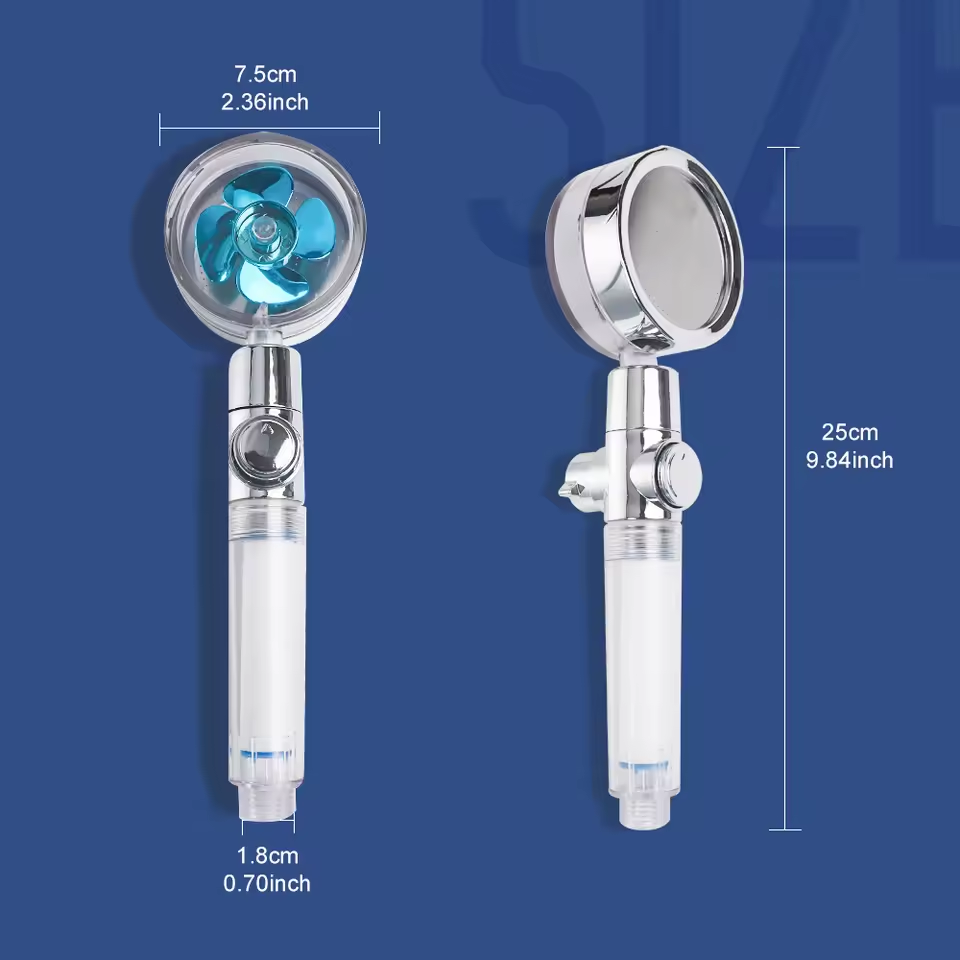
- Ease of Installation: Make sure your new shower head is compatible with your existing setup.
- Style and Finish: Pick a design that fits well with your bathroom decor.
- Budget: Have a clear budget, so you don’t overspend.
- Check Reviews: Read opinions of others who have purchased the same model.
With these points in mind, you’ll find a shower head that not only looks good but also meets your daily needs. Remember, this is an investment in your comfort and your home’s value.
Installation Tips for a New Shower Head
Now that you have chosen the right shower head, the installation is the next important step. To ensure a seamless installation process, consider these handy tips:
- Review the Manufacturer’s Instructions: Every model is different. Carefully read the manual.
- Check the Package Contents: Ensure you have all the parts listed before starting. Missing a part can halt progress.
- Apply Teflon Tape Properly: Wrap the tape clockwise around the threads. This creates a tight seal.
- Hand-Tighten First: Screw the new shower head on by hand to avoid cross-threading.
- Use Wrench for Final Tightening: Secure the connection with a wrench, but don’t over-tighten.
- Check for Leaks: Once installed, turn on the water to test. Look for drips and make adjustments.
Keep the process simple and follow these tips for a quick and effective installation of your new shower head. Remember to align the tape and use the tools with care to avoid damage.
Common Challenges and Solutions When Changing Shower Heads
While replacing your shower head is typically a straightforward task, you may encounter some common challenges. However, with the right approach, these can usually be overcome easily. Here are some problems you might face and their solutions.
- Stuck Shower Head: If the old shower head won’t budge, try using a pair of pliers along with your wrench for added leverage. Place a cloth around the shower head to protect the finish.
- Thread Damage: If the threads on the shower arm are damaged, applying Teflon tape may not be enough. In such cases, it’s best to replace the shower arm or consult a professional.
- Leaks After Installation: Ensure you have applied enough Teflon tape. If leaks persist, remove the shower head and reapply the tape, then reattach firmly but not too tight.
- Mismatched Shower Head and Arm: Before purchase, confirm that the new shower head is compatible with your shower arm’s size and thread type. If not, find an adaptor or choose a different model.
- Low Water Pressure: If your new shower head has poor pressure, check if there’s a flow restrictor that can be adjusted or removed. Also, clean any debris that might be blocking the nozzles.
When faced with these challenges, take a step back and assess the situation. Often, the solution is simpler than it seems. And if you’re ever in doubt, seeking professional help is the best course of action to prevent further issues.
Maintenance Tips for Your New Shower Head
After installing your new shower head, proper maintenance is key to longevity and optimal performance. Here are easy tips to keep your shower head working like new:
- Regular Cleaning: Wipe your shower head with a soft cloth after each use. This prevents buildup of minerals and grime. Use a mild cleaner for a deeper clean every month.
- Inspect for Leaks: Check connections monthly to catch leaks early. Tighten any loose parts and replace Teflon tape if needed.
- Check for Clogs: Mineral deposits can clog nozzles over time. Soak the shower head in vinegar to dissolve buildup. Gently scrub nozzles with a soft brush to remove debris.
- Replace Washers and O-rings: To prevent leaks, replace washers and O-rings once a year or when they show wear.
- Avoid Harsh Chemicals: Harsh cleaning agents can damage the finish. Use gentle, non-abrasive cleaners only.
- Read Manufacturer’s Guide: Follow the care instructions specific to your shower head model. This can include important dos and don’ts.
By following these maintenance steps, you can extend the life of your shower head and enjoy a pleasurable shower experience for years to come. For anything that seems out of scope for your DIY abilities, remember that it might be time to call a professional.
When to Seek Professional Help for Shower Head Installation
While DIY installation of a shower head can be straightforward, sometimes you may need a professional’s touch. Here are instances when it’s best to call an expert:
- Complex Installations: If instructions seem complex, or you’re unsure, get a pro.
- Old Plumbing: If your home has outdated plumbing systems, a plumber should handle it.
- Damaged Threads: Damaged threads on your shower’s arm require skilled repair.
- Improper Fit: When a new shower head doesn’t fit the existing arm, it might need an adapter or another solution a professional can provide.
- Persistent Leaks: If leaks continue despite your efforts, a plumber may need to check deeper issues.
- Low Water Pressure: Sometimes, low pressure isn’t a simple fix and may point to larger plumbing problems.
In these scenarios, seeking professional help ensures the job is done right. It also prevents damage to your plumbing and avoids wasted time and resources on incorrect installations. Remember, there’s no shame in asking for help when the task exceeds your DIY capabilities.


