Introduction to Changing a Shower Head
Embarking on the journey of changing a shower head can revamp your daily shower experience. Whether you’re dealing with a malfunctioning unit, desiring a new feature such as a higher water flow or simply updating your bathroom’s aesthetic, mastering how to change a shower head can be a beneficial skill. This tutorial ensures you understand what you’re getting into before you begin the procedure, laying out a straightforward pathway to success.

Before you start, be aware that this task doesn’t require professional plumbing skills. With the right tools and a bit of patience, you can complete this task quickly and efficiently. This guide will outline the necessary steps, tools, and materials needed to make changing your shower head a breeze. By following these clear instructions, you can ensure that your new shower head is installed seamlessly, enhancing your showering environment without the need for costly professional intervention.
Tools and Materials Needed
Gathering the right tools and materials is the first step in learning how to change a shower head. Make sure you have the following items:
- Adjustable wrench: This tool will help you remove the old shower head.
- Teflon tape: Also known as plumber’s tape, it secures a tight seal.
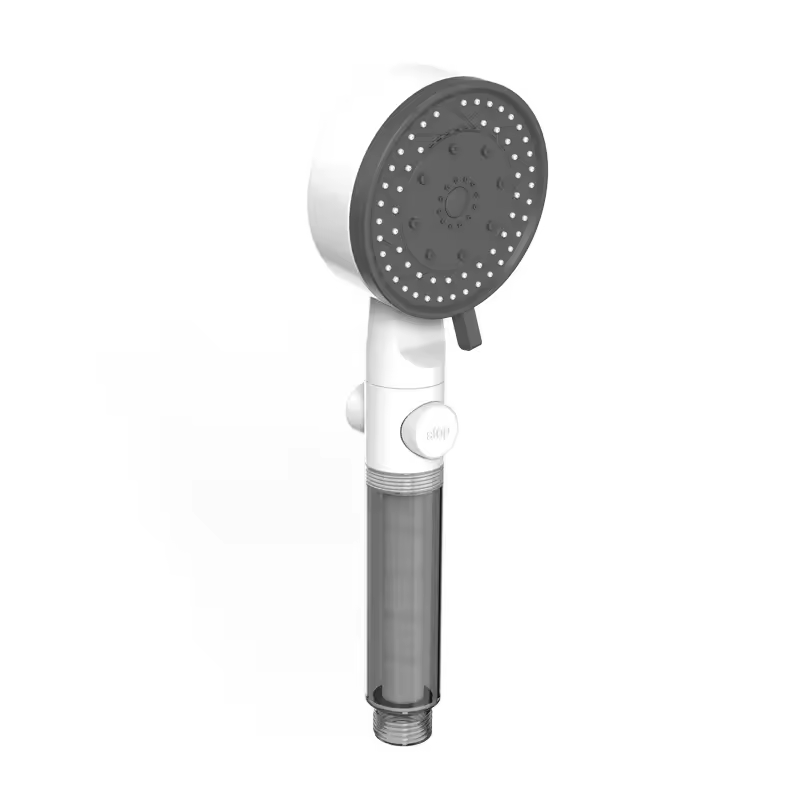
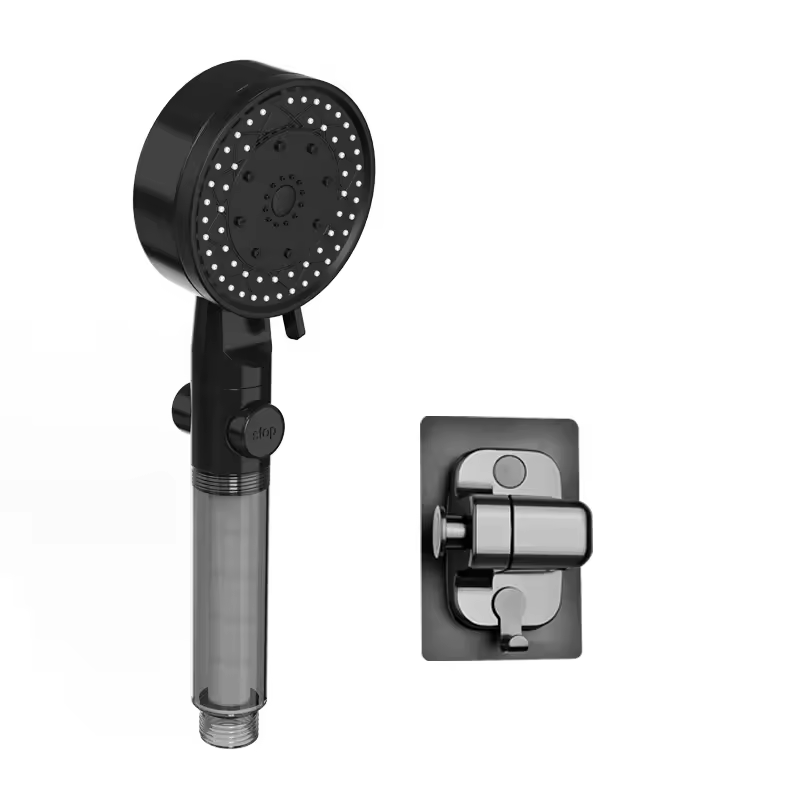
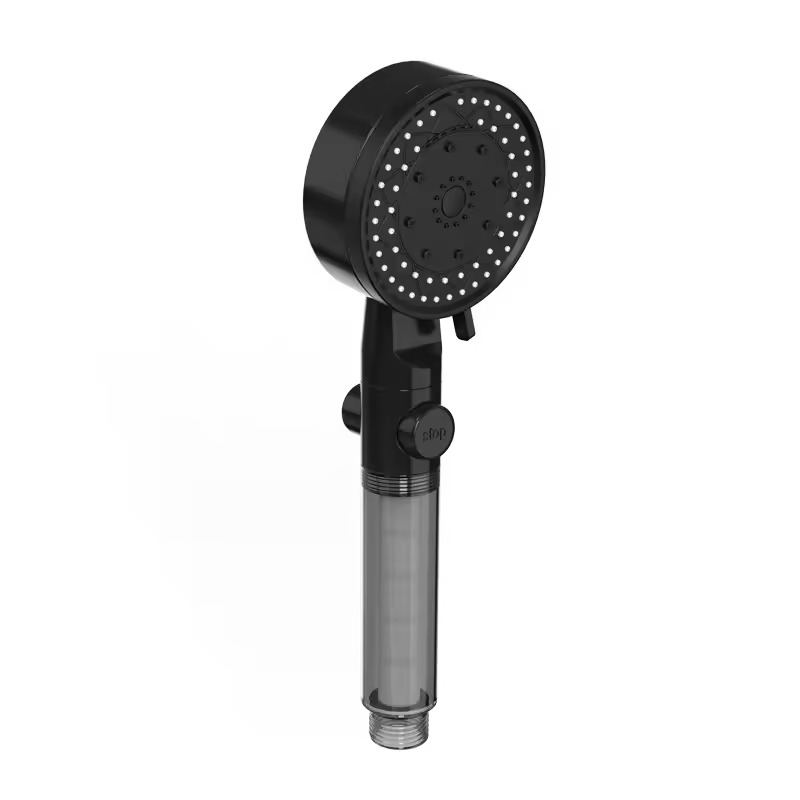
- New shower head: Choose one that fits your needs and matches your bathroom’s style.
- Rag or towel: Protects the shower arm and fixtures from scratches.
- Bucket or bowl: Catches any residual water when removing the old shower head.
Review these tools and materials before you start. Check that your new shower head comes with all necessary components. Some models include washers or sealing rings that are essential for a leak-free installation.
Preparation is key. Lay out your tools and materials where you can easily reach them. This will make the process smoother. Now, you’re ready to remove the old shower head.
Steps to Remove the Old Shower Head
Removing the old shower head is your first actual step in this process. Here’s how to do it:
- Turn off the water supply: Although not always necessary, it’s a good safety measure to prevent any water from spraying once you start. Locate your shower’s water valve and switch it off.
- Position your bucket or bowl: Place it directly beneath the shower arm to catch any drips or residual water.
- Protect the shower arm: Wrap your rag or towel around the shower arm right behind the old shower head. This will prevent any scratches when using the wrench.
- Loosen the old shower head: Using an adjustable wrench, grip the base of the old shower head and turn it counterclockwise. If it’s stuck, apply gentle but firm pressure until it starts to move.
- Unscrew by hand: Once loose, continue unscrewing the old shower head by hand until it’s completely detached from the shower arm.
- Drain residual water: Tip the head slightly, directing any remaining water into your bucket or bowl. Save water and avoid a mess in the process.
- Inspect the threads: Look at the threads on the shower arm for any damage or worn Teflon tape. You’ll need to clean and prepare the area for the new shower head, which is your next step.
Remember, the better you perform these steps, the easier it will be to install the new shower head. Next, we’ll discuss how to clean and prepare the shower arm for a seamless installation.
Cleaning and Preparing the Shower Arm
After removing the old shower head, you need to clean the shower arm. Doing so ensures a great fit for your new shower head. Let’s walk through the steps to prepare the shower arm for installation:
- Examine the threads: Look for any old Teflon tape or debris on the shower arm’s threads.
- Clean the threads: Use a rag to wipe away old tape and any buildup. A wire brush can help with stubborn residue.
- Check for damage: Make sure there are no cracks or wear on the threads that could cause leaks.
- Apply new Teflon tape: Wrap Teflon tape around the threads in a clockwise direction. This helps to create a water-tight seal.
- Final inspection: Check the threads one last time to make sure they’re clean and the tape is applied well.
With a clean and prepared shower arm, you can now proceed to the installation of the new shower head. This step is essential for how to change a shower head and prevents future leaks and issues with water pressure.
Installing the New Shower Head
Installing the new shower head is a fulfilling final step. It signals the near completion of your mission to improve your showering experience. Here’s what you need to do:
- Align the new shower head: Position it to the end of the shower arm. Make sure it’s straight to avoid cross-threading.
- Start by hand: Thread the new shower head onto the arm with your hands first. This helps prevent damage to the threads.
- Use the wrench if needed: If it’s hard to screw on by hand, use the adjustable wrench. Remember to place the rag or towel between the tool and the shower head to prevent scratches.
- Snug it up: Tighten the shower head until it feels secure. There’s no need to over-tighten as this might damage the threads and cause leaks.
- Check the connection: Make sure the shower head is on straight and that there are no gaps.
- Test for leaks: Turn the water supply back on and watch for any drips. Look around the base where the head connects to the arm.
- Make adjustments if needed: If you spot a leak, turn the water off again. Tighten the shower head a bit more or check the Teflon tape.
By following these steps, you will know how to change a shower head effectively. You are now ready to enjoy the new features and improved stream of your bathroom fixture. Next, we’ll share some tips to ensure your installation remains leak-free.

Tips for Ensuring a Leak-Free Installation
Ensuring a leak-free installation when you change a shower head is crucial for its long term performance. Here are some valuable tips to keep in mind:
- Use Quality Teflon Tape: Invest in high-grade Teflon tape. This small detail can make a big difference in preventing leaks.
- Wrap Teflon Tape Correctly: Remember to wrap the Teflon tape clockwise on the threads. This aligns with the direction you screw on the new shower head.
- Don’t Over-tighten: While it’s important for the shower head to be secure, over-tightening can damage the threads. Screw on until you feel resistance and stop there.
- Check the Washer: Many shower heads come with a rubber washer. Make sure it’s in place before installing.
- Perform a Leak Test: Once installed, run the water and check for leaks. Do this before you use the shower normally.
- Look for Gaps: A proper seal has no gaps between the shower arm and head. Check this before turning the water on.
- Revisit Teflon Tape if Needed: If a leak occurs, it may be due to Teflon tape application. Reapply the tape as needed.
Following these tips when you change a shower head will help ensure that you’ve done the job right. A leak-free installation will save you from future problems and maintain a steady water flow. Stick to these steps for peace of mind when you step into your refreshed shower space.
Maintenance and Care for Your New Shower Head
Ensuring your new shower head lasts requires regular maintenance and proper care. Here’s what you should do:
- Regular Cleaning: Minerals from water can clog the nozzles over time. Soak the head in a vinegar solution every few months to remove buildup.
- Check for Leaks: Periodically, check around the shower head for leaks. Tighten or reapply Teflon tape if necessary.
- Handle Gently: When cleaning the shower head, handle it gently to avoid damaging the nozzles or finish.
- Avoid Harsh Chemicals: Stick to mild cleaning agents. Harsh chemicals can harm the surface of your shower head.
- Inspect Washers: Rubber washers can wear out. Inspect them regularly and replace them when needed to prevent leaks.
- Manual Cleaning: Use a soft-bristled brush to gently clean the nozzles if they get clogged.
Keep these steps in mind for maintenance and care, and enjoy a steady, sprightly water flow every time you shower.

When to Call a Professional Plumber
While changing a shower head is often a simple DIY task, there are certain situations when you might need to call a professional plumber. Here are some signs that indicate it’s time to seek expert help:
- Persistent Leaks: If after following all the steps you still have leaks, a plumber can diagnose the issue.
- Corroded Pipes: Severe corrosion on the shower arm or threads may require professional tools and skills.
- Low Water Pressure: If water pressure is consistently low, it might be a deeper plumbing issue.
- Incompatible Parts: When the new shower head doesn’t fit the existing setup, a plumber can make the necessary adjustments.
- Visible Damage: Significant damage to the shower arm or wall might need more than a simple fixture change.
- Lack of Tools: If you don’t have the right tools, it’s safer to call a professional than risk further damage.
- Uncertainty: If at any point you’re unsure about the installation, professional help can provide peace of mind.
Remember, while knowing how to change a shower head is a handy skill, acknowledging when to call a professional plumber is just as important to prevent potential plumbing disasters. This ensures that your bathroom remains in good working order and saves you from costly repairs in the long run.


