Essential Tools and Materials Needed for Installation
Before beginning the installation of your shower head holder, it’s important to gather all the necessary tools and materials. This preparation ensures a smooth and efficient installation process. Here’s what you will need:

- Adjustable wrench: This will help you tighten or loosen the nuts and bolts.
- Drill: If your shower head holder requires screws for mounting, you’ll need a drill.
- Drill bits: Select the correct size to match the screws or anchors.
- Wall anchors: These are necessary if you’re installing the holder on a hollow wall.
- Screwdriver: For driving screws into the wall anchors or directly into the wall.
- Tape measure: To measure the height at which you’ll place the holder.
- Pencil: To mark where you will drill holes for mounting the holder.
- Level: To ensure that the holder is perfectly horizontal.
- Sealant or Teflon tape: This helps prevent water leakage around the connection.
- Clean cloth: For cleaning the area before installation and wiping away any debris.
Remember, using the right tools and high-quality materials can significantly enhance the stability and longevity of the shower head holder. Always double-check that you have everything on hand before you start the actual installation.
Choosing the Right Shower Head Holder
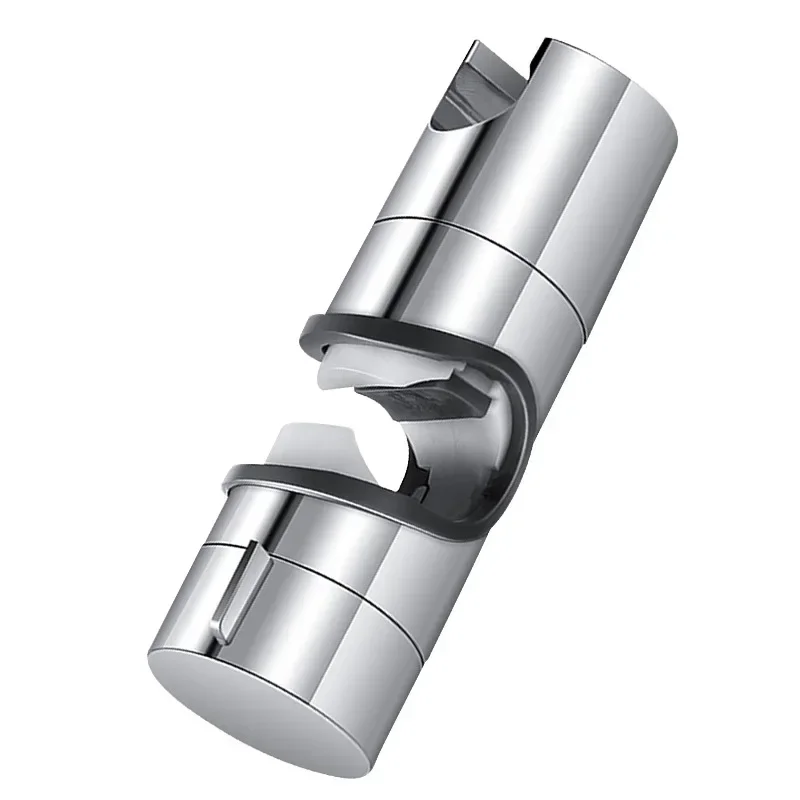
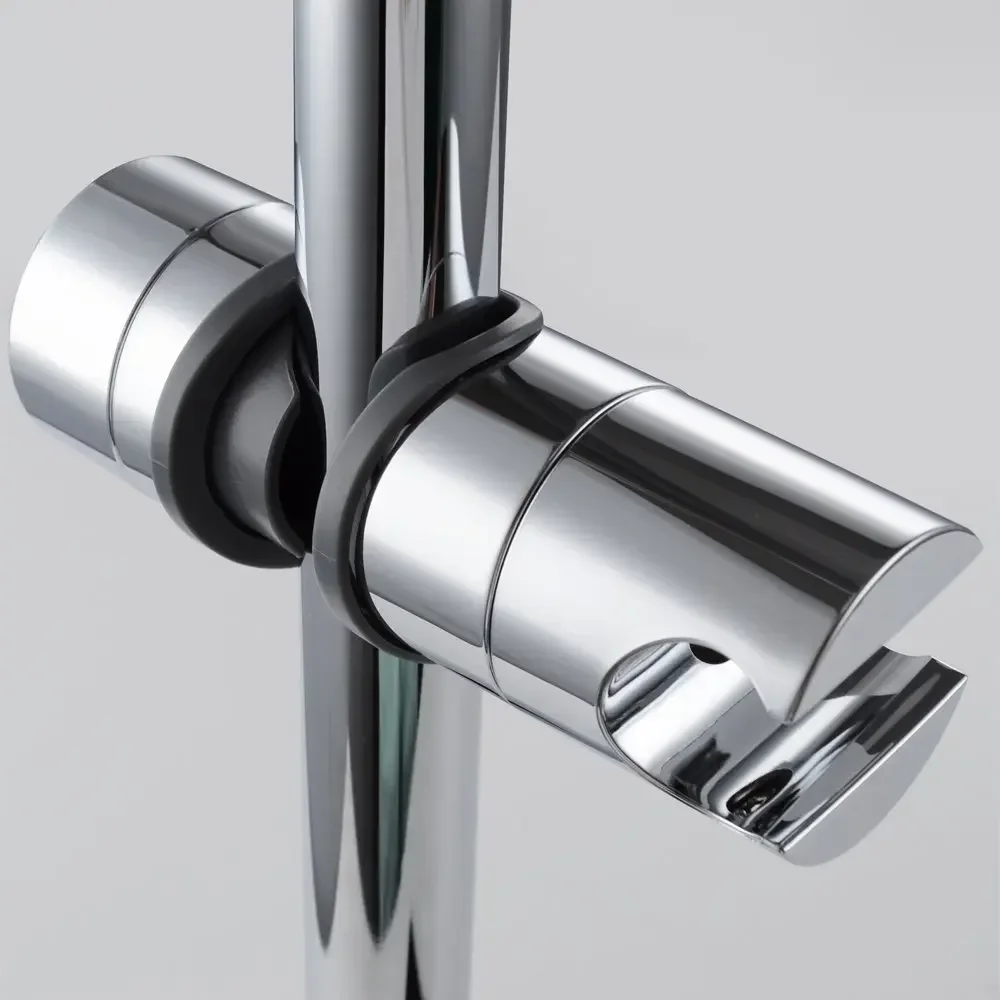
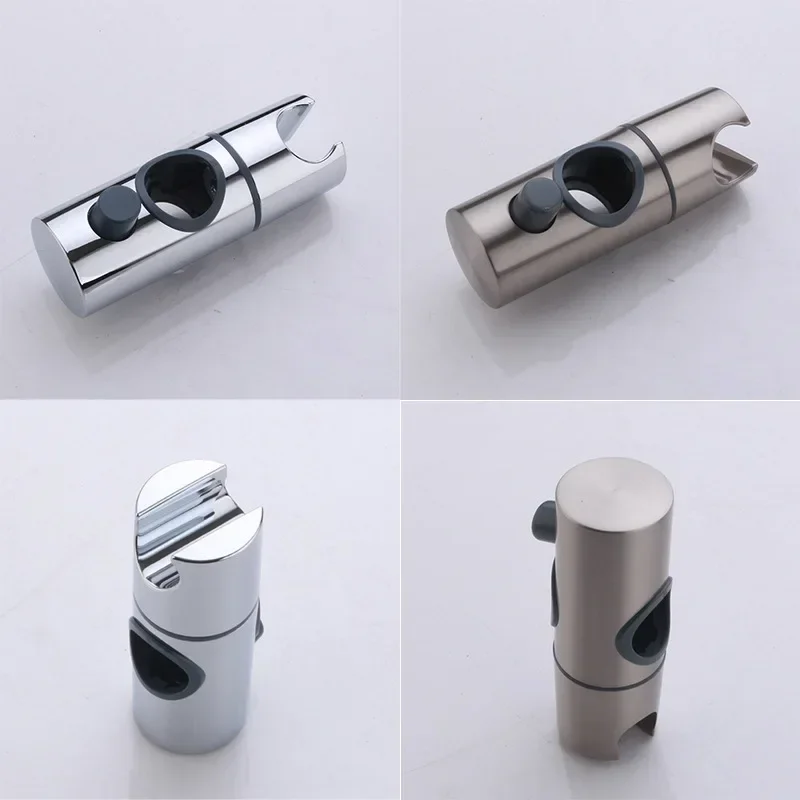
Selecting the right shower head holder is crucial. Begin by considering the holder’s material. Stainless steel, plastic, and brass are common options. Stainless steel offers durability and corrosion resistance. Plastic is cost-effective and comes in various colors. Brass has a classic look and can last many years.
Look for a holder that matches your bathroom decor. Sleek, modern designs work well in contemporary spaces. Ornate styles suit traditional bathrooms. Focus on both aesthetics and functionality.
Check the holder’s compatibility with your shower head. It should fit securely and adjust with ease. Consider the weight of the shower head too. A heavyweight shower head will need a stronger holder.
Think about installation ease. Some holders use suction cups, while others require drilling. Suction cups are good for tiled surfaces and rental homes. Drilled mounts are more permanent solutions.
Lastly, assess the adjustability. A holder that tilts and swivels makes showering more comfortable. Especially for families with members of varying heights. Read reviews and ensure the mechanism is reliable.
Choose a shower head holder that strikes a balance between form and function. A careful choice now means better performance and satisfaction later.
Step-by-Step Guide to Installing a Shower Head Holder
Installing a shower head holder is a straightforward task when you follow these steps:
- Find the Ideal Position: Decide where to place the holder. Use the tape measure to pick a suitable height. The industry standard is typically around 80 inches from the shower floor.
- Mark the Spot: With the pencil, mark the spot where you will drill holes. Place the level against the wall to ensure your marks are straight.
- Prep the Wall: Clean the area with a cloth. Dry and dust-free surfaces will hold the holder more securely.
- Drill Holes: Secure the correct drill bit and carefully drill at the marked spots. If you’re using wall anchors, make sure the holes are the right size.
- Install Wall Anchors: Gently tap the anchors into the holes if your wall is hollow.
- Attach the Holder: Line up the shower head holder with the holes or anchors. Screw in tightly using the screwdriver. Do not overtighten, as this may crack the wall.
- Add Sealant or Teflon Tape: Around the threaded part of the shower arm, wrap sealant tape. This prevents any water leakage when you attach the shower head.
- Mount the Shower Head: Attach the shower head to the arm, and tighten with the adjustable wrench. Don’t apply too much force.
- Final Check: Adjust the holder and inspect it for any movement. Ensure stability before using the shower.
By following each of these essential steps, you’ll ensure that your shower head holder is installed securely and ready for use. Rely on the materials and tools mentioned earlier for successful installation. Remember, always keep safety in mind and if you’re ever in doubt, seek professional help.

Tips for Securing the Shower Head Holder Firmly
Ensuring your shower head holder is secured firmly can be the difference between a stable and a wobbly shower experience. Here are some tips to help you achieve a solid installation:
- Choose Compatible Screws: Use screws that match the size and type recommended by the holder’s manufacturer to guarantee a snug fit.
- Do Not Skimp on Wall Anchors: If your wall is hollow, invest in high-quality wall anchors that can support the holder and the weight of the shower head.
- Apply Appropriate Pressure: When screwing in the holder, apply enough pressure to secure it, but avoid over-tightening which could damage the wall or the holder itself.
- Ensure Even Weight Distribution: If the shower head is heavy, make sure the holder is designed to distribute the weight evenly to reduce strain on the mounting point.
- Double-check Holder Alignment: Use a level when placing the holder to ensure that it is perfectly horizontal. An uneven holder can lead to instability over time.
- Test the Holder Before Use: Gently test the holder with your hand for any movement. Do this before attaching the shower head to avoid unnecessary strain.
- Consider Sealant for Extra Grip: Some holders benefit from a line of silicone sealant around the edge for additional grip against the wall surface.
- Reinspect After First Use: After you use the shower, check the holder to make sure it’s still tight. The first use can reveal any weak points in the installation.
By following these tips, you can rest assured that your shower head holder will remain firmly in place, providing you with a reliable and enjoyable showering experience.
Troubleshooting Common Installation Issues
Even when you follow installation steps carefully, you might encounter some issues. Here are solutions to common problems when installing a shower head holder:
- Loose Wall Anchors: If anchors don’t grip, use larger anchors or specialized ones for your wall type.
- Uneven Holder Placement: If the holder isn’t level, remove it, fill holes with caulk, and reinstall using a level.
- Shower Holder Slides Down: This can occur with suction cup models. Clean the wall and suction pad, then reapply firmly.
- Difficulty With Tight Spaces: If space is tight, you might need a shorter screwdriver or a flexible shaft attachment for your drill.
- Screws Won’t Hold: Sometimes screws strip in the wall. If this happens, replace with slightly larger screws or anchors.
- Cracked Tile During Drilling: To prevent this, place tape over the tile before drilling and use a tile drill bit.
- Leaking Shower Head: Check that sealant or Teflon tape is correctly applied and that the shower head is tightened just right—not too tight.
- Shower Head Does Not Fit Holder: Ensure you have the correct holder for your shower head’s size and weight.
- Holder Becomes Loose Over Time: Check and tighten screws periodically. For suction holders, reapply suction after cleaning.
Addressing issues immediately after you notice them can prevent bigger problems. Regular checks and maintenance keep your shower head holder in top condition.
Maintenance and Care for Your Shower Head Holder
To keep your shower head holder in prime condition, regular maintenance is key. Here’s how you can care for your holder effectively:
- Regular Cleaning: Wipe down your shower head holder with a damp cloth. Use a mild, non-abrasive cleaner to avoid scratching the surface.
- Inspect for Rust or Corrosion: If your holder is metal, check for signs of rust. Clean any rust spots immediately and consider applying a protective coating.
- Check for Loose Parts: Periodically, ensure all screws and mounts remain tight. Loose parts can lead to a wobbly holder.
- Avoid Overloading: Do not hang heavy items from the holder, which can strain it. Keep the usage limited to its intended purpose.
- Monitor for Water Damage: Look for signs of water damage or leaks around the holder. Seal any gaps with silicone if necessary.
- Use Correct Cleaning Agents: For plastic holders, avoid bleach or other harsh chemicals. These can weaken the plastic over time.
- Dry Properly: After cleaning, dry the holder thoroughly to prevent limescale build-up. A dry holder is less prone to damage.
By taking these simple steps, you ensure that your shower head holder remains as good as new for longer. Always refer back to the manufacturer’s instructions for specialized care tips.

Upgrading and Replacing an Old Shower Head Holder
If you find your shower experience dampened by an old, loose, or broken shower head holder, it might be time to upgrade. Replacing an outdated shower head holder can refresh your bathroom’s look and improve functionality. Here’s what to do:
- Remove the Old Holder: Twist or unscrew your old holder from the wall, being careful not to damage the tiles.
- Choose a New Holder: Select a new shower head holder that fits your shower’s style and needs. Consider materials like stainless steel or brass for durability.
- Check Compatibility: Make sure the new holder fits your shower head. Measure the connection size and compare it with your new holder.
- Prep the Area: Clean the wall where the old holder was mounted. Remove any residue or old sealant with a scraper.
- Install the New Holder: Follow the step-by-step guide mentioned earlier. If drilling is needed, mark and drill new holes.
- Secure the Holder: Use the right screws and wall anchors to secure the holder. A level helps ensure it is straight.
- Attach the Shower Head: Position your shower head into the new holder and tighten it with care.
- Test It Out: Before taking a shower, check the stability of the holder. Give it a gentle pull to ensure it’s secure.
Remember, when upgrading, it’s an ideal time to consider a holder that offers better adjustability or a more stylish design. Proper installation will lead to a sturdy and reliable shower head holder, enhancing your daily shower routine.


