Introduction to Glass Shower Doors
Glass shower doors have become a staple in modern bathroom design, framing your shower space with elegance and allowing for a light-infused room. These doors are not just about aesthetics; they significantly enhance the functionality of your bathroom by containing water spray and making cleanup easier compared to traditional shower curtains. So, how to install a glass shower door?

When it comes to choosing a glass shower door, options abound. You can select from framed, frameless, or sliding styles to suit your taste and bathroom layout. Beyond style, glass doors also offer a range of practical benefits, including easy maintenance and the illusion of a larger space.
The process of installing a glass shower door can be a doable project if you’re equipped with the right tools, materials, and guidance. Whether you decide to embark on the installation yourself or hire a professional, understanding the steps involved will help you ensure a successful update to your bathroom.
For those ready to transform their bathing area, this guide will walk you through the essential steps, from preparing the site to the finishing touches, to installing a glass shower door with confidence.
Choosing the Right Glass Shower Door
Selecting the ideal glass shower door is key to enhancing your bathroom’s design and functionality. Different types of glass doors each have their own installation requirements and suit different bathroom layouts.
Framed Glass Doors
Framed doors are a cost-effective choice, featuring a metal frame around the glass. They are sturdy, create a firm seal, and are simpler to install, making them suitable for DIY enthusiasts.
Frameless Glass Doors
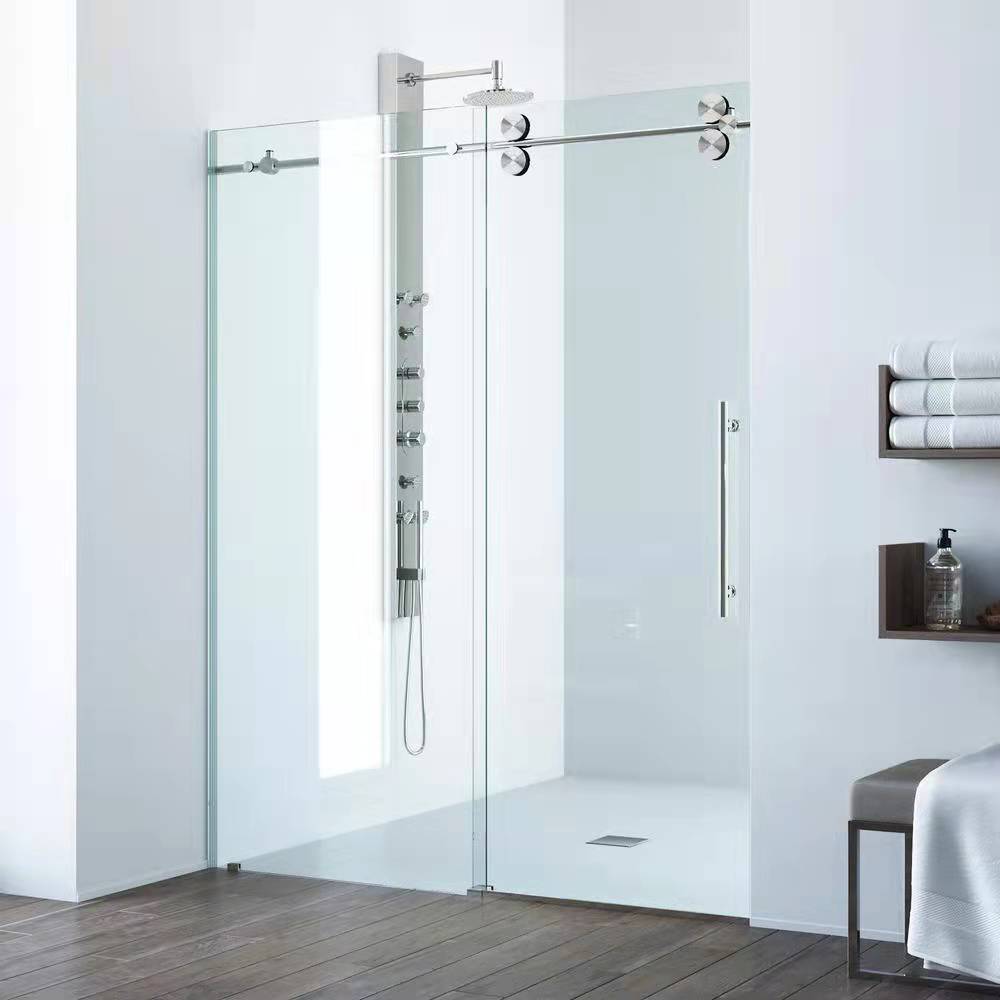
Frameless doors offer a sleek, modern look, providing a seamless appearance that can make your bathroom appear larger. They require precise installation due to the absence of a frame and are made from thicker glass for stability.
Sliding Glass Doors
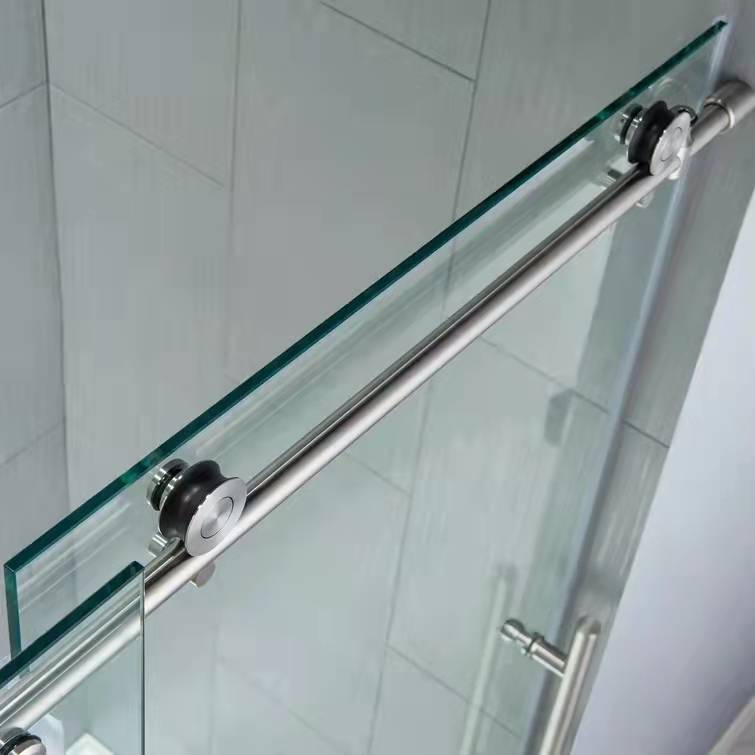
For bathrooms with limited space, sliding doors are practical. These can come framed or frameless, moving smoothly on tracks and often requiring less space than hinged doors.
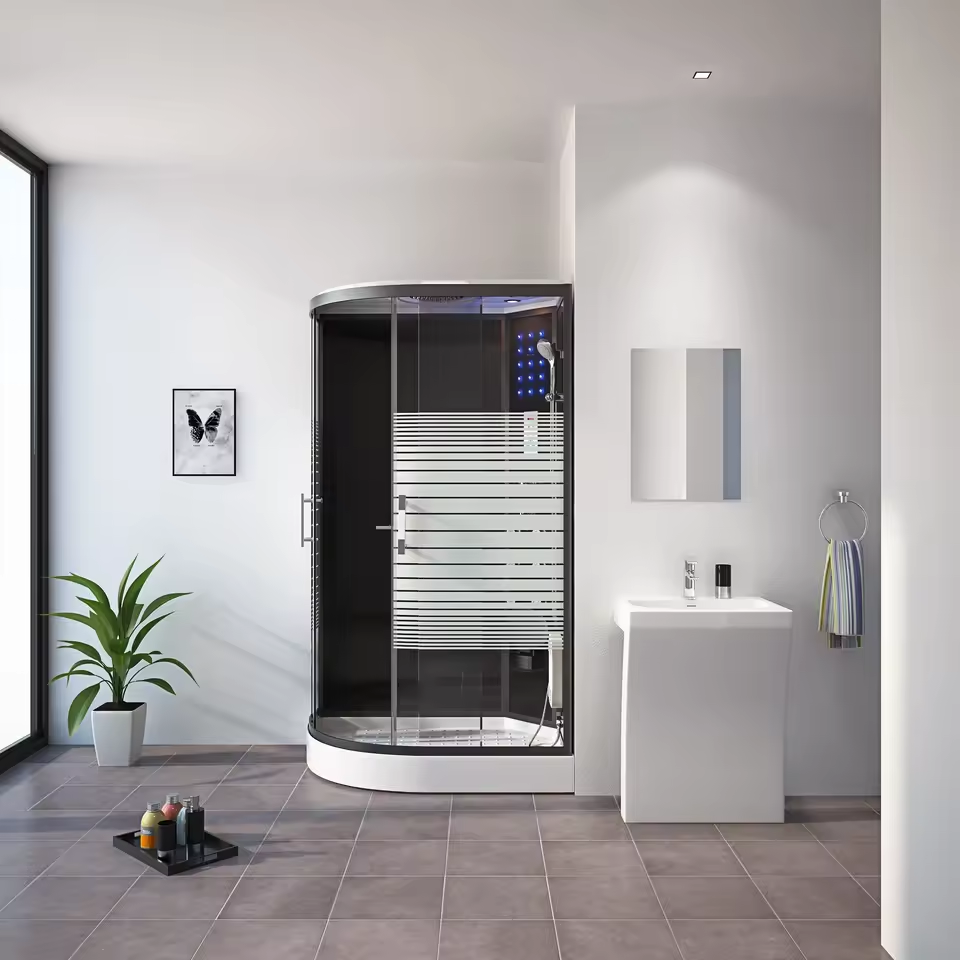
Choosing the right door involves considering your bathroom’s size, your own style preferences, and your ability to install the door. You can opt for transparency or tinted, frosted, or patterned glass, which can dictate the amount of light passing through and the level of privacy.
When purchasing your glass shower door, it is essential to measure the space accurately. Check the door’s opening direction and ensure it does not interfere with bathroom fixtures. Finally, compare the glass thickness and quality options to your budget, as these factors will also influence your choice.
Tools and Materials You Will Need
To successfully install a glass shower door, having the correct tools and materials on hand is crucial. Here is a list of essentials you’ll need before beginning your project:
- Tape Measure: For precise measurements, ensure accuracy.
- Level: To keep frames and tracks perfectly horizontal and vertical.
- Drill: For making holes in walls and tile.
- Drill Bits: Sized for your hardware and walls.
- Hacksaw: For cutting metal tracks to the right length.
- Screwdriver Set: For driving and securing screws.
- Caulking Gun: For applying sealant around the doorframe.
- Silicone Caulk: To seal and waterproof the shower door.
- Utility Knife: For trimming and shaping sealant.
- Shims: For leveling the door during installation.
- Safety Glasses: To protect your eyes.
- Work Gloves: To protect your hands during cutting and drilling.
- Clean-up Supplies: Including a vacuum to clean debris.
- Glass Shower Door Kit: Typically includes the door, hardware, and some installation components.
Gather all these items before you start. This preparation helps the installation process go smoothly and helps avoid unnecessary interruptions. It’s also smart to read through the installation instructions that come with your glass shower door kit to determine if any additional, specific tools or materials are needed for your model.
Preparing for Installation
Before jumping into the installation process, it’s essential to ensure that your workspace is ready and you have all necessary tools and materials at hand. Preparing correctly paves the way for a smooth installation. Here are the steps you need to follow.
Assess the Shower Area
Start by examining the space where the new glass shower door will be. Check for any damage or uneven surfaces that might affect installation. Ensure the area is clean and dry for a smooth process ahead.
Gather Your Tools and Equipment
Check the list of tools and materials you’ve compiled. Make sure you have everything, from the measuring tape to the silicone caulk. Missing items can cause delays, so it’s best to double-check before starting.
Take Accurate Measurements
Measuring your shower opening accurately is crucial. Use a tape measure to find the width at the top, middle, and bottom of the space. Use the smallest measurement to ensure the door will fit nicely.

Inspect the Walls and Floor
Your walls and floor must support the new door properly. Confirm they are level with a 4-foot level. If they’re off by more than a half-inch, a filler strip or adjustment is necessary.
Prepare the Shower Base
The threshold where the bottom track will sit should be even and stable. Check its level and clean it thoroughly to remove any build-up that could disrupt the track’s placement.
Once these steps are completed, you’re set to move forward with the bottom track installation, a foundational element of your new glass shower door.
Installing the Bottom Track
Installing the bottom track is the first critical step in setting up your new glass shower door. It forms the base for the rest of the installation, ensuring stability and proper alignment of the door. To begin, here are the precise steps you need to follow for a successful bottom track installation.
- Measure Your Shower’s Threshold: Start by measuring the width of the shower’s threshold at multiple points to find the narrowest measure. This prevents sizing errors that could affect the door’s stability.
- Mark and Cut the Track: Transfer the smallest width measurement to the track. Using a hacksaw, carefully cut the track to size. Remember, it’s better to cut slightly larger and file down than cut too short.
- File for Smoothness: Smooth down any rough edges from the cutting process with a metal file. This keeps the track from having sharp edges that could cause injury or impede the door’s fitting.
- Position the Track: Lay the track in the designated position on the shower threshold. Center it from front to back to have equal space on both sides. Mark its end positions with a pencil for easy future reference.
- Apply Silicone Caulk: Run a thin bead of silicone caulk under the bottom track, unless the manufacturer’s instructions advise otherwise. This creates a watertight seal that prevents leaks.
- Secure the Track in Place: Place the track back to its marked position. Press firmly to adhere the caulk. Keep the silicone from oozing out too much; it can be trimmed later for a clean finish.
By completing these steps accurately, you set a strong foundation for your glass shower door. Next, you’ll move on to secure the side jambs, forming the vertical framework for your door.
Securing the Side Jambs
Ensuring the side jambs are properly secured is crucial for the stability of your glass shower door. Follow these steps to achieve a precise installation.
- Identify Jamb Locations: Hold each side jamb up to the wall lining it with the bottom track. Use a pencil to mark where they will be placed.
- Check for Plumb: Place a level against each jamb location. Verify that they are perfectly vertical. If they’re not, adjustments or a filler strip may be needed.
- Mark the Drill Holes: Hold the jambs against the walls once more and mark the drill holes. Remember, accuracy is essential for stability.
- Drill Pilot Holes: Use a drill and the appropriate masonry bit to create pilot holes at the marked spots. Drill carefully to avoid cracking tiles or damaging the wall.
- Insert Wall Anchors: If necessary, hammer in the wall anchors to secure the screws. These will hold the jambs firmly in place.
- Attach Side Jambs: Align the jambs with the pilot holes and install using screws. Tighten the screws so the jambs are securely fastened but avoid over-tightening.
- Ensure Alignment: Recheck with the level that the side jambs are plumb. This step is critical for the proper functioning of the door.
Following these steps helps ensure the glass door will operate smoothly and maintain its alignment over time. Proceed next to hanging the glass door, which requires careful handling and precision.
Hanging the Glass Door
Hanging the glass shower door is a delicate and critical phase. Handle the glass with care to avoid any damages. Moving onto this step, here is the rundown of actions needed.
- Prepare the Door: Unpack the shower door and inspect for any damages. Position the door close to the installation area.
- Lift and Position: Carefully lift the glass door. Align the door with the bottom track and side jambs.
- Secure Top Hinge: Ensure the top hinge or roller is securely attached to the track. This provides door stability.
- Check Alignment: Verify the door is perpendicular using a level. It ensures a smooth operation.
- Attach Bottom Hinge: Fasten the bottom hinge or roller. Make sure it’s tightly fixed and aligned with the top.
- Test Door Movement: Gently slide or swing the door. Confirm it moves smoothly without obstruction.
By following these steps, the glass shower door will hang correctly. Finalize with hardware installation for a completed look.
Attaching the Hardware and Final Touches
Once the glass shower door is in place, the next step is to attach the hardware. This includes the handles, towel bars, and any other accessories that come with your shower door kit. The final touches to the shower door installation are both functional and aesthetic, providing ease of use and a polished look.
To start, ensure you have all the hardware items laid out. Check your manual and gather any screws or tools needed. Usually, this process involves aligning the hardware with the pre-drilled holes in the shower door. You may need a screwdriver for this task. Attach the handles and towel bars by tightening the provided screws. Do not overtighten, as this could damage the glass.
Next, inspect the installation. Confirm all parts are secure and the door operates smoothly. Adjust if needed. If your door has a sliding mechanism, check the tracks for any obstruction. For hinged doors, ensure the swing is free and the seal is tight.
Cleaning up the workspace is a crucial final touch. Remove any debris or tools left around. Use a glass cleaner to shine up the new door and remove fingerprints from the installation.
Stand back and review your work, making sure everything is as it should be. Test the door’s movement and locking mechanism. Attach any remaining accessories that were part of your kit.
With the hardware in place and the final review complete, your new glass shower door is ready for use. Enjoy the upgraded look and feel of your bathroom.

Sealing and Waterproofing
After your glass shower door is in place, it is vital to seal and waterproof the unit. This step keeps the shower watertight and avoids potential water damage. Follow these practical steps for an effective seal:
- Clean Surfaces: Make sure the edges of the glass door and the shower enclosure are clean. Remove any debris or dust.
- Apply Silicone Caulk: Use the caulking gun to run a line of silicone caulk along the interior edges of the bottom track and side jambs. This prevents water from seeping out.
- Smooth the Caulk: Dip your finger in soapy water and run it along the wet caulk to smooth it out. This action creates a clean, finished seal.
- Let it Dry: Wait for the caulk to fully cure before using the shower. This could take 24 hours or more, based on caulk specifications.
- Inspect for Gaps: After drying, check for gaps in the caulk. Apply more if you find places where water could escape.
- Test the Seal: Splash water in the area to test the watertightness. Ensure no water leaks outside the shower.
By completing these steps, you are ensuring that your bathroom stays dry and damage-free outside the shower area. Make sure to allow enough time for the seal to set before using the shower to maintain its effectiveness.
Troubleshooting Common Installation Issues
During the installation of your glass shower door, you may face a few challenges. By understanding these common problems and knowing how to address them, you ensure a smoother installation process. Follow these troubleshooting tips for common issues.
Dealing with Uneven Walls
If walls are not plumb, place shims behind the wall jambs. This will help to keep the door aligned.
Overcoming Measurement Mistakes
If the door is too small due to measurement errors, consider a filler strip. This can bridge the gap effectively.
Preventing Water Leaks
Check the silicone caulk seals thoroughly after installation. Reapply caulk to any gaps to prevent leaks.
Ensuring Smooth Door Operation
If the door sticks or doesn’t slide well, adjust the rollers or hinges. Ensure they are correctly aligned.
Handling Glass Safely
Always wear safety gloves and glasses. If the glass breaks, clear away from the area and clean carefully.
Addressing Sticky or Stiff Hardware
Loosen or tighten screws slightly for better movement. Avoid forcing hardware to turn or operate.
These troubleshooting tips help to address the most common glass shower door installation issues. Remember, if you’re ever in doubt or the issue seems too complex, seek professional assistance.
Professional Installation vs. DIY
Deciding between professional installation and doing it yourself (DIY) for a glass shower door can be tough. Your choice should weigh both time commitment and skill level.
Considering Professional Installation
Professional help has perks. You get expert skills, tools, and possibly a warranty on the work. If the shower area has uneven walls, complex features, or just seems daunting, a pro can handle it easily. However, hiring a professional will cost more than DIY.
The DIY Approach
DIY is cost-effective because you save on labor. With the right tools and a good guide, it’s achievable. If you’re handy and have tackled similar projects, DIY could be satisfying and rewarding. Remember, precision is key. Measure carefully, follow instructions, and take your time. Mistakes can lead to leaks or breakage. Don’t cut corners, use quality materials, and double-check alignments.
It’s about balancing costs, confidence in your ability, and the time you can invest. Thinking of going DIY? Ensure you’re ready for the task. Unsure or short on time? Professional installation is safer and more reliable. Make your choice based on your situation, after considering all factors.
Maintaining Your New Glass Shower Door
To keep your new glass shower door looking great, regular cleaning and maintenance are key. Here are simple ways to maintain it:
Regular Cleaning
Clean your shower door often to prevent soap scum and hard water stains. Use a squeegee after each shower to remove water drops. For a deeper clean, use a mild glass cleaner weekly.
Inspect Seals and Hardware
Check the seals and hardware every few months. Look for any signs of wear or leaks. Tighten screws if necessary but don’t overdo it.
Avoid Harsh Chemicals
Harsh cleaning agents can damage the glass and metal finishes. Stick to mild detergents and avoid abrasive tools that could scratch the surface.
Keep Tracks Clear
Ensure the door tracks are free from debris. Clean them regularly with a soft brush and soapy water to keep the door sliding smoothly.
By following these simple maintenance steps, you can enjoy your glass shower door for years to come.


