Introduction
Creating a DIY bathroom vanity can be a fulfilling and practical home improvement project. This article will guide you through the process, from planning to execution. A custom vanity can enhance your bathroom’s style and improve its functionality. It allows you to express your creative side while saving money. No need to stick with the usual overpriced options at retail stores. In this guide, you will learn about materials, tools, measurements, and step-by-step instructions for building your own vanity from scratch.

Understanding Your Space and Needs
Before jumping into the project, assess your space and understand your needs. Spend some time with pen and paper. Identify how much space you have for the vanity, what size works best, and what features you desire. Think about the following questions:
- How much storage do you need?
- Do you want a single or double sink?
- What style complements your bathroom?
Measure the area where you plan to install the vanity. Use a tape measure and note the width, depth, and height constraints. This information will help you build a vanity that fits perfectly in the designated spot.
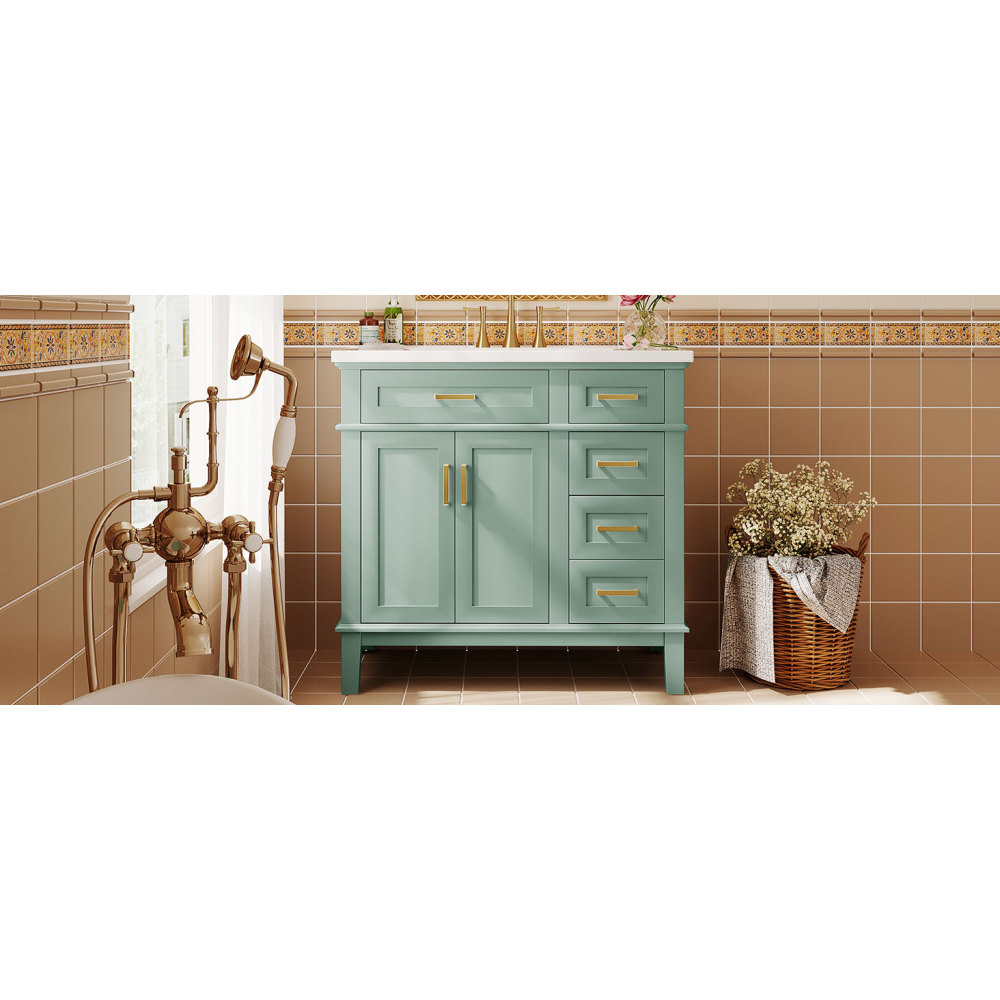
Once you have your measurements, envision your ideal vanity. Draw sketches if it helps. Will it be modern or rustic? What color or finish do you prefer? Having a clear idea will streamline the project.
Storage Solutions
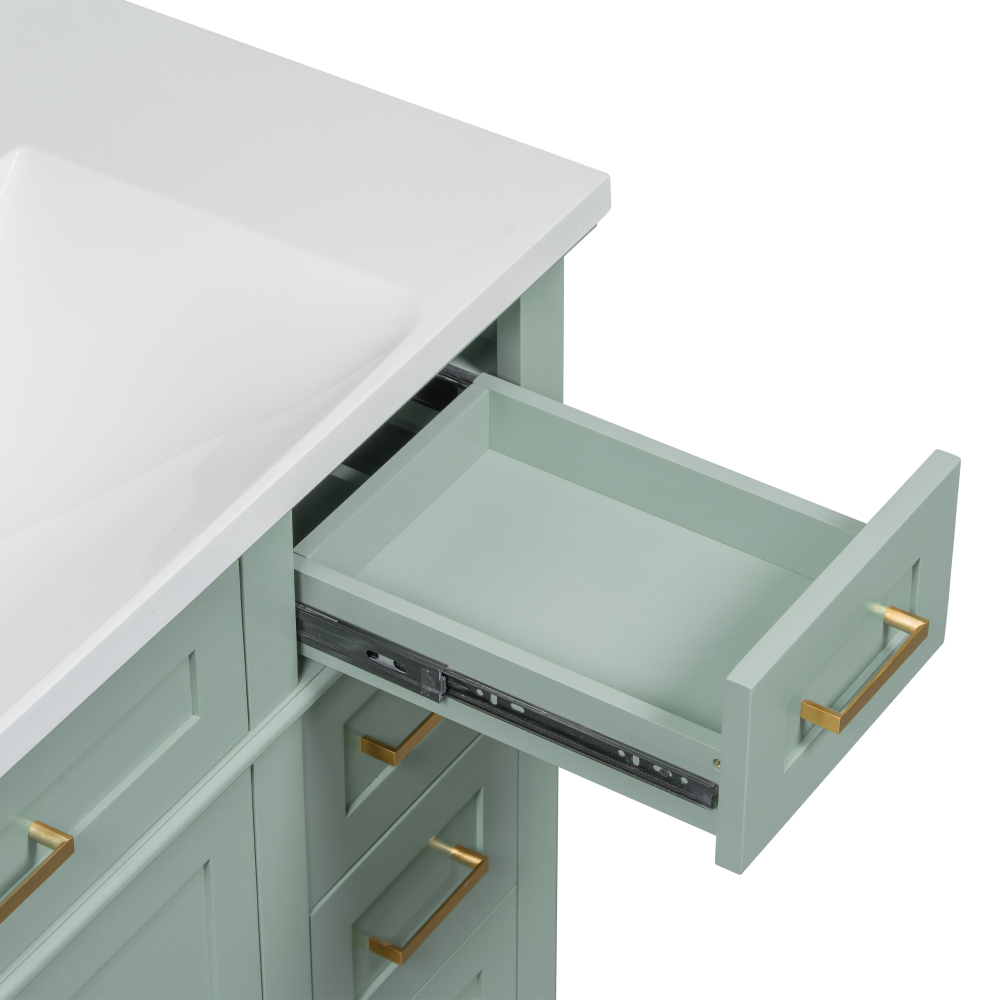
Storage is a significant factor for any bathroom vanity. Consider the items you need to store. You might require space for towels, skincare products, or cleaning supplies. If you use many items daily, opt for drawers and shelves. Incorporate a mix of open and closed storage if desired. This combination makes it easy to grab what you need and keep clutter at bay. Take this time to research various organizational solutions that fit your needs. Look for drawer dividers, baskets, and shelving ideas. These can help you maximize your space.
Materials and Tools for Your DIY Bathroom Vanity
Once you finalize your design, it is time to gather materials and tools. Research is vital at this stage. Choose high-quality materials to ensure durability and longevity. The main components of your vanity will include the cabinet body, countertop, sink, and faucet.
Selecting the Right Wood
The cabinet body can be made from various types of wood or plywood. Plywood is popular due to its strength and affordable price. Consider options like MDF or particle board if you want to save more. However, these materials are less durable than solid wood or plywood.
When selecting wood, consider the finish as well. You might choose to stain the wood or paint it. Ensure the finish works with your bathroom’s overall design. Remember that bathrooms tend to be humid, so using moisture-resistant materials is essential to maintain the vanity’s longevity.

Countertops
Next comes the countertop. There are plenty of options here. Granite and quartz are popular choices due to their durability and aesthetic appeal. However, they can be pricier. For a more affordable option, consider laminate or butcher block. These surfaces are attractive and provide great functionality without breaking the bank.
Sink and Faucet
Selecting a sink and faucet is equally important. Consider the style of the sink; options range from undermount to vessel sinks. Your choice will affect the overall look and function of your vanity. Choose a faucet that complements the sink and fits within your budget.
Before you purchase, check out local stores or online retailers to find the best deals. Ensure that every part fits together perfectly to avoid issues during assembly.
Tools You Will Need
Having the right tools makes the project easier. You will need:
- Circular saw
- Drill
- Level
- Screwdriver
- Measuring tape
- Clamps
- Sandpaper
- Paintbrush or roller
- Safety goggles
A well-equipped workspace minimizes problems and boosts efficiency. Ensure your workspace is clear of clutter and well-lit.
Building Your DIY Bathroom Vanity: Step by Step
With your plans in place and materials gathered, it’s time to start building. Follow these steps carefully to ensure the best outcome.
Step 1: Cutting the Wood
Using your measurements, start cutting the wood for the cabinet. Make sure you wear safety goggles during this process. Always double-check your cuts to avoid mistakes. Cut the sides, top, and bottom panels for the cabinet as per your design.
Step 2: Assembling the Cabinet
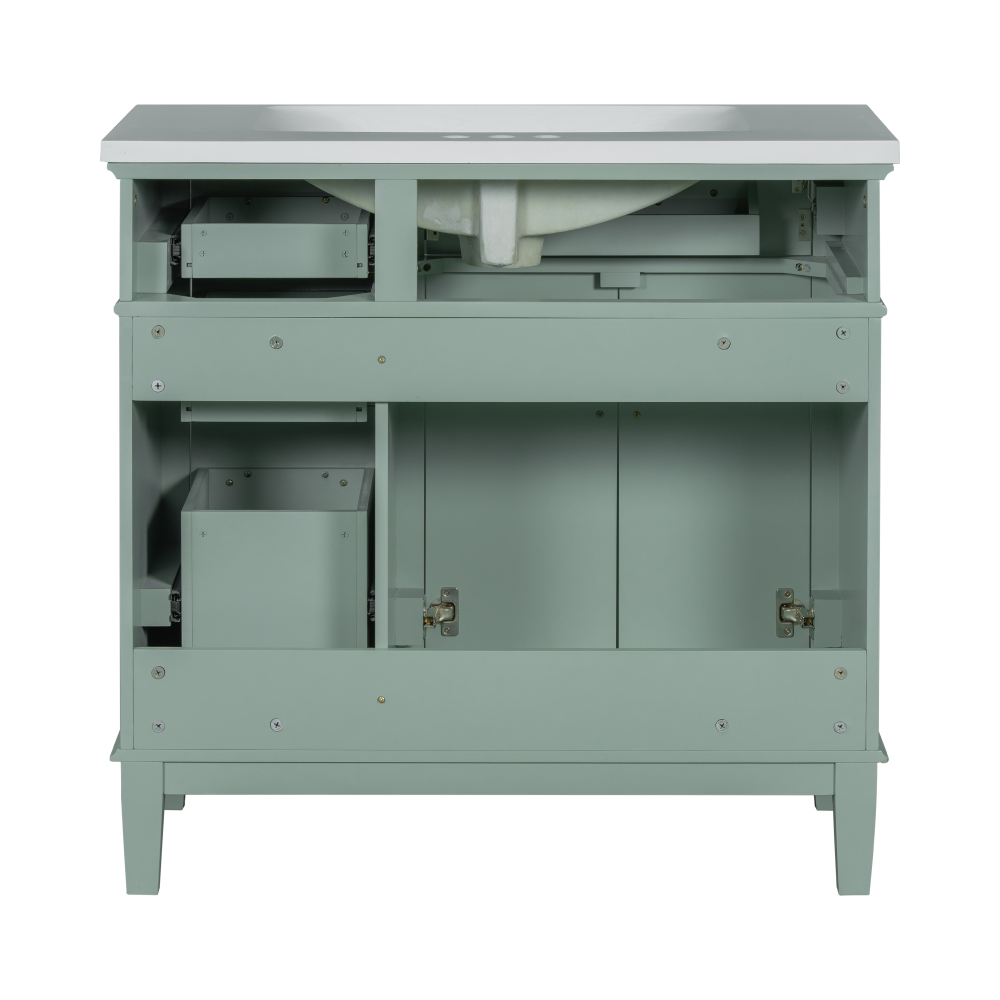
Once you have all your pieces cut, it’s time to assemble the cabinet. Start by joining the side panels to the top and bottom using wood glue and screws. Ensure all pieces are square. Employ clamps to hold them in place while the glue dries. Check your work with a level along the way. This step ensures that the cabinet stands straight and does not wobble.
Step 3: Adding the Doors
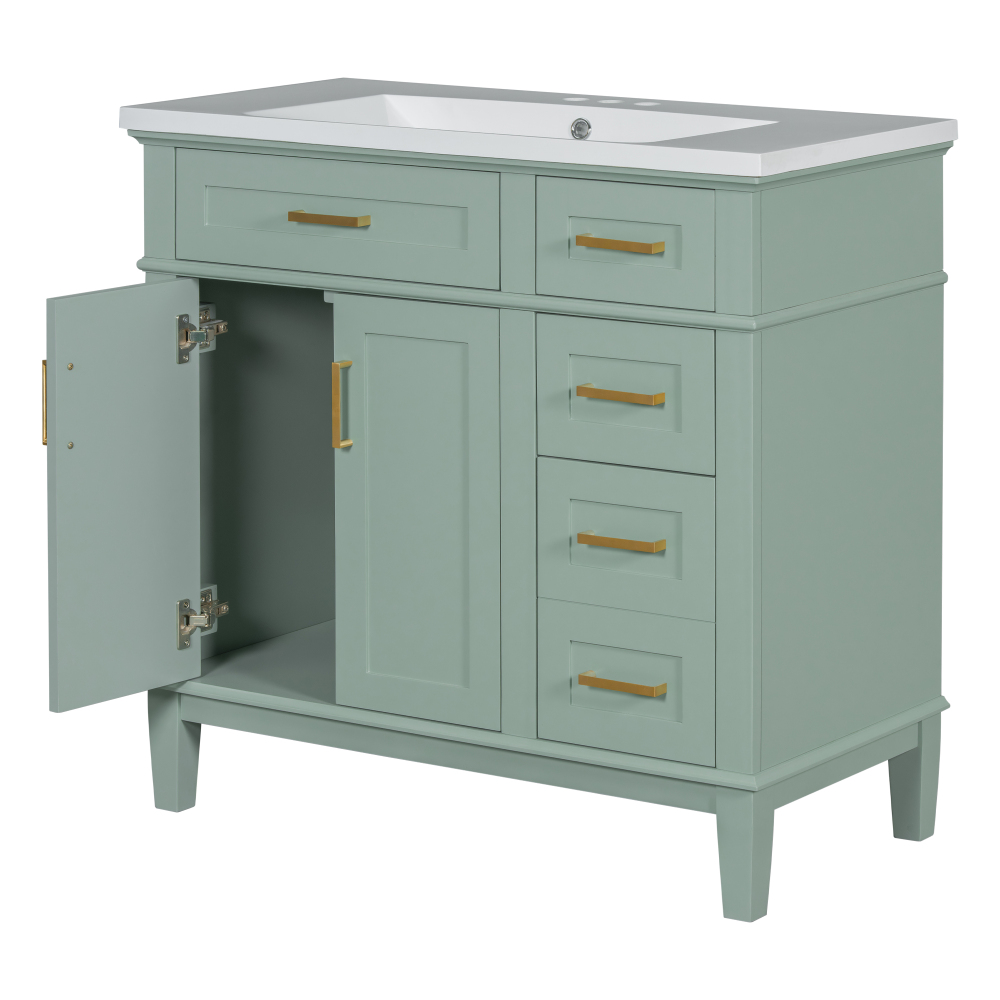
Once the cabinet frame is secure, you can move on to adding doors. Measure and cut wood for the doors according to your design. After cutting, attach the cabinet doors to the frame using hinges. Use a drill for precise placement. Test the doors to ensure they open and close smoothly.
Step 4: Installing the Countertop
With the frame ready, it’s time to install the countertop. Position it carefully on top of the cabinet. Secure it with glue and screws, ensuring it’s tightly fastened to avoid any shifting or wobbling.
Step 5: Adding the Sink
Once the countertop is in place, make room for your sink. Follow the instructions provided with your sink to make the correct cut-out. Always measure twice before cutting. After cutting the sink area, drop the sink into place and secure it according to manufacturer instructions.
Step 6: Connecting the Faucet
Next, install the faucet. Follow the provided instructions and connect the plumbing as required. Check for any leaks after completing the connections. This step is crucial as leaks can cause significant damage.
Step 7: Finishing Touches
Finish your vanity with paint or stain to protect the wood and match your bathroom’s decor. Apply at least two coats for the best results. After the paint dries completely, install any hardware like knobs and handles.

Tips for a Successful DIY Bathroom Vanity
Once you complete your vanity, remember a few tips for a successful DIY project. First, patience is critical. Rushing through steps can lead to mistakes, so take your time and enjoy the process.
Second, involve family or friends. They can provide valuable input or assistance, which can make the project more enjoyable. It can also help you troubleshoot any issues that arise.
Lastly, document your process! Capture photos as you go along. This documentation can help you in future projects or inspire others looking to tackle a DIY venture.
Conclusion: Enjoy Your New DIY Bathroom Vanity!
Congratulations! You have successfully built your own bathroom vanity. This project has not only improved your space but also elevated your DIY skills. With careful planning, execution, and a little creativity, you transformed your bathroom and added personal flair.
Your new vanity will serve as a functional centerpiece in your bathroom. Enjoy the beauty and utility it brings to your daily routine. Sharing your accomplishment with friends and family can inspire them too. Completing such a project boosts confidence and prepares you for even more challenging tasks in the future.
Now, bask in the satisfaction of a job well done. Celebrate your hard work, and enjoy your improved bathroom space.


