Introduction
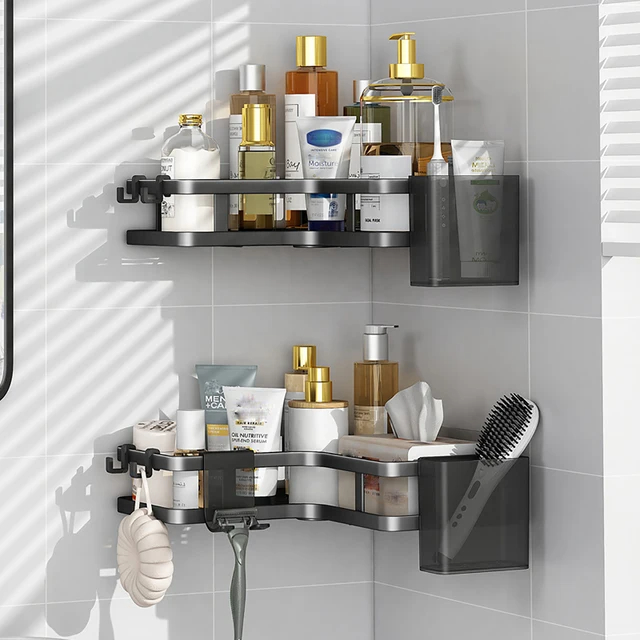
How to remove shower caddy adhesive? Removing adhesive from a shower caddy can be a bit of a challenge, but with the right techniques, you can get your shower area looking clean and fresh again. Whether you’re redecorating, moving the caddy, or just need to remove old adhesive, this guide will walk you through the process in detail. Follow these steps to ensure you remove the adhesive effectively without damaging your tiles or walls.

Understanding the Problem
Types of Adhesives Used for Shower Caddies
Shower caddies are often attached using strong adhesives that are designed to hold up against water and humidity. These adhesives can vary, including silicone-based, glue-based, or double-sided tape. Each type requires a slightly different approach for removal.
The Challenge of Removing Adhesive
Removing adhesive can be tricky because it adheres strongly to surfaces and can leave a sticky residue. The goal is to remove the adhesive without damaging the underlying surface, whether it’s tile, glass, or another material. Depending on the type of adhesive and how long it has been in place, the process can be easier or more challenging.
Preparation for Adhesive Removal
Gather Your Supplies
Before starting, gather all the necessary supplies. You will need a few basic tools and materials:
- Adhesive remover: There are commercial products designed specifically for removing adhesives. Make sure to choose one that is safe for your surface.
- Plastic scraper: A plastic scraper or putty knife helps to lift the adhesive without scratching the surface.
- Cleaning cloths: Soft cloths or rags will be needed to wipe down the area.
- Warm soapy water: This can help loosen some types of adhesives.
- Vinegar or rubbing alcohol: These can be used for additional cleaning and residue removal.
Protect Your Surface
Before you begin, protect your surfaces. Place a drop cloth or old towels around the area to catch any drips or spills from the adhesive remover. This will also help to avoid any accidental scratches or damage to surrounding surfaces.

Removing Adhesive from a Shower Caddy
Step 1: Test the Adhesive Remover
Start by testing the adhesive remover on a small, inconspicuous area. This ensures that the remover won’t damage your tiles or wall surface. Apply a small amount of the adhesive remover to the test area and wait for a few minutes to see if there is any adverse reaction.
Step 2: Apply the Adhesive Remover
Once you’ve confirmed that the adhesive remover is safe to use, apply it directly to the adhesive. Follow the instructions on the product label for the best results. Generally, you should apply a generous amount of the remover to the adhesive and let it sit for a few minutes. This allows the remover to break down the adhesive.
Step 3: Scrape Off the Adhesive
After letting the remover sit, use the plastic scraper to gently lift the adhesive. Work slowly and carefully to avoid scratching the surface. If the adhesive is stubborn, you may need to apply more remover and wait a bit longer before scraping.
Step 4: Clean the Area
Once the adhesive is removed, clean the area with warm soapy water and a cloth. This will help to remove any residue from the adhesive remover and ensure that the surface is clean. Rinse with clean water and dry with a soft cloth.
Dealing with Residue and Stains
Removing Residual Adhesive
Sometimes, after removing the main part of the adhesive, a sticky residue may remain. Use a mixture of vinegar and water or rubbing alcohol on a cloth to gently scrub away any leftover residue. Apply the solution to the sticky area and rub in a circular motion until the residue is gone.
Cleaning Stains
If the adhesive has left any stains or discoloration on the tiles or wall, you may need a specialized cleaner. Choose a cleaner that is safe for your specific surface. Apply the cleaner according to the manufacturer’s instructions and wipe clean with a cloth.
Tips and Tricks for Easy Adhesive Removal
Use Heat for Stubborn Adhesives
For particularly stubborn adhesives, applying heat can help. Use a hairdryer on a low setting to warm the adhesive. This softens it and makes it easier to remove. Be cautious not to overheat the area, as this can cause damage.
Avoid Harsh Chemicals
While it might be tempting to use strong chemicals, avoid them if possible. Harsh chemicals can damage your surfaces and are not environmentally friendly. Stick to milder, safer options whenever you can.
Prevent Future Adhesive Issues
To avoid future issues with adhesive, consider using removable adhesive hooks or caddies. These are designed to be removed easily and are less likely to leave a mess. Always follow the manufacturer’s instructions for application and removal.
Post-Removal Maintenance
Inspect the Surface
After removing the adhesive, inspect the surface for any damage or residue. Ensure that the area is completely clean and free of sticky spots. Address any remaining issues before reinstalling or placing new items.
Reapply New Adhesive or Fixtures
If you’re reinstalling a shower caddy or applying new adhesive, make sure the surface is completely dry and clean. Follow the manufacturer’s instructions for the new adhesive or fixture to ensure a secure and clean installation.

Regular Cleaning
To avoid future adhesive problems, regularly clean the area around your shower caddy. This helps to maintain a clean surface and prevent buildup that can make adhesive removal more difficult.
Additional Considerations
Professional Help
If you find that the adhesive is particularly stubborn or you’re concerned about damaging your tiles or walls, it may be worth consulting a professional. They can provide specialized tools and expertise for difficult adhesive removal.
Surface-Specific Tips
- Tile Surfaces: Be cautious with abrasive tools that might scratch tiles. Use plastic scrapers and gentle cleaners.
- Glass Surfaces: Avoid strong chemicals that could damage the glass. Use a soft cloth and mild cleaner.
- Painted Surfaces: Adhesive removers can sometimes damage paint. Test in a small area first and consider using milder solvents.
Prevention
To prevent future adhesive issues, consider using alternatives like suction cups or adhesive strips designed for easy removal. These options can provide a secure hold without the risk of adhesive damage.
Alternative Methods
DIY Solutions
If commercial adhesive removers are not available, you can try DIY solutions:
- Baking Soda and Oil: Mix baking soda with coconut oil to create a paste. Apply it to the adhesive, let it sit, then scrub gently.
- WD-40: Spray a small amount on the adhesive, let it sit, and then wipe or scrape off.
Preventative Measures
To prevent future adhesive challenges:
- Clean Regularly: Keep the area clean to prevent buildup that makes adhesives harder to remove.
- Proper Application: Follow instructions for any adhesive products to ensure they are used correctly and are easier to remove later.
Conclusion
Removing adhesive from a shower caddy doesn’t have to be a daunting task. With the right tools and techniques, you can effectively clean your shower area without causing damage. Remember to prepare your area, choose the right remover, and follow the steps carefully. By taking these precautions, you’ll ensure a clean and smooth removal process, leaving your shower looking fresh and tidy. With the right techniques and tools, removing adhesive from your shower caddy can be a manageable task. Explore various methods and preventive strategies to maintain a clean and functional bathroom space.


